
10 Practical Preferences in Premiere Pro
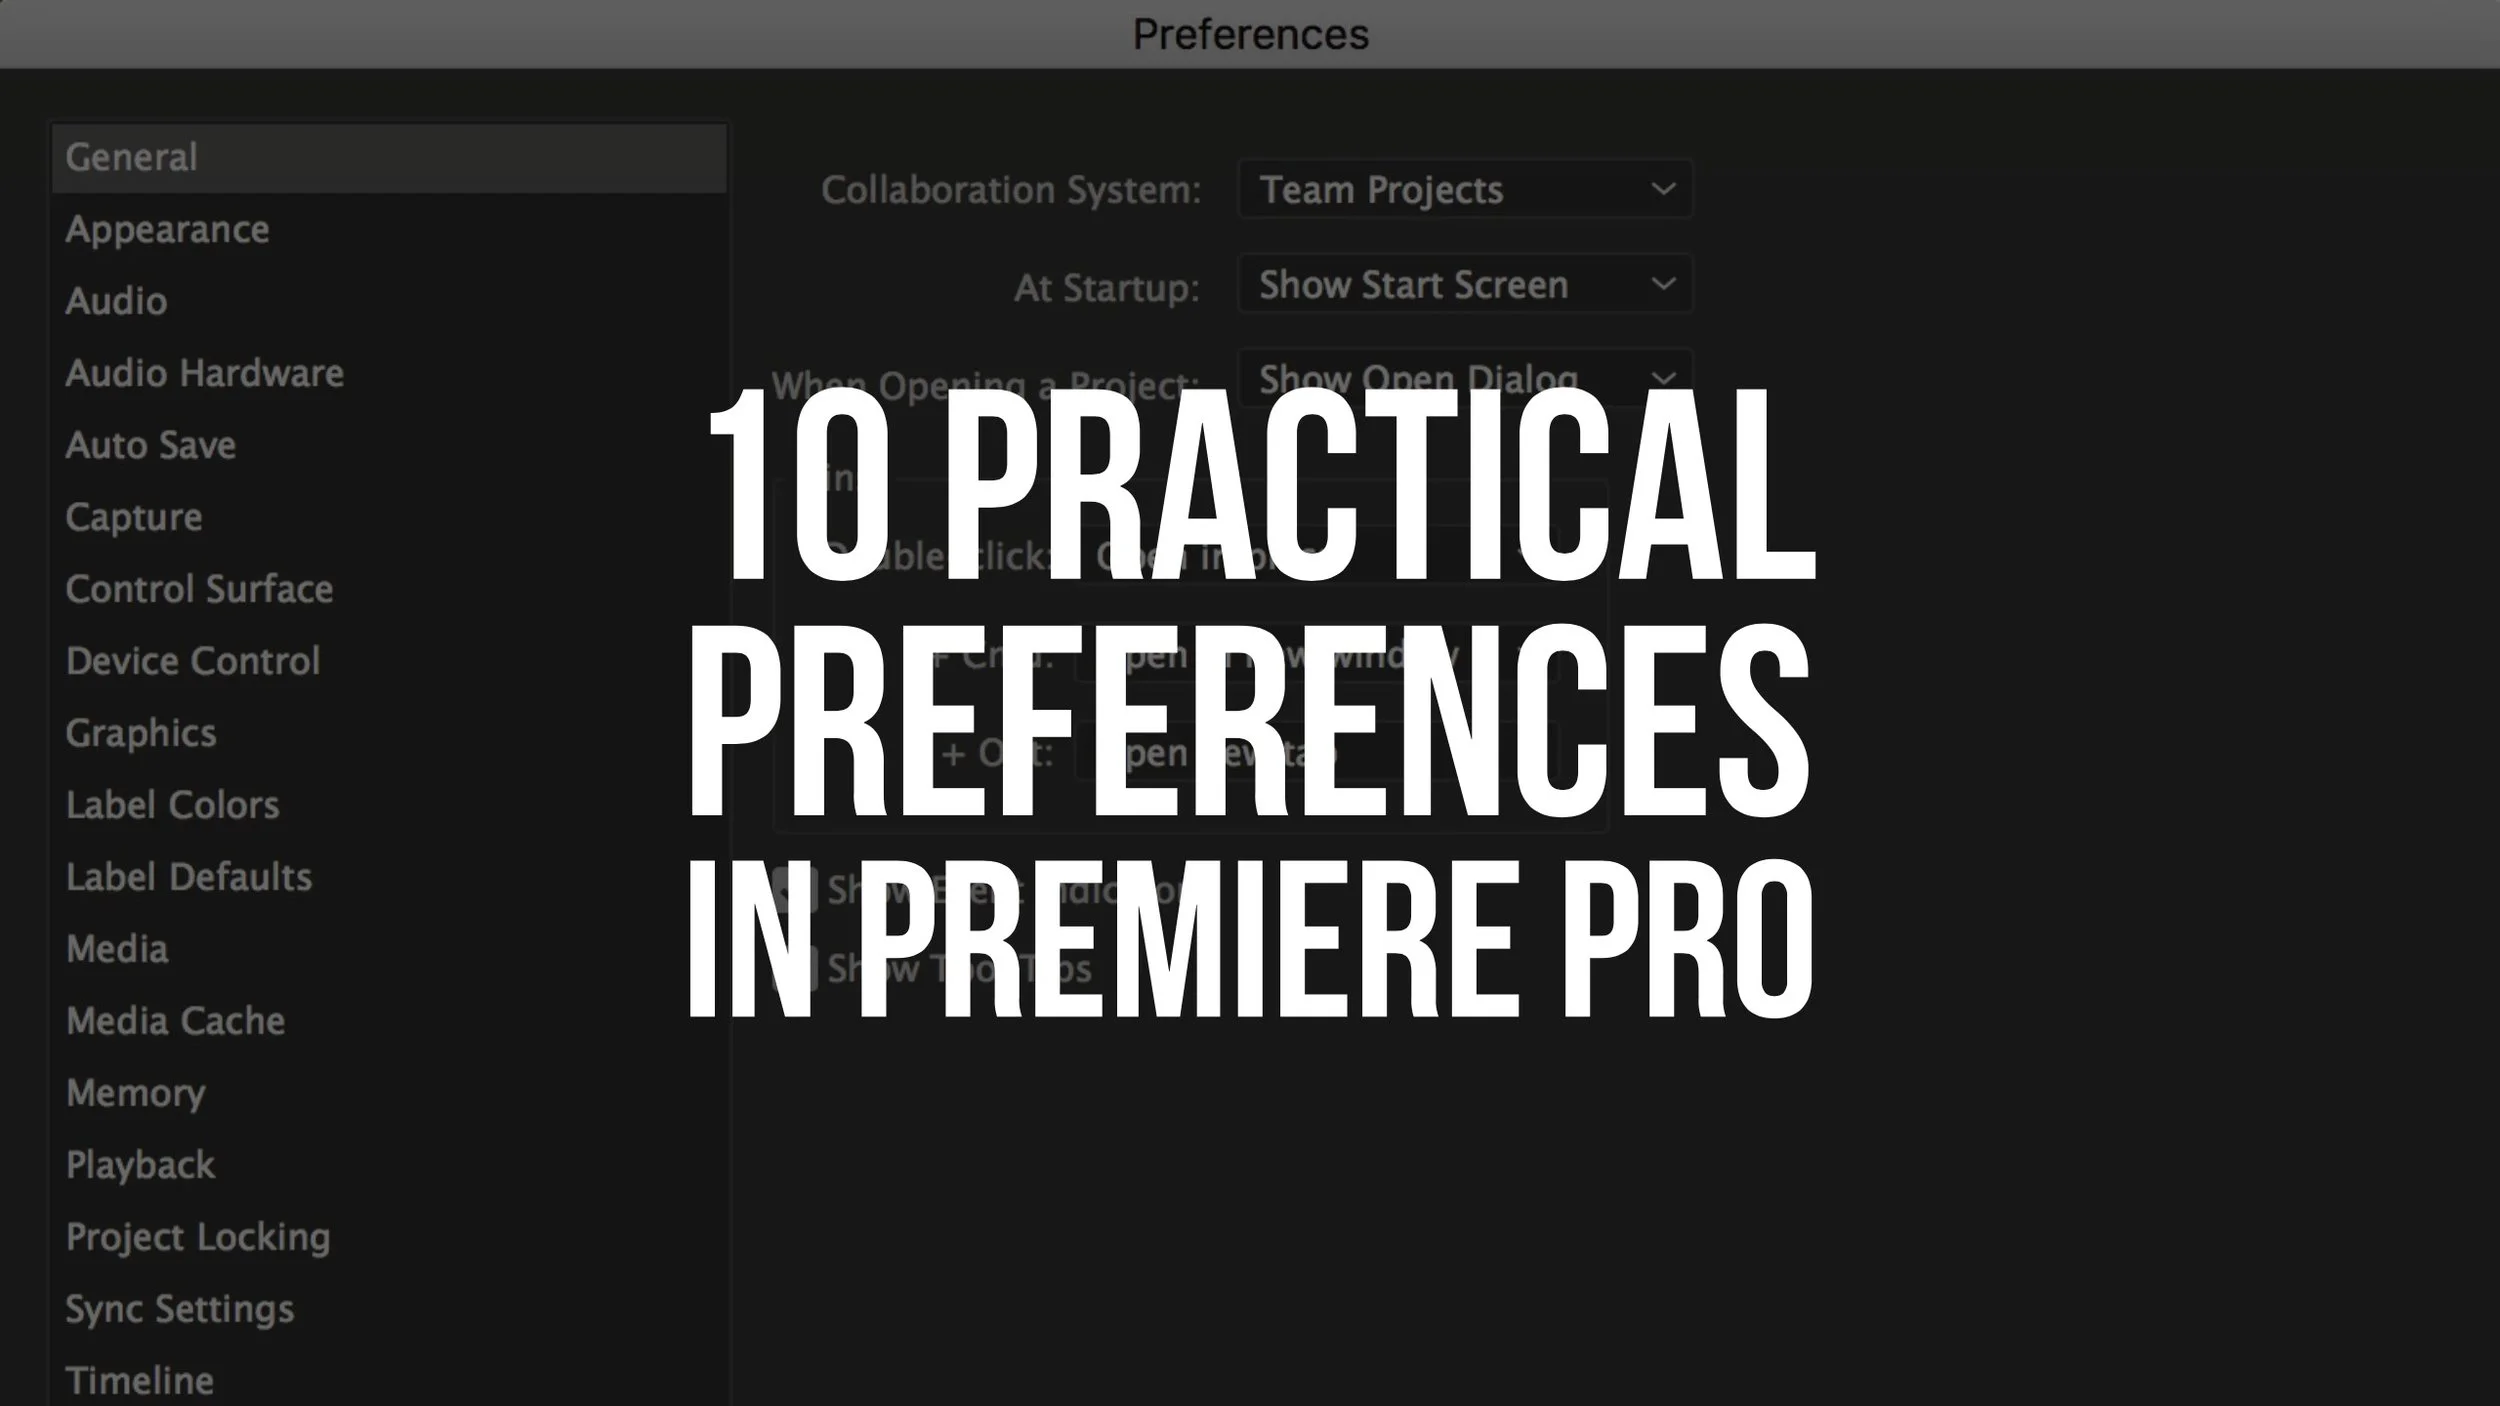
Customize Your Premiere Pro Editing Workflow with These 10 Preferences
The Preferences in Premiere Pro can be a dark place for some editors. But it doesn't have to be. You can brighten the interface under the Appearance preferences. (See what I did there?)
Premiere Pro gives editors a lot of choices when it comes to customizing their editing workflow. The 10 preferences in this blog post are particularly practical, and focus on working with media in the Project and Timeline panels. Understanding these preferences will help you edit faster and more efficiently in Premiere Pro.
The following 10 preferences are listed in the same order they are found in the Preference tabs, starting with General and ending with Trim. This blog post is based on Premiere Pro CC 2017.1 (Spring).
QUICK TIP: Use the default keyboard shortcut (CMD+,) to open Preferences.
1. Bins
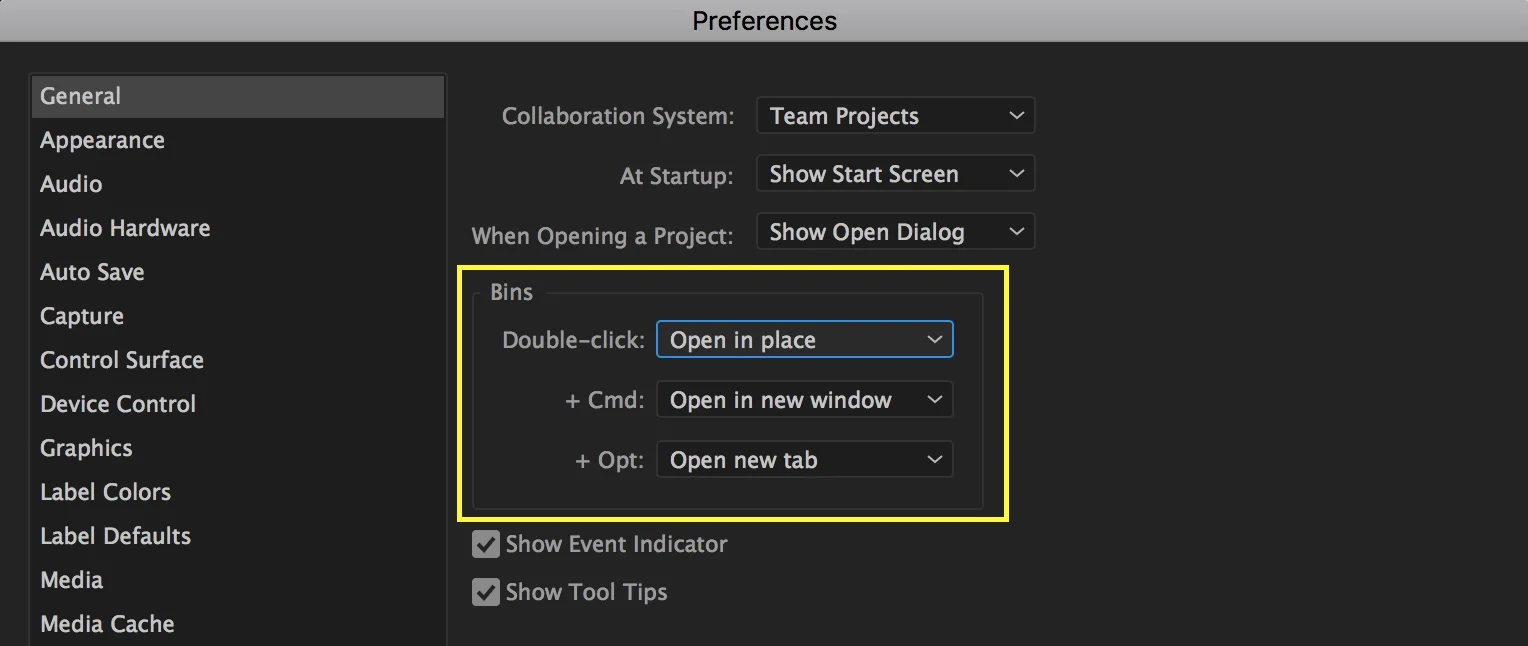
Under the General preferences Premiere Pro gives editors 3 options for opening (double-clicking) bins:
- Open in place - "step into" the bin in the Project panel
- Open in new window - bin opens as floating panel
- Open in new tab - bin opens in a new tab next to the Project panel
Each of these bin options can be assigned to a keyboard shortcut, so you can easily open your bins anyway you want regardless of your preferences.
Your bin preferences will most likely depend on how many bins you have in your project, how deep your bin structure is, and how much screen real estate you have. For example, if you're working on a laptop, you probably don't want bins opening as new windows. Similarly, if you have deep folder structures, you may not want to open new tabs for each bin.
2. Play Audio While Scrubbing & Maintain Pitch While Shuttling

Most of the time you will probably want to hear your audio while scrubbing the Timeline. Otherwise, it can be very difficult finding specific audio such as dialogue or other audio ques. Want to mess with another editor? Uncheck "Play audio while scrubbing" under the Audio preferences.
The pitch of your audio is affected by the speed at which it's played. The faster the speed the higher the pitch, and the inverse is true also. This phenomenon explains why people speak in a low pitch when imitating slow motion. It's a great storytelling effect, but it's not always helpful when editing. That's why Premiere Pro gives you the option to "Maintain pitch while shuttling." So unless you're a fan of Alvin and the Chipmunks, you can keep this box checked.
3. Large Volume Adjustment

With an audio clip selected, you can use the left and right bracket ([, ]) keyboard shortcuts to increase or decrease the volume by 1dB. Adding Shift to either bracket key will perform a "Large Volume Adjustment." You can customize the large volume adjustment at the bottom of the Audio preferences.
QUICK TIP: The small and large audio adjustment keyboard shortcuts change the volume of the whole clip; they do not create new keyframes, even when the Level stopwatch is active.
4. Label Colors and Label Defaults
"I love the default label colors in Premiere Pro." Said no one ever.
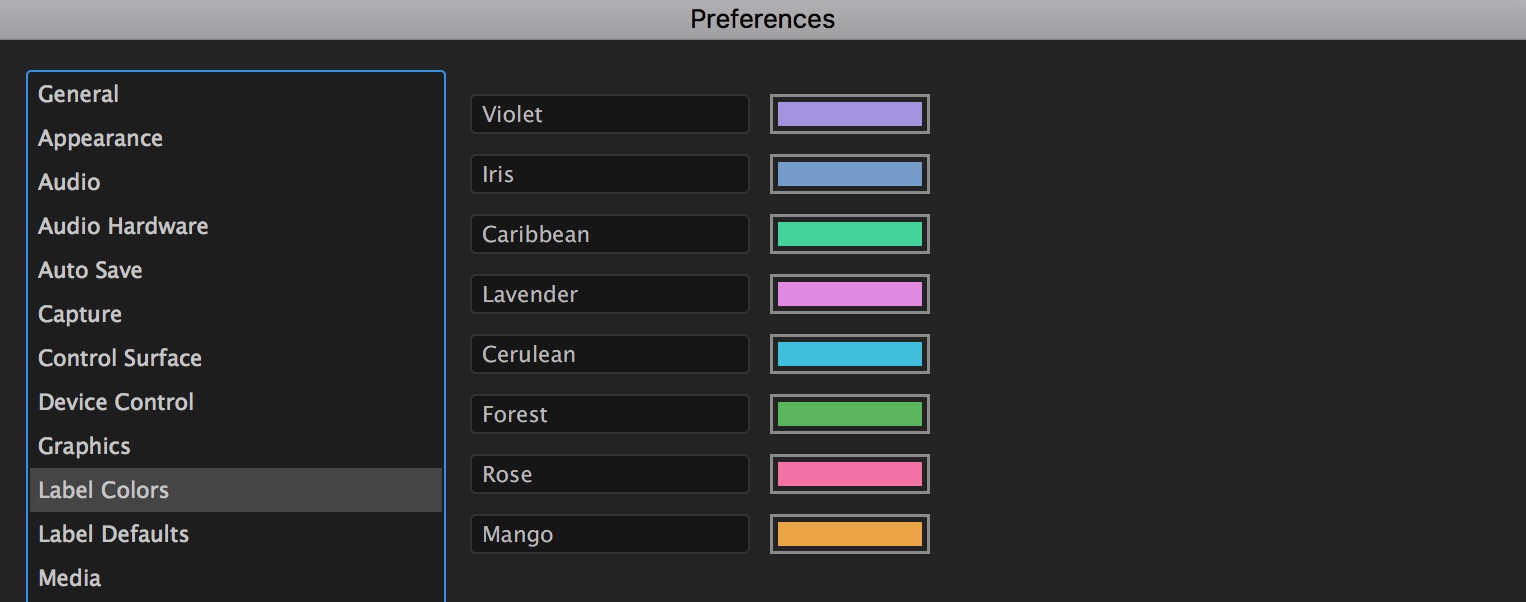
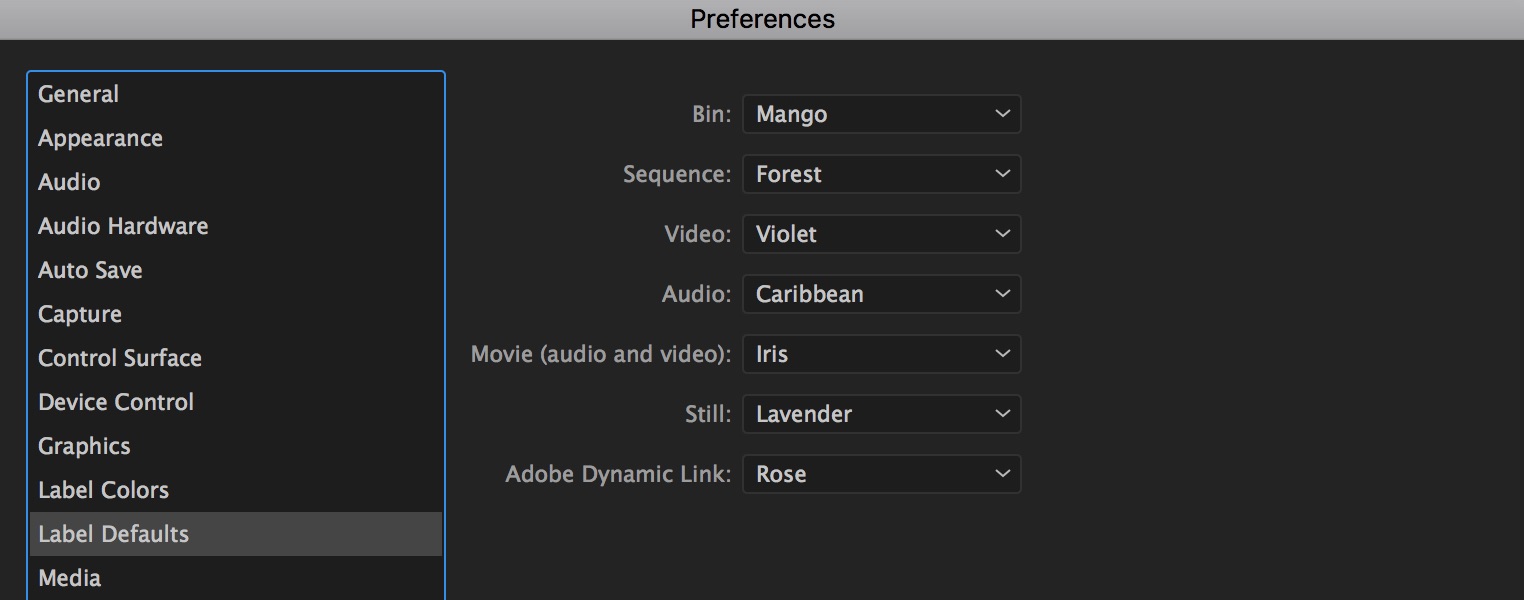
You can change label colors and names under the Label Colors preferences. Click on the color bars to open the Color Picker window, and customize your label colors. Give your label colors accurate names so you can recognize them under the Label Defaults preferences.
One important thing about labels (which actually isn't a preference) is the "Display the project name and label color for all instances" setting under File > Project Settings > General. What this does is keep clip names and labels consistent between the Project panel and Timeline. When this is disabled, you can actually change clip names and label colors in the Timeline without affecting the source clips in the Project panel, and vice versa.
Of course, the most common complaint with labels in Premiere Pro is there aren't enough of them. Please do your fellow Premiere Pro editors a favor and submit a feature request asking for more labels!
5. Preroll and Postroll

When in Trim Mode or when performing a Play Around (Shift+K), Premiere Pro will jump back a specific number of seconds (preroll) and play past the original playhead position for a specific number of seconds (postroll). This contextualizes the edit point and helps you make creative or troubleshooting editing decisions. You can customize the number of preceding and proceeding seconds by changing the Preroll and Postroll preferences under the Playback menu.
6. Step Forward/Back Many

When you add Shift to the left and right arrow keys you can step forward or back many frames in the Timeline. Premiere Pro lets you customize the number of frames for "Step forward/back many" under the Playback preferences. Similar to Preroll and Postroll, it takes experience to know how many frames works best for you. Just remember that "Step forward/back many" is in frames not seconds.
7. Transition and Still Image Default Durations

Audio and video transitions have default durations in Premiere Pro. This means when you apply a transition it will automatically be a specific length. You can customize Video/Audio Transition Default Duration" under the Timeline preferences menu. Notice you can set the duration in either frames or seconds.
To give an example, if you are frequently applying short crossfades to your audio clips, you can shorten the default audio transition duration instead of always having to manually adjust the handles for each transition.
Still images also have a default duration in Premiere Pro. This includes adjustment layers, color mattes, black video, etc. Again, it's a matter of preference; increase or decrease the "Still Image Default Duration" depending on how long you want your still images to be when they're first brought into the Timeline.
8. Set Focus on the Timeline when Performing Insert/Overwrite Edits

When you make an insert or overwrite edit from the Source monitor, Premiere Pro will intuitively select the Timeline panel assuming you want to continue working with your clip. Depending on your editing workflow this can either be helpful or annoying. So Premiere Pro lets you choose whether or not you want "Set focus on the Timeline when performing Insert/Overwrite edits" under the Timeline preferences.
When editing with Pancake Timelines, it's recommended to disable this preference. This is assuming you have loaded your source sequence in the Source monitor, and selected "Open Sequence in Timeline" from the Source monitor settings (wrench icon). In this case, you will most likely want the focus to stay on the Source monitor after an Insert/Overwrite edit so you can continue making your selects.
9. Snap Playhead in Timeline when Snap is Enabled

Have you ever noticed the playhead doesn't snap to edit points, even with Snap enabled? That's because there's a setting for "Snap playhead in Timeline when Snap is enabled" under the Timeline preferences. Check this box if you want the playhead to jump to edit points while scrubbing in the Timeline. Remember, this playhead snapping preference obeys the Timeline Snap (S) setting.
10. Large Trim Offset

When an edit point is selected in Trim Mode (T) you can make large trims by pressing the Trim Forward/Backward many buttons. You can specify how many frames under the Trim preferences. Premiere Pro allows you to set the "Large Trim Offset" up to 99 frames.
QUICK TIP: If you're not in Trim Mode you can use the default keyboard shortcut (SHIFT+Option+Left/Right) to perform a Trim Forward/Backward Many edit.
Hopefully this post help gave you a greater awareness and a deeper understanding of some "practical" preferences in Premiere Pro. Make Premiere Pro work for you by customizing these settings to fit your editing workflow. Which preferences helped you the most? eAre there any preferences you would add to this list? Please share in the comments below!
Want more preferences?...

