
Thumbs Up for Thumbnails in Premiere Pro

How to Use Premiere Pro's Thumbnails as Source Monitors with Master Clip Effects and More!
Think how painful it would be to not have thumbnails. It would be painful to do anything with your hands! Working without thumbnails in Premiere Pro should cause you the same level of discomfort.
Thumbnails are vital to a well-organized project because they are visual representations of your media, and visuals are important in video editing.
This tutorial will help you get more out of thumbnails in Premiere Pro. We are going to be looking specifically at five Project panel settings:
- Preview Area
- Thumbnails
- Thumbnails show effects applied
- Hover Scrub
- Thumbnail controls for all pointing devices.

Preview Area

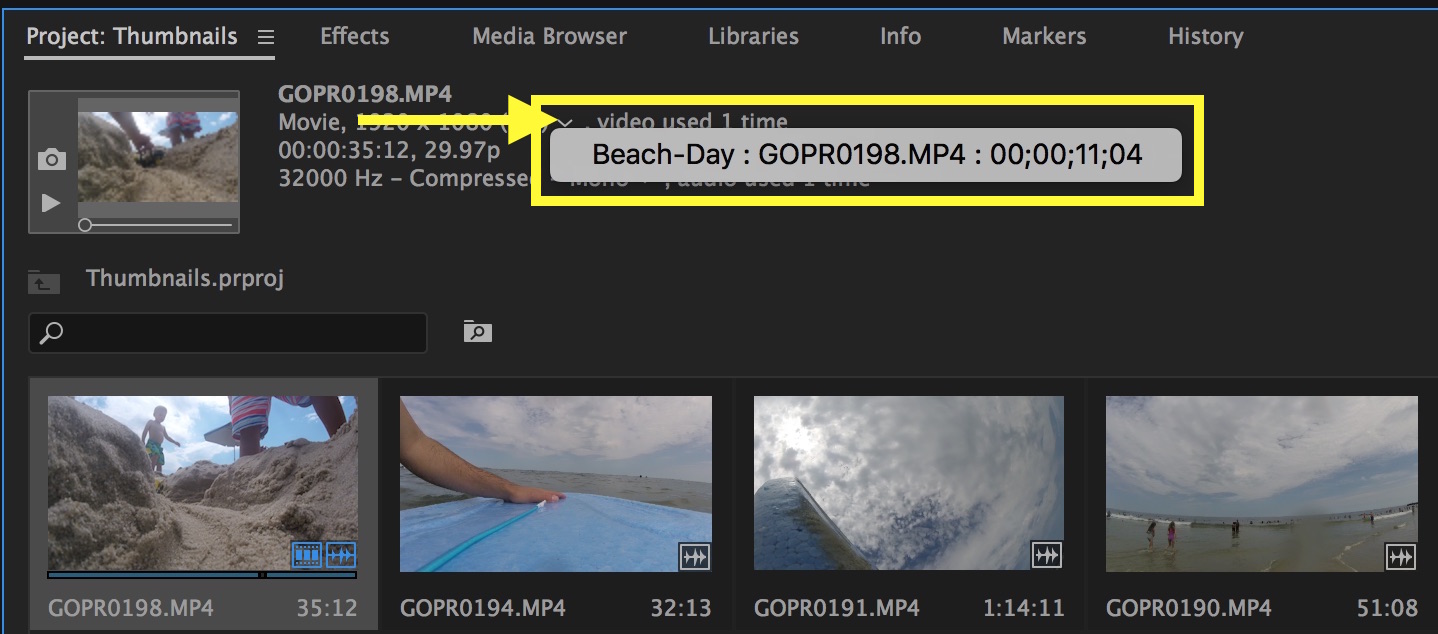
Believer it or not, this is an area where you preview media. Seriously though, the Preview Area is a quick way to view the most important information about your media, such as:
- media type
- resolution
- video usage
- duration (respects in and out points)
- frame rate
- audio info (if applicable)
- audio usage
TIP: Preview Area Video Usage - Click the video and audio usage disclosure triangles to see all the sequences a clip has been used in. It will also tell you the clip's duration in each sequence.
Select a Custom Thumbnail (Poster Frame)
An accurate thumbnail can help you recall what's in your shot. By default, the first frame is used as the clip's thumbnail, or "poster frame" as it's referred to in Premiere Pro. But the first frame is hardly ever the most important part of a clip. Use the Preview Area to select custom thumbnails that better represent your shots.

Press the play icon or drag the slider to preview the clip. Click the camera icon to save the current frame as the new poster image. The new thumbnail will be visible in the Project panel.
When you're editing on a laptop where screen real estate is crucial, the Preview Area is one of the first things to get cut. But when editing on a desktop, especially with multiple monitors, the Preview Area is a really helpful aide.
Thumbnails
Thumbnails replace Premiere Pro's default media icons with a screenshot of your clip. This allows you to quickly visually identify your media. As previously mentioned, the default thumbnail for a video clip is the first frame; for audio it's... womp, womp. No audio waveform thumbnail?!
STOP whatever you're doing (reading this post) and submit a feature request for audio waveform thumbnails RIGHT NOW!
Thumbnails in List View
At the bottom left hand side of the Project panel you can switch between List and Icon view. When in Icon view, thumbnails are automatically turned on. But did you know you can have thumbnails in List view as well?
When in List View, simply turn on Thumbnails (off by default) in the Project panel settings.

Use the slider at the bottom of the Project panel to increase the size of the thumbnails.

Thumbnails Show Effects Applied
As of Premiere Pro CC 2015, thumbnails can show effects applied to clips. This means if you've applied a Lumetri Color effect, for example, it will be reflected in the clip's thumbnail. This can be useful for distinguishing similar clips.
Show Clip Names on Thumbnails
You can get real creative with Thumbnails Show Effects Applied. Let's say you want to see clip names in your thumbnails. You can do this with the Clip Name effect.
First, you need to understand Master Clip effects in Premiere Pro. These are effects applied to the master clip or "parent clip" as opposed to clip instances in the Timeline. When a master clip effect is applied, all instances of that clip in the Timeline will have that effect.
Two Ways to Add a Master Clip Effect:
- Select the clip in the Timeline, go to the Effect Controls panel, and switch to the Master Clip effects tab in the upper left hand side. Apply your effect.
- Drag the effect onto your clip(s) in the Project panel.
Of course, option number two is best for applying Master Clip effects to multiple clips. Clips with Master Clip effects applied will have a red line under the clip fx badge in the Timeline.
Apply Clip Name Effect as a Master Clip Effect
Now that we understand Master Clip effects, search for Clip Name in the Effects panel. Drag it onto your clips in the Project panel to add it as a Master Clip effect.

Voila! You can now view the clip names directly in their thumbnails.

But aren't clip names directly below the clips? Yes, but here's where it gets crazy cool. By default, the Clip Name effect shows the Sequence Clip Name, but you can switch to any of the following:
- Sequence Clip Name
- Project Name
- File Name
For example, you could rename clips in the Timeline, and those names would appear in the thumbnails without changing the project clip name and vice versa. Alternatively, you could rename the Project clip name, but still view the original file name in the thumbnail. There's other possibilities too. Any workflow junkies excited about this?
NOTE: Be sure to disable the "Display the project item name and label color for all instances" setting under File > Project Settings > General. If this is checked, Premiere Pro will keep clip names and label colors synced between the Project panel and Timeline, and you will not be able to rename them independently.

Obviously, you don't want to export your final video with clip names. It's easy to disable Master Clip effects. Select your clips in the Project panel, right-click and choose "Disable Masterclip Effects."
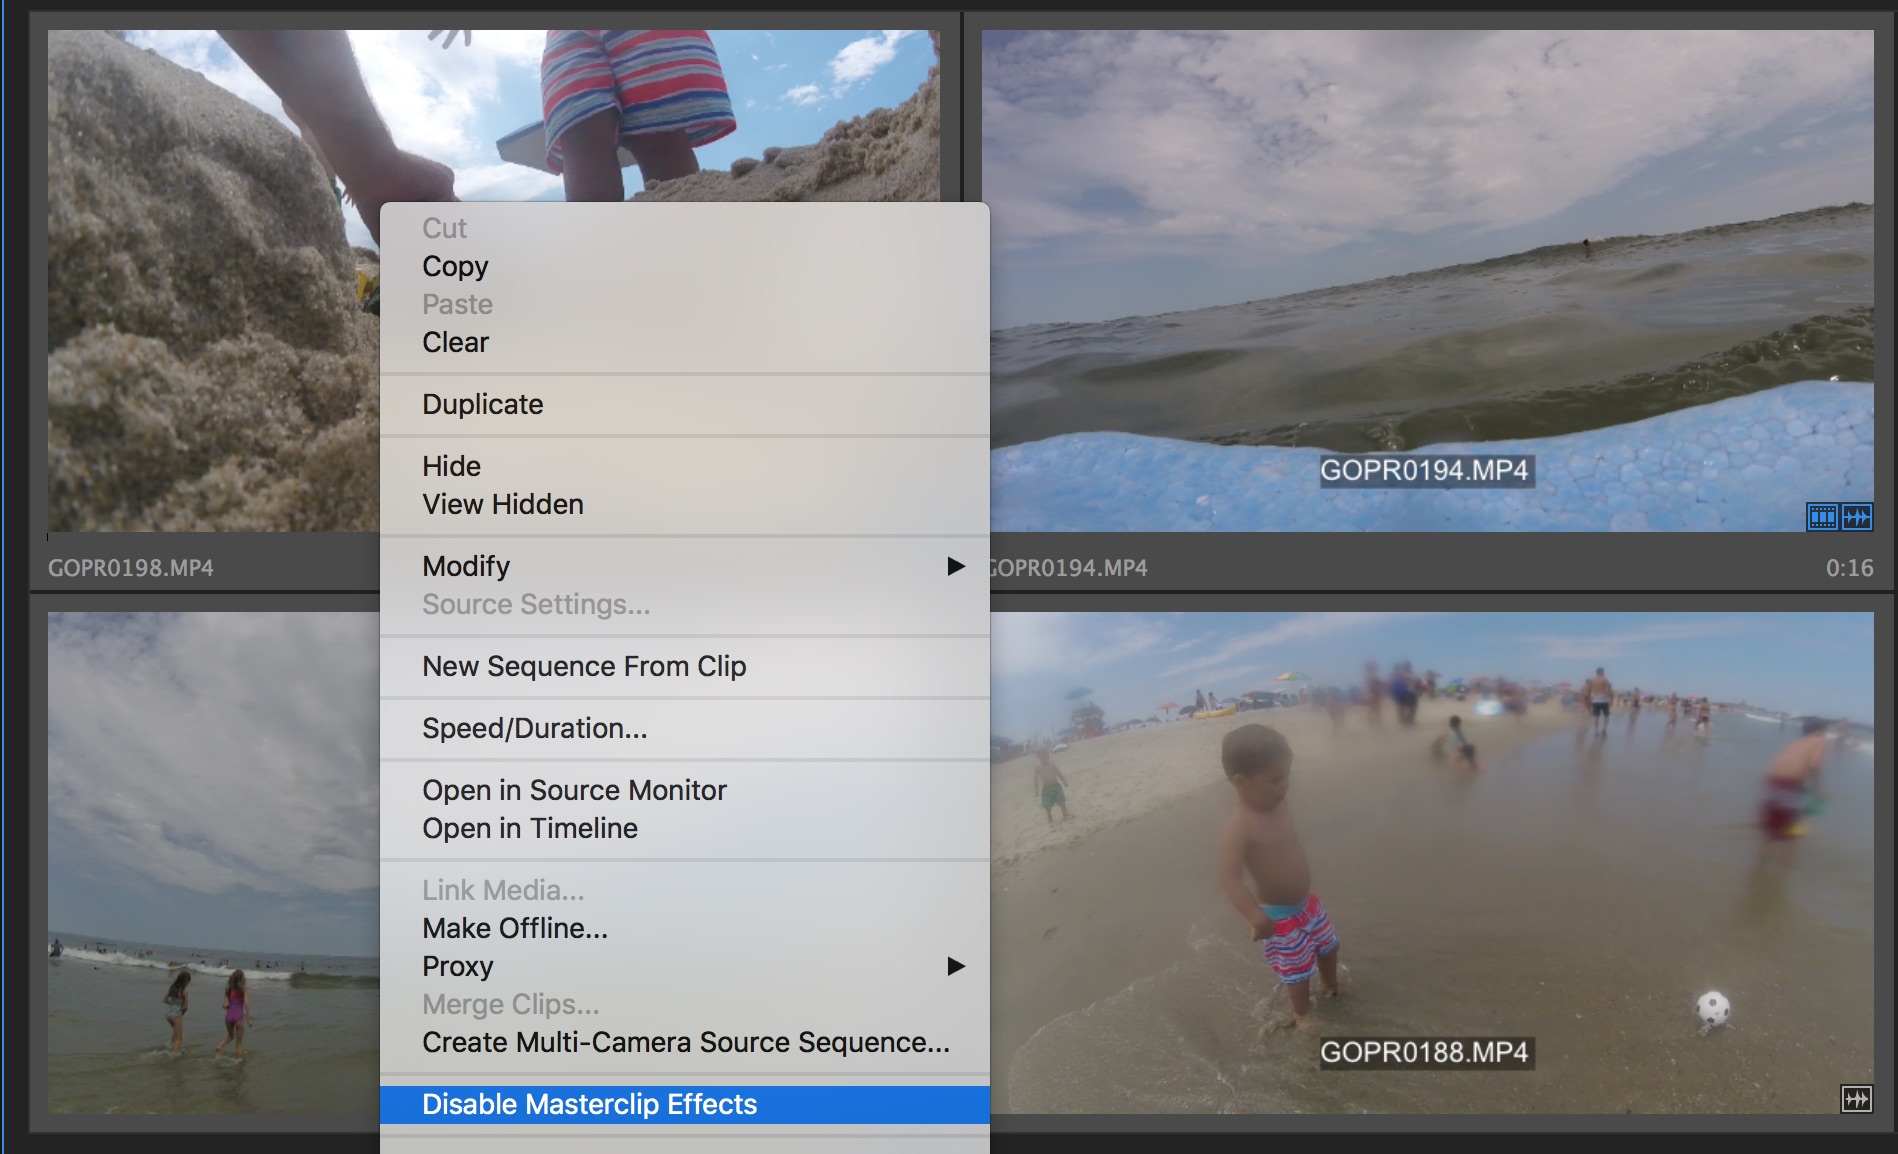
WARNING: At the time of this writing, there is no option to "Re-enable Masterclip Effects." If you disable Master Clip effects on hundreds of clips, and later decide you want to re-enable them, you're better off re-applying the effect. Otherwise, you'll have to turn on the Master Clip effect for each individual clip.
This appears to be an oversight on Adobe's part. Please, please encourage them to fix this by submitting a feature request.
Hover Scrub
Hover scrubbing lets you preview your clip by moving your cursor back and forth over the thumbnail. The clip will play at the speed of your cursor. This allows you to quickly view a clip's contents without having to open in it the Source monitor or Timeline. This can be really helpful for finding something in GoPro or drone footage, or when working on a production where they "let the camera run."

NOTE: One thing that needs to be changed is you can't hover scrub once the clip is selected. What's up with that? Please submit a feature request to get this changed!
Did you know you can set in and out points while hover scrubbing? Use the keyboard shortcuts I (In) and O (Out) to set your points. Just remember to not click the clip because you won't be able to hover scrub once the clip is selected. (You can click and drag on the thumbnail playhead that appears when the clip is selected.)
If you want to clear your in and out points, select the clip and use the keyboard shortcut Opt+X. You can also use Opt+I and Opt+O to clear individual in and out points
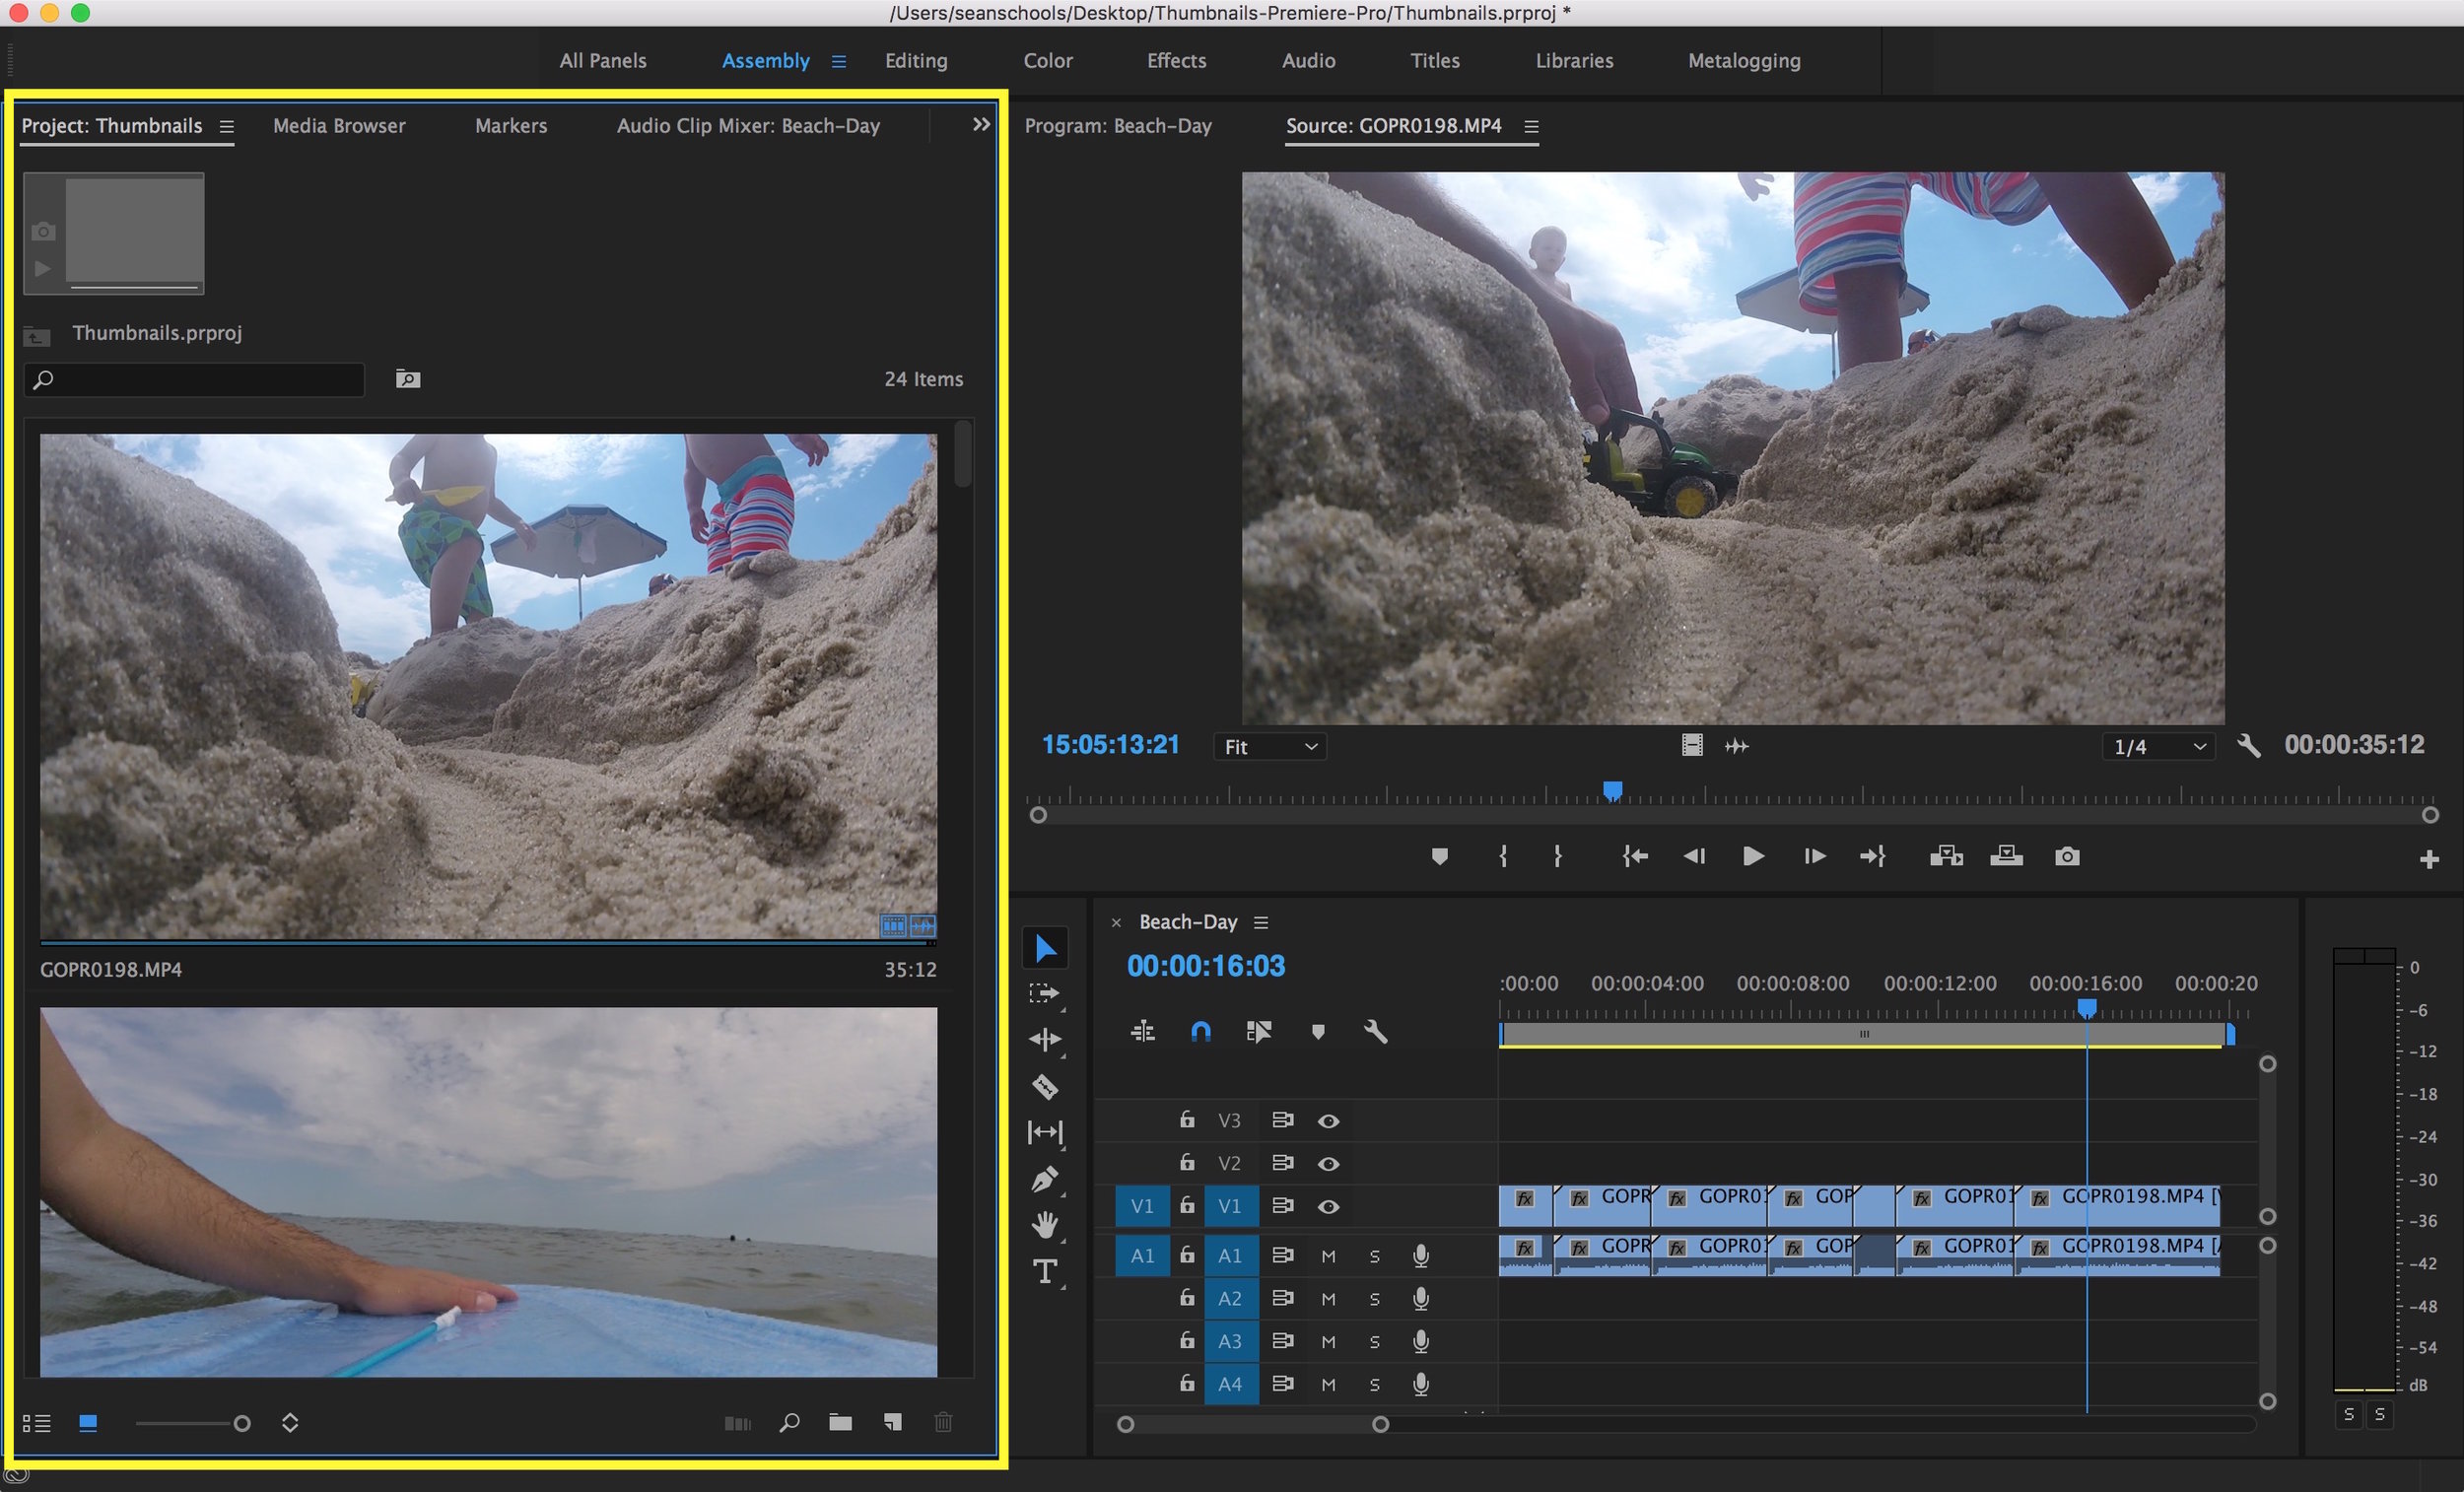
Thumbnails as Scrolling Source Monitor
Some Premiere Pro editors will use thumbnails in place of the Source monitor for setting in and out points on their clips. This method eliminates the process of opening each clip in the Source monitor. Instead, use thumbnails to scroll from clip to clip, hover scrubbing, and setting in and out points. You can even perform Insert (,) and Overwrite (.) edits directly from the Project panel to the Timeline!
First, double-click a bin to open it in a new tab or new window.
TIP: Bin Preferences - When you double-click to open a bin, they will open in place, as a new tab, or in a new window depending on your preferences. Customize bin preferences under Preferences > General.

Make sure you are in Icon view, and use the icon size slider to make the thumbnails as big as possible. Your clips should now fill the entire Project panel, essentially creating a scrollable Source monitor. You can resize the panel to your taste.
Hover scrub over the thumbnails, and set in and out points.
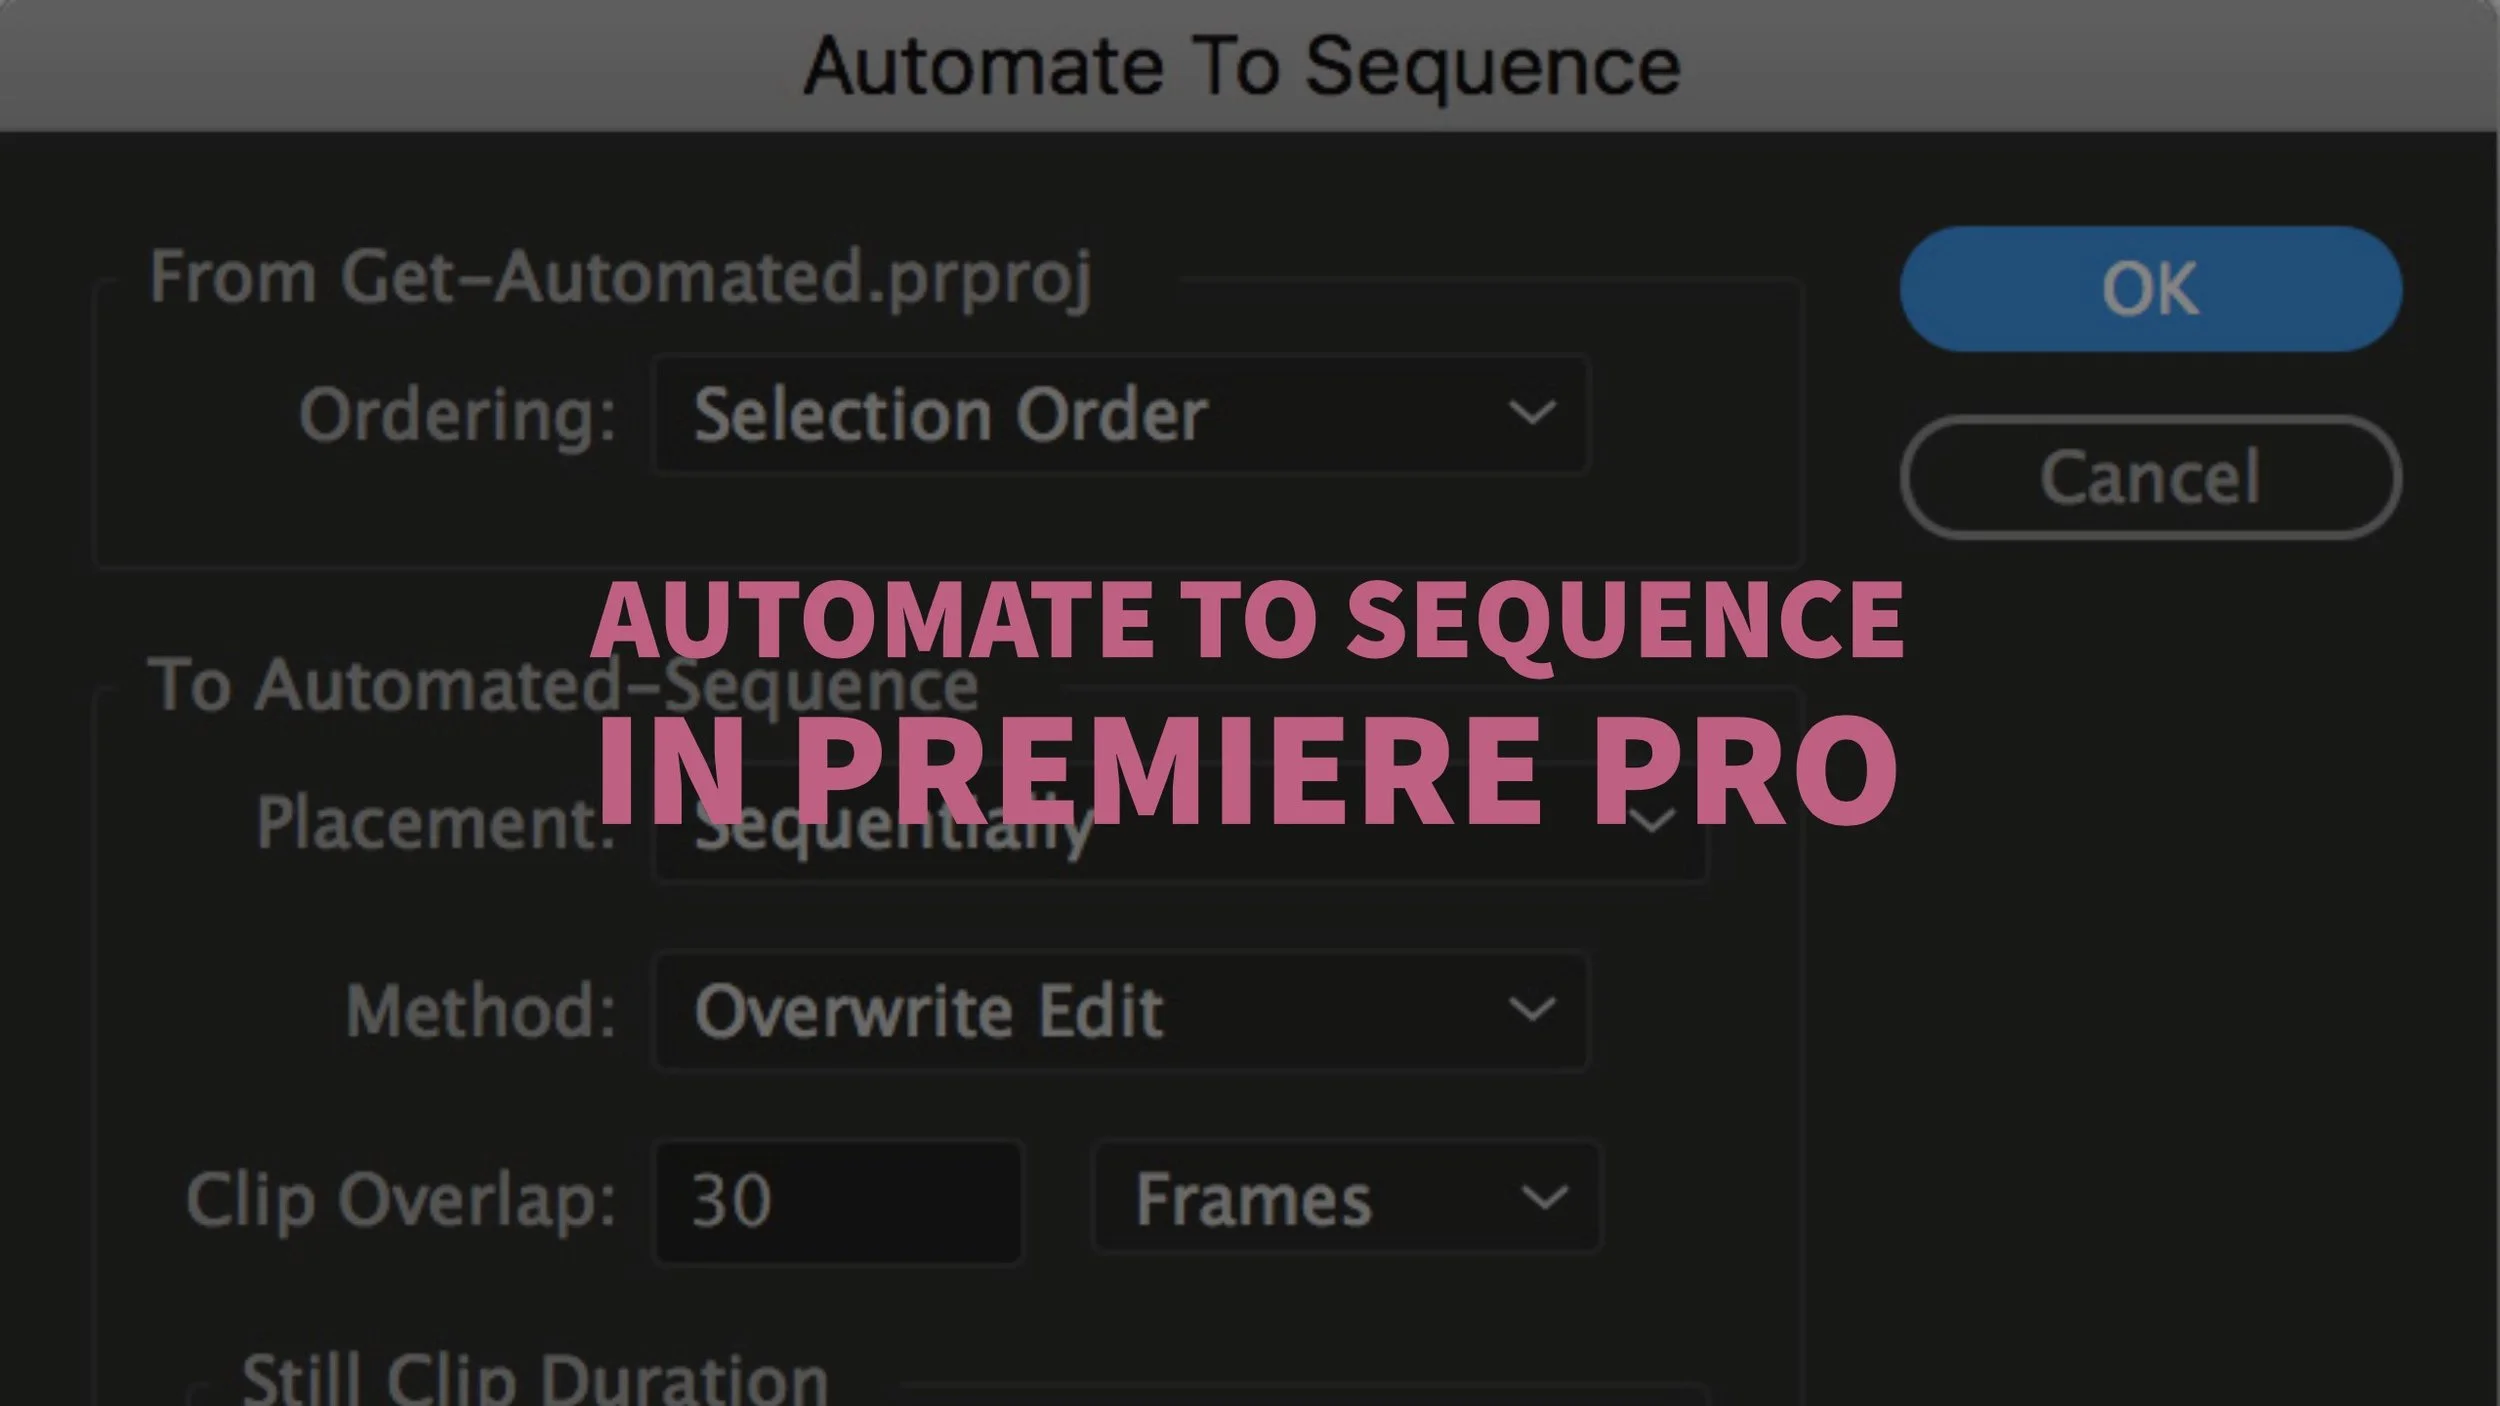
Once you've finished marking your clips with ins and outs, you can drag them into your Timeline, Insert or Overwrite them, or Automate to Sequence.
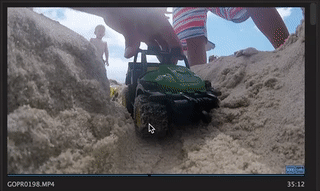
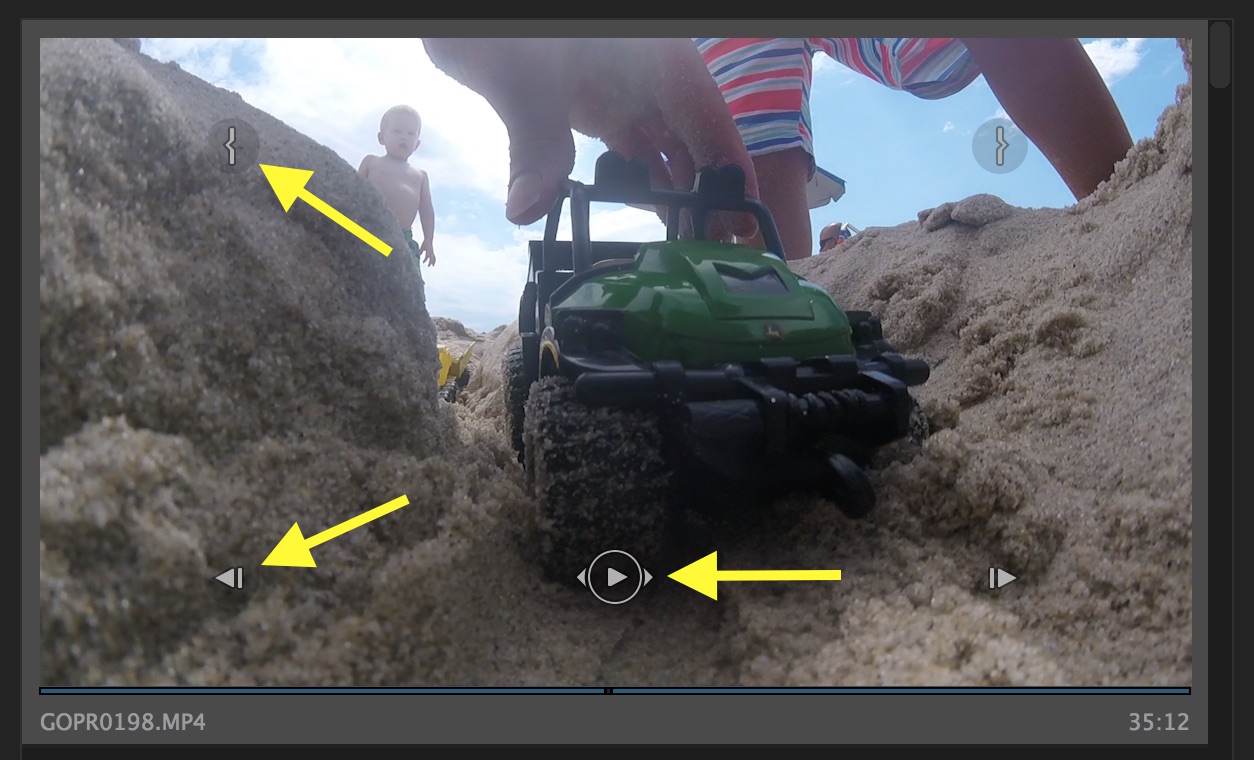
Thumbnail Controls For All Pointing Devices
Thumbnail controls are primarily intended for touch and gesture devices. But did you know they also work on a desktop or laptop as well? You can click on the thumbnail controls with your mouse or trackpad.
NOTE: At the time of this writing, when Thumbnail Controls or Hover Scrub is on, Master Clip effects are visible even when Thumbnails Show Effects Applied is disabled. Submit a bug report to fix this.
In a way, Thumbnail Controls offer a workaround for the inability to hover scrub a selected clip. With the thumbnail controls active, you can click and drag back and forth on the play button to scrub the clip. With the clip selected, you can drop an in point, scrub the clip, and set an out point with the thumbnail controls.

TIP: J/K/L Shuttle Thumbnails - You preview selected clips in the Project panel with the J/K/L shuttle keys, same as you would in the Source monitor.
Hopefully this post is worth two enthusiastic thumbs up! Are there any other clever ways of working with thumbnails in Premiere Pro? Let's talk in the comments below! Also, don't forget to submit some of the feature requests in his post. There are four of them!

