
Hiper Commercial
Edited by: Jimmy Falinski
Credits:
- Production Company: Nobody Cph
- Director: Christian Lyngbye
- Colorist: Lasse Marcussen
- Director of Photography: Peter Riis
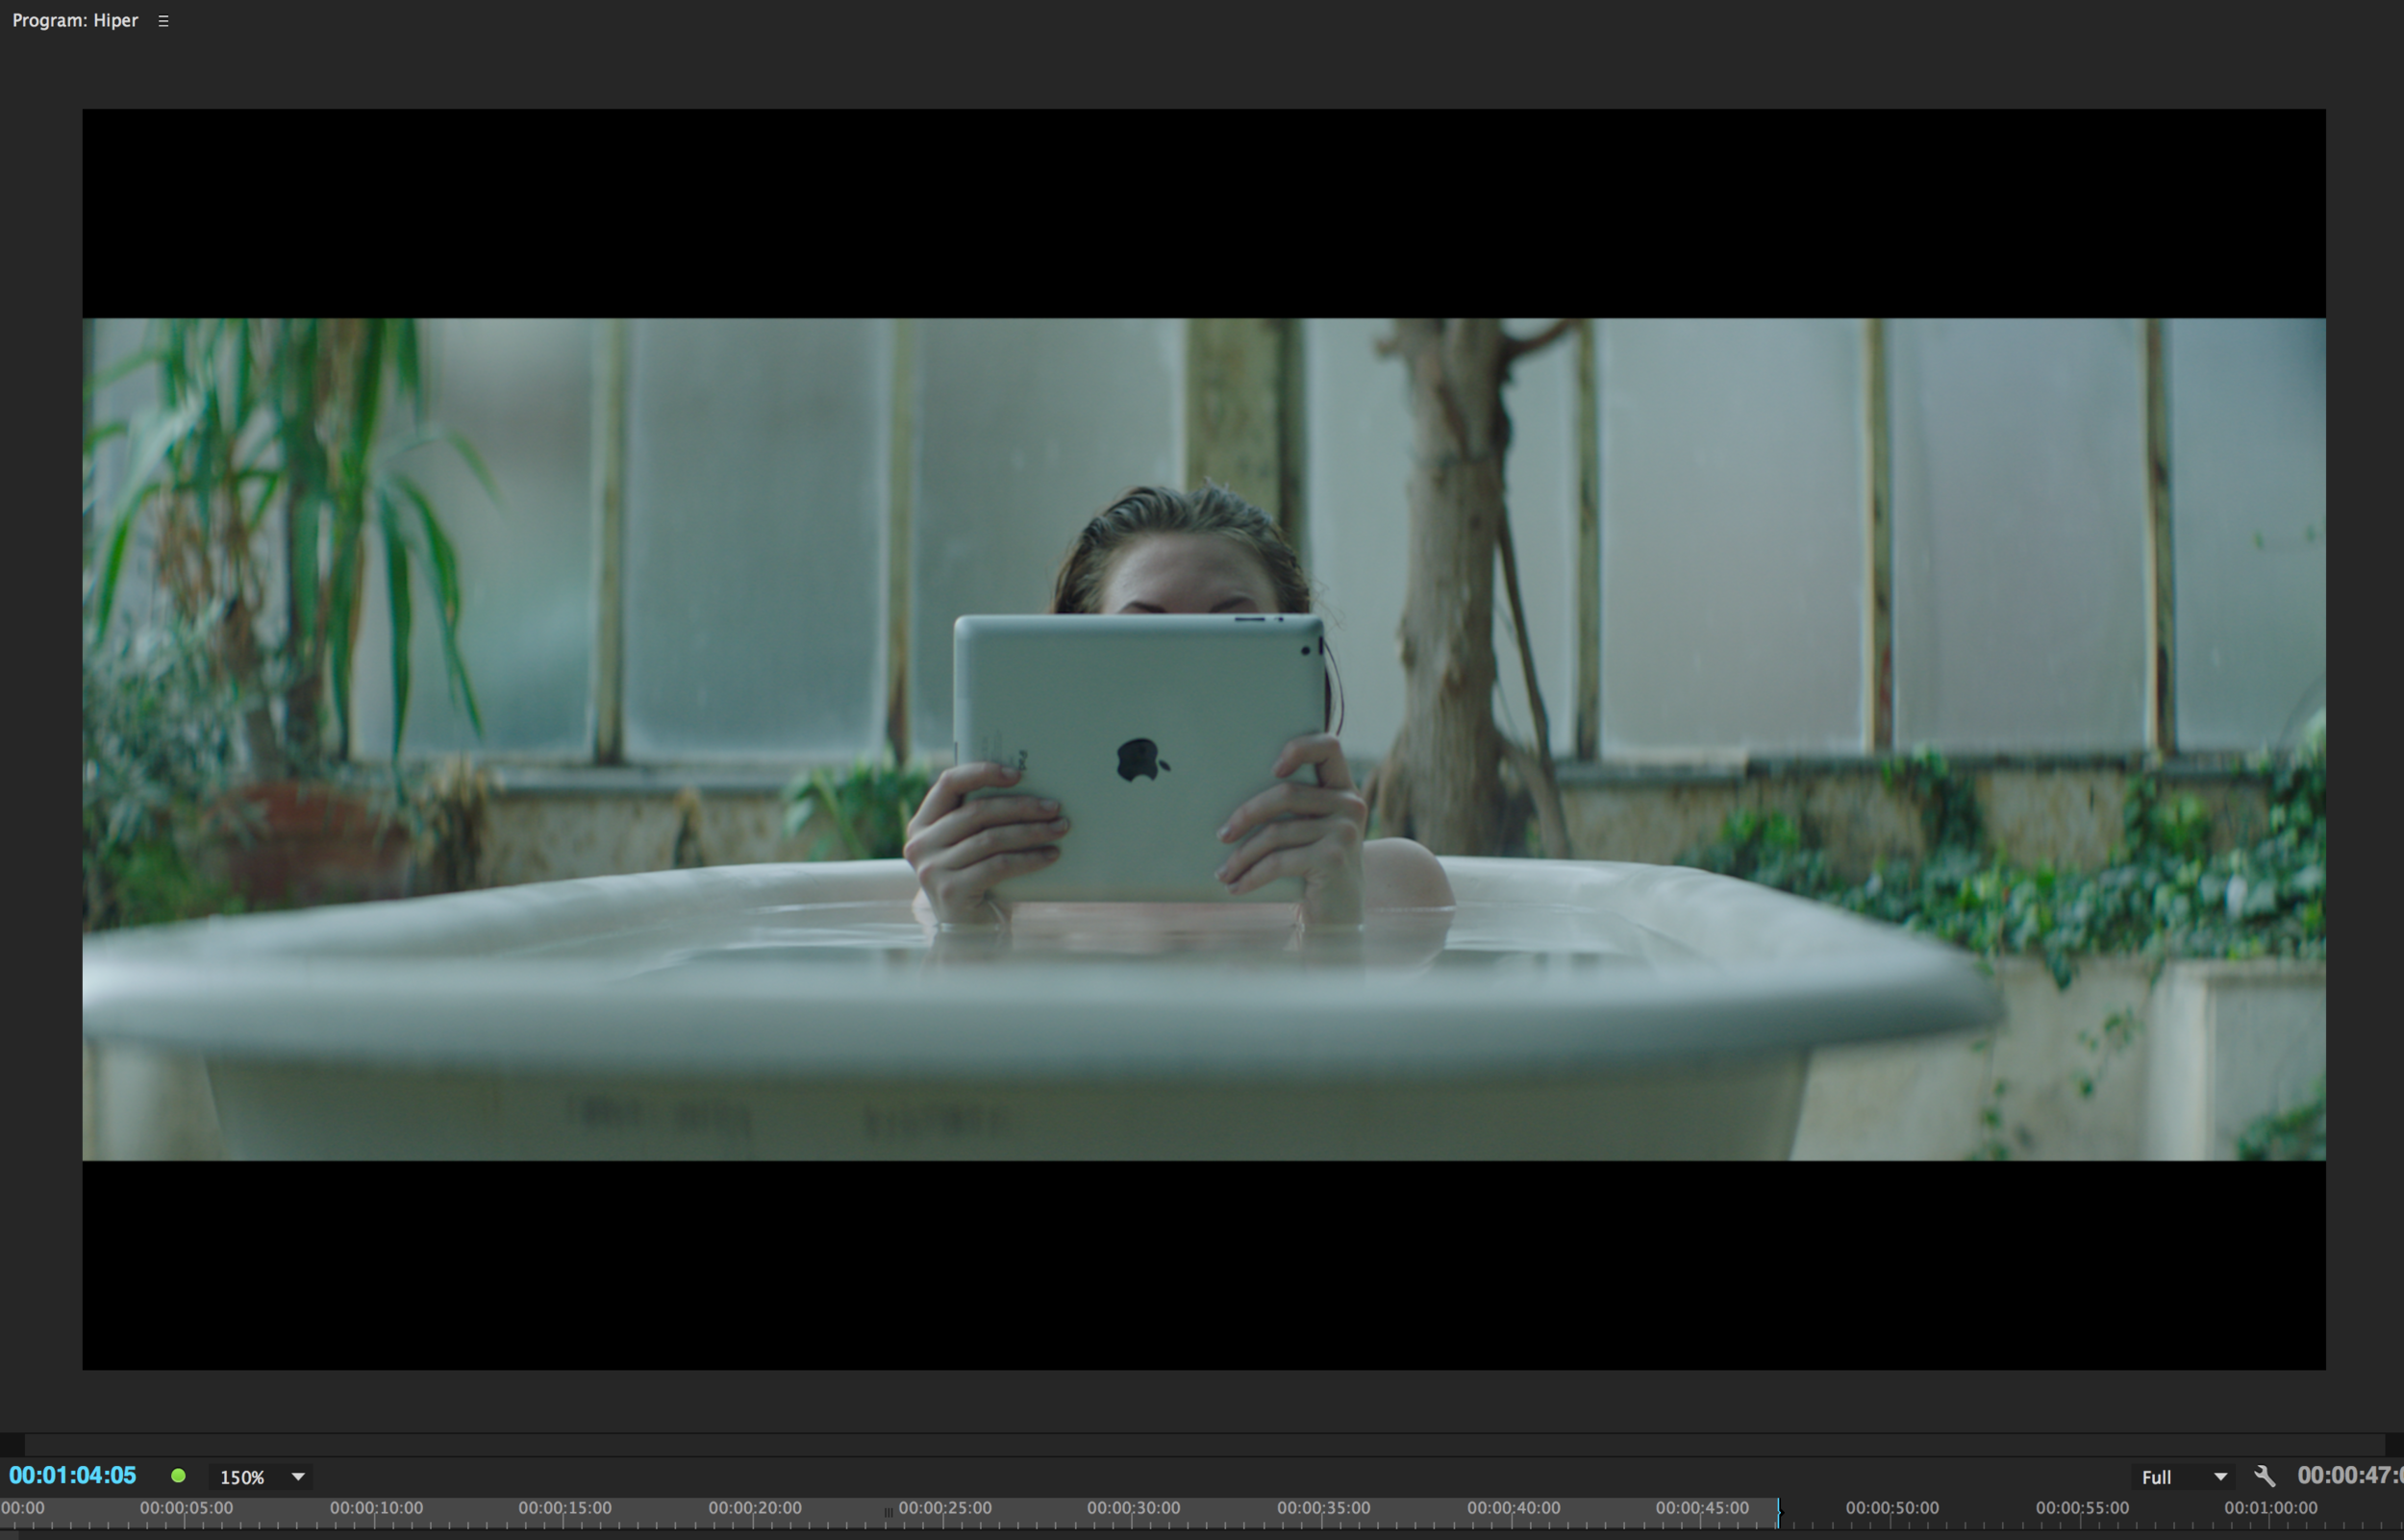
Editing Anamorphic 2:1 Footage in Premiere Pro
"I did the offline editing for this new commercial for a Danish broadband company.
Director of Photography was Peter Riis, who shot it on the Arri Alexa with LOMO anamorphic lenses in 2X anamorphic 4:3 mode.
For correct aspect ratio viewing, I conformed the footage to Anamorphic 2:1 via the Interpret Footage menu. I used the Modify - Interpret Footage, Pixel Aspect Ratio, Conform to: Anamorphic 2:1 setting under the clip menu. I cut in a HD 1080P timeline to have room for rescaling/reframing."


Shooting Anamorphic with the Arri Alexa XT
Visit the Arri Alexa XT features page for more information about shooting anamorphic in the Arri 4:3 sensor mode. The following quote was taken from the Arri Alexa Mini SUP 3.0 3.1 release (2/22/16). These technical specifications also apply to the Arri Alexa XT and provide insight into the footage used in this commercial. For example, the white 32-pixel boundary described below can be seen in the original anamorphic images above.
“SUP 3.0 contains a public beta release of the 4:3 ProRes 2.8K recording mode and a 2x anamorphic desqueeze for all EVF and monitoring outputs.
Please not that while the image resolution for 4:3 2.8K is 2880 x 2160 the recorded resolution is 2944 x 2160. The additional border is due to the ALEXA Mini’s ProRes encoder that handles multiples of 128 more efficiently. The remaining 32-pixel boundary left and right to the image is filled with white pixels in the Beta and will be black in the final release. The active image are is flagged in Quicktime meta-data. Please make sure the extra border is cropped off the image prior to scaling the image as the scaling operation may spill white border pixel into the active image area.”
Tutorial: Conforming 4K Anamorphic Footage in Premiere Pro CC
For a step-by-step video tutorial, watch Eduardo Angel demonstrate how to use the Interpret Footage menu to de-squeeze anamorphic footage shot on the Panasonic GH4 with the 2.2 firmware which was released April, 2015.
Got a video edited in Premiere Pro? Share it with Premiere Bro! Submit a link to your video to have it considered for the Premiere Promos page. Just include a Premiere Pro tip, workflow description and project screenshots!


