All in Color

Larry Jordan: The Current State of HDR in Apple FCP X and Adobe Premiere Pro CC

Not sure where the development of HDR stands? Not sure what HDR is? Legendary trainer, Larry Jordan, shares not only what HDR (High Dynamic Range) is, but also the challenges facing post-production HDR workflows and mainstream HDR consumption. At ~6:05 Larry discusses the current state of HDR support in Premiere Pro CC.

Current support for HDR (High Dynamic Range) media is a series of small steps down a very long path. Current issues include monitoring, color grading, compression and distribution. In this short video, Larry Jordan explains the current state of HDR (High Dynamic Range) media in both Final Cut Pro X and Adobe Premiere Pro CC. He explains where we are now and where we are headed. —Larry Jordan

Source: https://larryjordan.com/articles/the-current-state-of-hdr-in-apple-final-cut-pro-x-and-adobe-premiere-pro-cc-video

CasualSavage: Hollywood Film Look in Adobe Premiere Pro CC

Fan of the "Hollywood" look? Watch how YouTuber, Casual Savage creates his version of the Hollywood cinematic look in Premiere Pro. First, he applies the "Cinespace 50" Lumetri preset. Interestingly enough, Casual Savage uses the Fast Color Corrector for the actual color correction. 

How To: Hollywood Film Look in Adobe Premiere Pro CC! In this video, I will be showing you how to create Hollywood film look in Premiere Pro CC. If you want to apply this effect to more than one clip, I recommend creating an adjustment layer and adding on all of the effects to that. —Casual Savage

Share: https://youtu.be/pToHr0saVV4

Casey Faris: How To Color Grade GoPro Hero 5 Footage - Tips on Protune Color Correction

Got yourself a GoPro HERO 5? Been playing around with the ProTune settings? Want to see how to color correct your GoPro HERO 5 footage in Premiere Pro CC? (Tired of the questions?) Watch, Casey Faris in this video tutorial as he gives a couple pointers on GoPro HERO 5 Protune settings and color correction tips in Premiere Pro CC.

Here are some tips on how to get nice colors in post with footage shot in Protune on Hero 5 Black, Hero 5 Session, Hero 4 and more! —Casey Faris

Source: https://youtu.be/T_qufFtYSfU

Premiere Gal: Sky Replacement in Adobe Premiere Pro CC

Want to add a little pop to your sky? In this video tutorial, Kelsey Brannan a.k.a. Premiere Gal, shows how to use the Title Designer in Premiere Pro CC to make color adjustments to a sky. This is a technique learned from Adobe Premiere Pro master trainer, Jarle Leirpoll

Buy Jarle Leirpoll's book: "The Cool Stuff In Premiere Pro" http://premierepro.net/coolstuff 30% off using code: MAX —Kelsey Brannan, Premiere Gal

Source: https://youtu.be/op00Gd7UlJM

VideoRevealed: Simple White Balance Fix in Adobe Premiere Pro

In this video tutorial, Colin Smith of VideoRevealed gives us tour of the WB (White Balance) Selector in the Lumetri Color Panel in Premiere Pro CC. Learn how to white balance a shot using the the eyedropper, and then finesse the results using the Temperature and Tint sliders. Colin also reveals a handy keyboard shortcut to sample a larger area with the white balance eyedropper.

The White Balance Selector in the latest version of Adobe Premiere Pro makes white balance a one click job. The auto setting adjusts the Temperature and Tint controls which means is doing the same thing a professional colorist would do to get a neutral video! —VideoRevealed

Source: https://youtu.be/sgr56csH5QQ

Screenlight: An Exploration of the Lumetri Panel Part 1

Dive into the Lumetri Color panel in part one of this two-part Screenlight blog post with certified Adobe Premiere Pro trainer Nick Harauz. He goes over how to access and manage the panel, as well as how to understand the Lumetri Scopes and master clip effects. This is a wonderful introduction to color correction using the Lumetri Color panel in Premiere Pro CC. Stay tuned for part two!

Premiere Pro comes with several color correction tools to help enhance your footage. Over the last few Creative Cloud updates these features have drastically expanded. One of these additions is the Lumetri Color Panel. It combines SpeedGrade and Lightroom technology to bring sophisticated color correction right inside of Premiere Pro. The best part about it is no matter what background you come from (ie: photography, motion graphics, editing) there are tools inside to make you feel right at home for correcting images. —Nick Harauz, Screenlight Blog

Source: https://screenlight.tv/blog/an-exploration-of-the-lumetri-panel-part-1

Studio 360 VR: Secondary Color Correcting 360-Degree Video In Premiere Pro CC

As VR and 360° video continues to take off, we will begin to see more emphasis on color and visual effects workflows. Watch this Studio 360 VR tutorial by Marcelo Lewin on how to color correct a 360° video in Premiere Pro CC. It's actually quite simple, but Marcelo points out a couple important things you need to know.

There will be times when you are called upon to color correct a particular section of a video, also known as secondary color correction. In traditional "flat" video, this is not a very complex task to do. In 360-Degree video, it's still not complex, but, you need to be aware of some important details. —Marcelo Lewin, Studio 360 VR

Source: https://youtu.be/pF8ks34qqxA

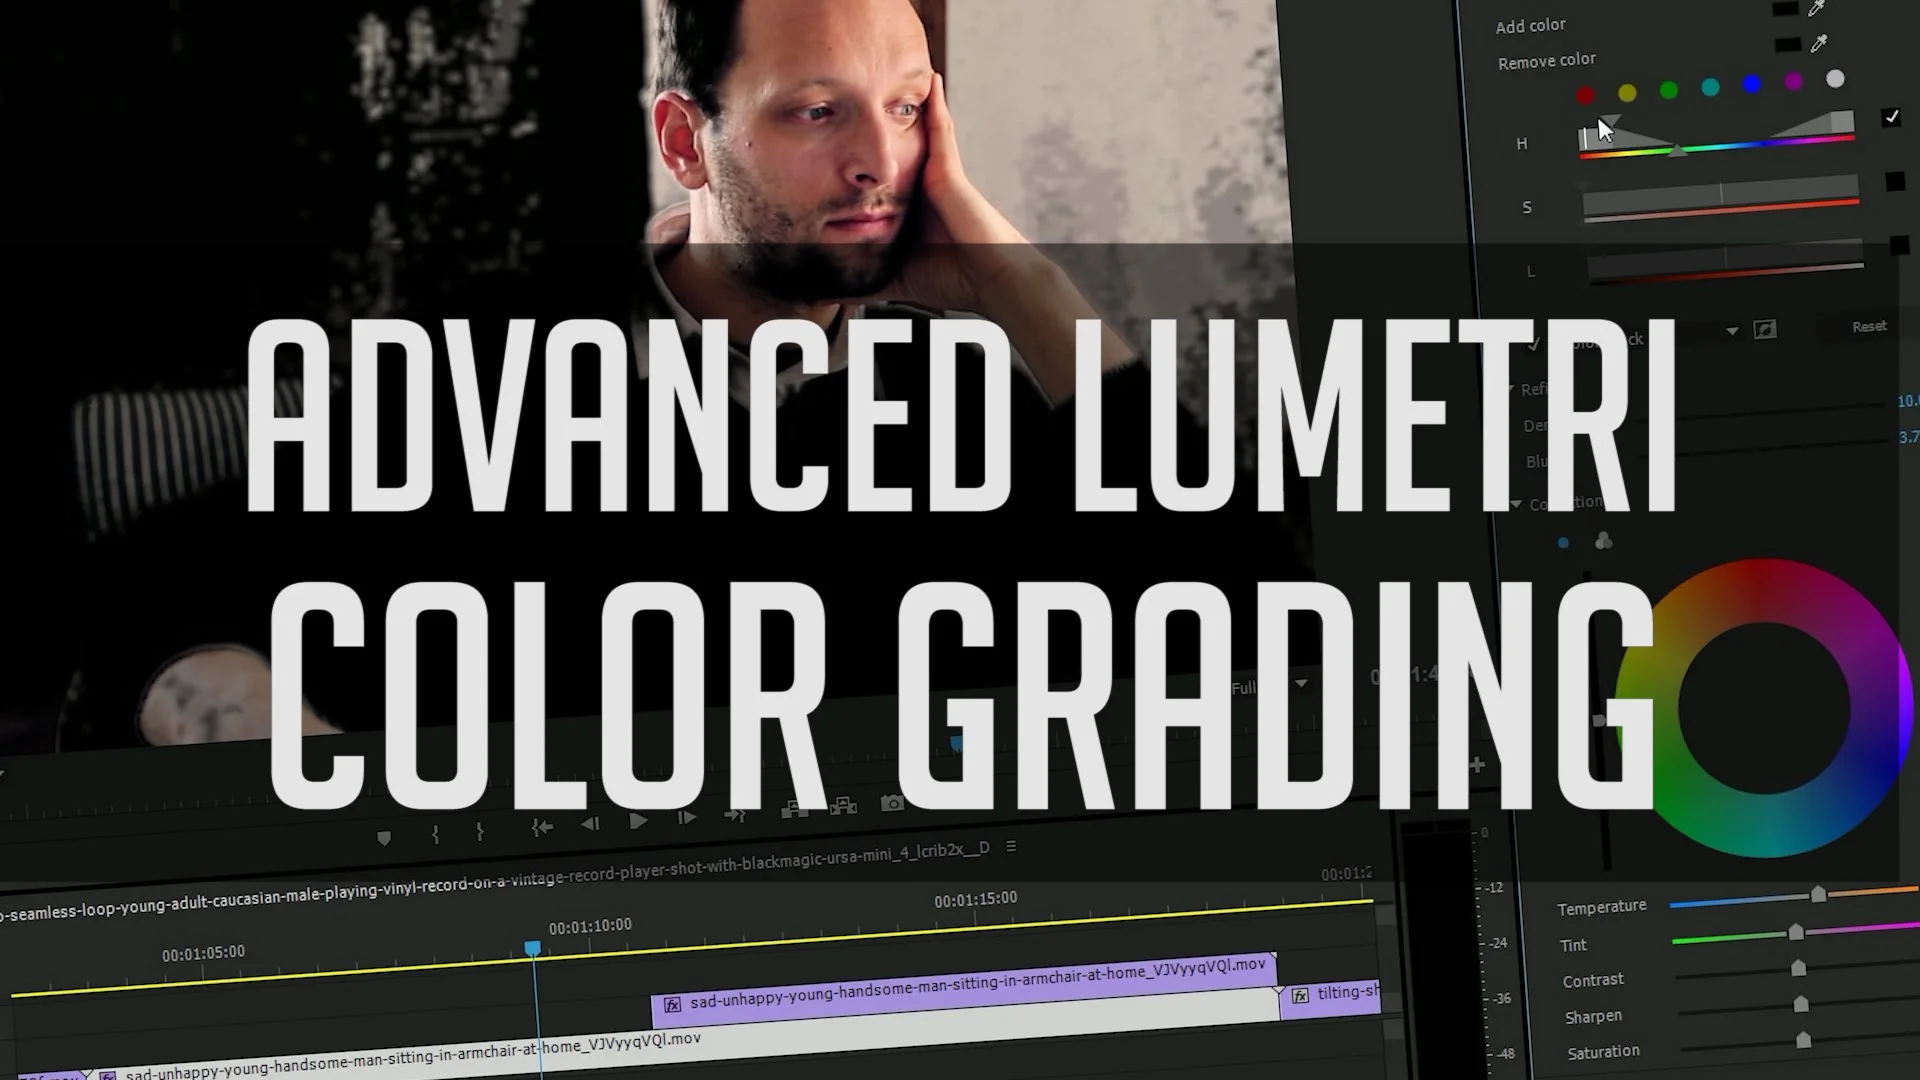
Advanced Color Grading in Lumetri - Adobe Premiere Color Correction Tutorial

In this Premiere Pro video tutorial, Casey Faris shares an advanced color grading workflow using multiple instances of the Lumetri Color effect. It's important to understand the stacking of color adjustments in the Lumetri Color panel, and how each section feeds down into the next. For example, changes to the Basic color parameters could throw off a color key in the HSL Secondary. In some cases, as Casey demonstrates in this video, it's better to use separate Lumetri Color effects for each color adjustment.

In this tutorial, I'll show you some tips for stacking corrections and working smarter while doing some advanced color grading in the Lumetri Color panel in Premiere CC 2015.3. —Casey Faris