All in Workflow

Tall Guy Films: DNxHR Performance in Premiere Pro CC 2017

How good is the newly added native QuickTime DNxHD / DNxHR support in Premiere Pro CC 2017? Tall Guy Films shares the results of his tests, and based on the video thumbnail, it's not a spoiler to say it's impressive. Whether or not you experience the same results using the native QuickTime Avid codecs in Premiere Pro CC 2017, the important thing is Adobe has listened to the needs of it's customers. This is a big win for Windows users in particular!

Adobe just announced native support for DNxHD and DNxHR QuickTime exporting, but is it any better than third party plugin support? I did some tests to find out. —Tall Guy Films

Source: https://youtu.be/wYj74ov_fok

The Herrintons: Multicam Editing Tutorial | Adobe Premiere Pro CC 2017

Tyler Herrinton of the The Herrintons, a husband and wife wedding videography and photography team, shows off his multi-camera editing workflow inside Premiere Pro CC 2017. Tyler uses PluralEyes by Red Giant to sync his footage before nesting the clips, and converting it to a multi-camera sequence. Good for wedding filmmakers, but the principles apply to any multi-camera editing in Premiere Pro CC. 

Join me as I walk you step-by-step through my process for syncing, importing, and working with multi-cam clips in Premiere Pro CC 2017. If you are a wedding filmmaker, this is the video for you!

Source: https://youtu.be/JnfQ9xw_Dsw

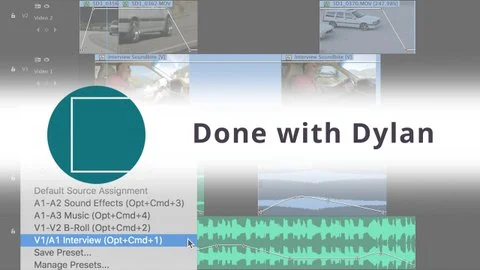
Done With Dylan: Control Your Timeline with Track Height and Source Assignment Presets

In this episode of Done with Dylan, Adobe Certified Instructor, Dylan Osborn, teaches the fundamentals of track height and source assignment presets in Premiere Pro. First, Dylan shows the default keyboard shortcuts and menu options to control track heights and source assignments. Then, he shows how to create presets and assign them to custom keyboard shortcuts to accelerate changing track heights and source assignments. Take the time to learn these techniques; it will dramatically improve your editing speed and efficiency. 

Are you in control of your Adobe Premiere Pro timeline? When viewing tracks and editing clips into them, efficiency counts. This three and a half minute tutorial shows you how to use shortcuts and create presets for both track height and source assignments, so you can control your timeline and edit faster every day. —Dylan Osborn

Source: https://vimeo.com/189651608

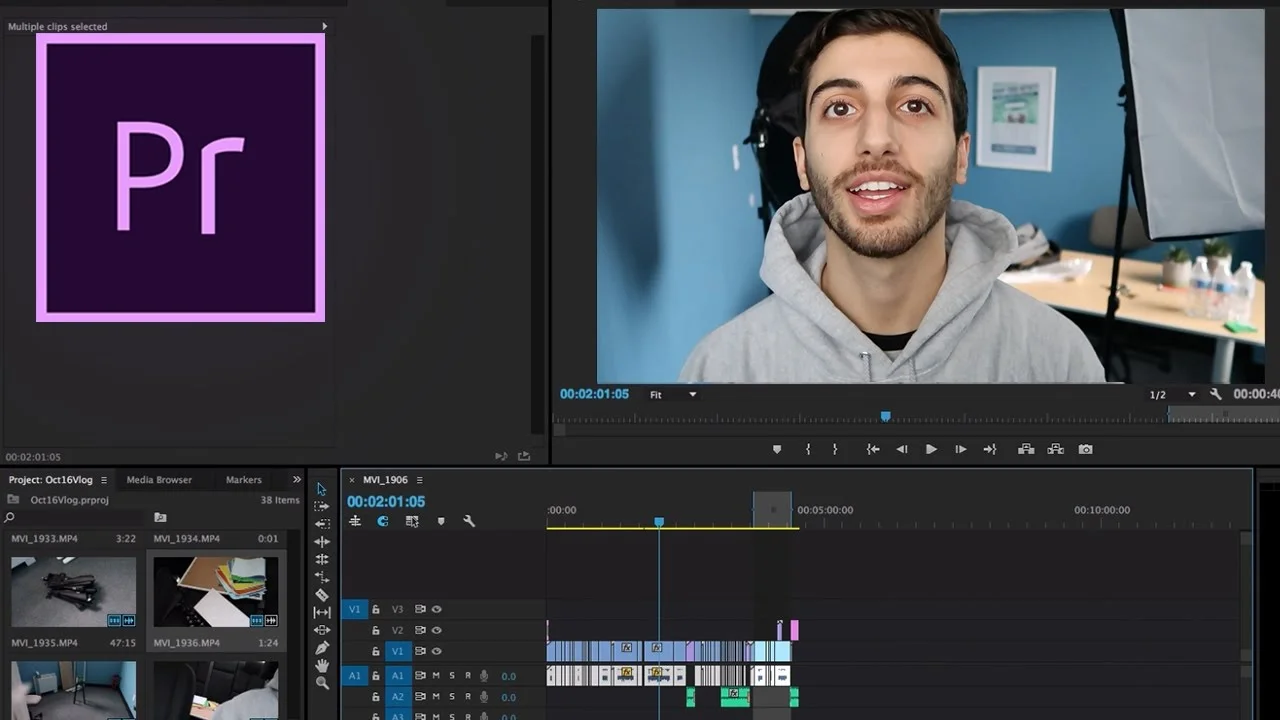
Justin Odisho: How to Edit a Vlog in Adobe Premiere Pro CC

Go behind the scenes, and see how a vlog is edited in Premiere Pro CC. In this video, Justin Odisho shows his workflow for editing his vlogs, and includes a bunch of organizational tips and keyboard shortcuts. A very helpful video for aspiring vloggers.

In this Adobe Premiere Pro CC Tutorial, I breakdown my entire video editing workflow for editing a vlog for youtube. —Justin Odisho

Source: https://youtu.be/Fn7Ro3aDaCs

Premiumbeat: A Quick Guide to Nesting in Premiere Pro

Nested sequences in Premiere Pro are great for two reasons: they reduce timeline clutter by condensing multiple clips into one, and they allow you to combine effects such as Warp Stabilizer and Time Remapping. Jourdan Aldredge demonstrates both of these scenarios in this Premiumbeat blog post.

Nesting in Premiere Pro is a great tool for streamlining a long project. It’s also great for combining more effects to a clip than is usually possible. Here’s how to use it. —Jourdan Aldredge, Premiumbeat Blog

Source: http://www.premiumbeat.com/blog/nesting-in-premiere-pro

Cinecom.net: Editing 4K on a Slow PC with Premiere Pro

In this video, Jordy Vandeput of Cinecom.net shows how to use the proxy workflows in the latest version of Premiere Pro CC to edit high resolution footage. This workflow is especially helpful for editing 4K on a slow computer or laptop. In fact, a proxy workflow might be the difference between being able to edit your video, and not being able to at all!

Slow computers and 4K video editing doesn't go together. But there's an option in Premiere Pro that creates low resolution proxies in a very fast workflow. —Jordy Vandeput, Cinecom.net

Source: https://www.cinecom.net/tutorials/editing-4k-slow-computer-premiere-pro

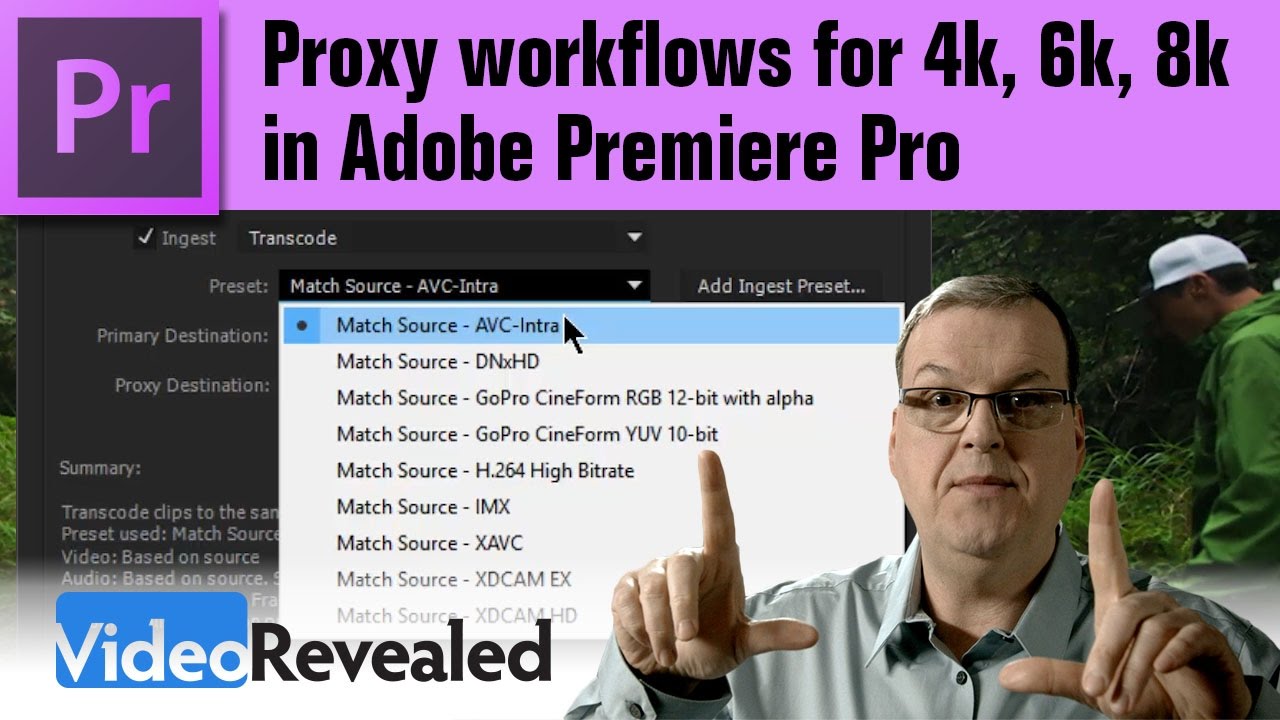
VideoRevealed: Proxy Workflows in Adobe Premiere Pro

In this video tutorial, Colin Smith of VideoRevealed teaches how to use proxies in Premiere Pro. Proxy files are light-weight versions of the original camera files, and they are ideal for editing ultraHD footage, especially if you're editing with an older computer or on-the-go with a laptop. The proxy workflows in Premiere Pro CC 2015.3 make it easy to generate and attach proxy files. Colin gives you a step-by-step guide in this easy to follow tutorial.

This tutorial will show you how Premiere Pro will create and attach proxies so you can work on large frame sizes on slower systems. It also covers creating custom Ingest Presets in case you find the included presets don't fit your needs. —VideoRevealed

Source: https://youtu.be/993mbUa0h-w

Premiumbeat: Archive Your Project With the Premiere Pro Project Manager

In this Premiumbeat tutorial, Jason Boone breaks down how to archive a video project using the Project Manager in Premiere Pro. In short, the Project Manager allows you to export selected sequences with all their media to a single folder for easy backup or hand-off. Jason explains all the Project Manager settings you need to know to successfully create an archive of your project.

Archiving is the best way to share your Premiere Pro projects. Here's how to archive your projects in Premiere Pro. —Jason Boone, Premiumbeat Blog

Source: http://www.premiumbeat.com/blog/archive-your-project-with-premiere-pro-project-manager

Dylan Osborn: Set up a Proxy Workflow, Part 2

This is the 2nd Done With Dylan tutorial in a 2-part series on proxy workflows in Premiere Pro. In this video, Dylan Osborn shows how to create both an encoding and ingest preset for proxies. Choosing the right aspect ratio for your proxies can be confusing. Luckily, Dylan has done all the math for you. He has provided a proxy conversion chart with the aspect ratios and frame sizes for common footage resolutions (see below). Visit Dylan's site to download his Proxy Frame Size Conversion Chart.

Part two shows you how to create custom ingest presets for different proxy frame sizes in four minutes. —Dylan Osborn

Dylan Osborn: Set Up a Proxy Workflow, Part 1

In this Done with Dylan tutorial, Dylan Osborn teaches how to set up a proxy workflow in Premiere Pro. CC 2015.3 and later. He walks through how to generate proxies, and explains the default proxy formats and sizes. Dylan does the math for you and provides a conversion reference, so you can select the right format for your footage. This tutorial is part 1 of 2-part series.

Improved performance is the goal of a proxy workflow, but you need to choose the right preset for your media and manage proxies through the edit. Part one shows you how to get set up. —Dylan Osborn

Screenlight: 5 Tips for Task Automation in Premiere Pro

Another terrific Screenlight blog post by Adobe Certified Trainer, Nick Harauz. Learn how to maximize efficiency in Premiere Pro by automating tasks with search bins, watch folders and more! This is an excellent followup to Nick's popular 10 Features in Adobe Premiere Pro That Every Video Editor Should Know.

Premiere Pro comes with a robust set of tools to make your editing life easier ... Here are some tips you can use to help automate tasks in Premiere Pro so you can meet those project deadlines. —Nick Harauz, Screenlight blog