8 Takeaways for Video Creators from Adobe MAX 2016
Premiere Pro Tips, VR, Adobe Stock, and Sneak Peaks from Adobe MAX 2016
By Dylan Osborn
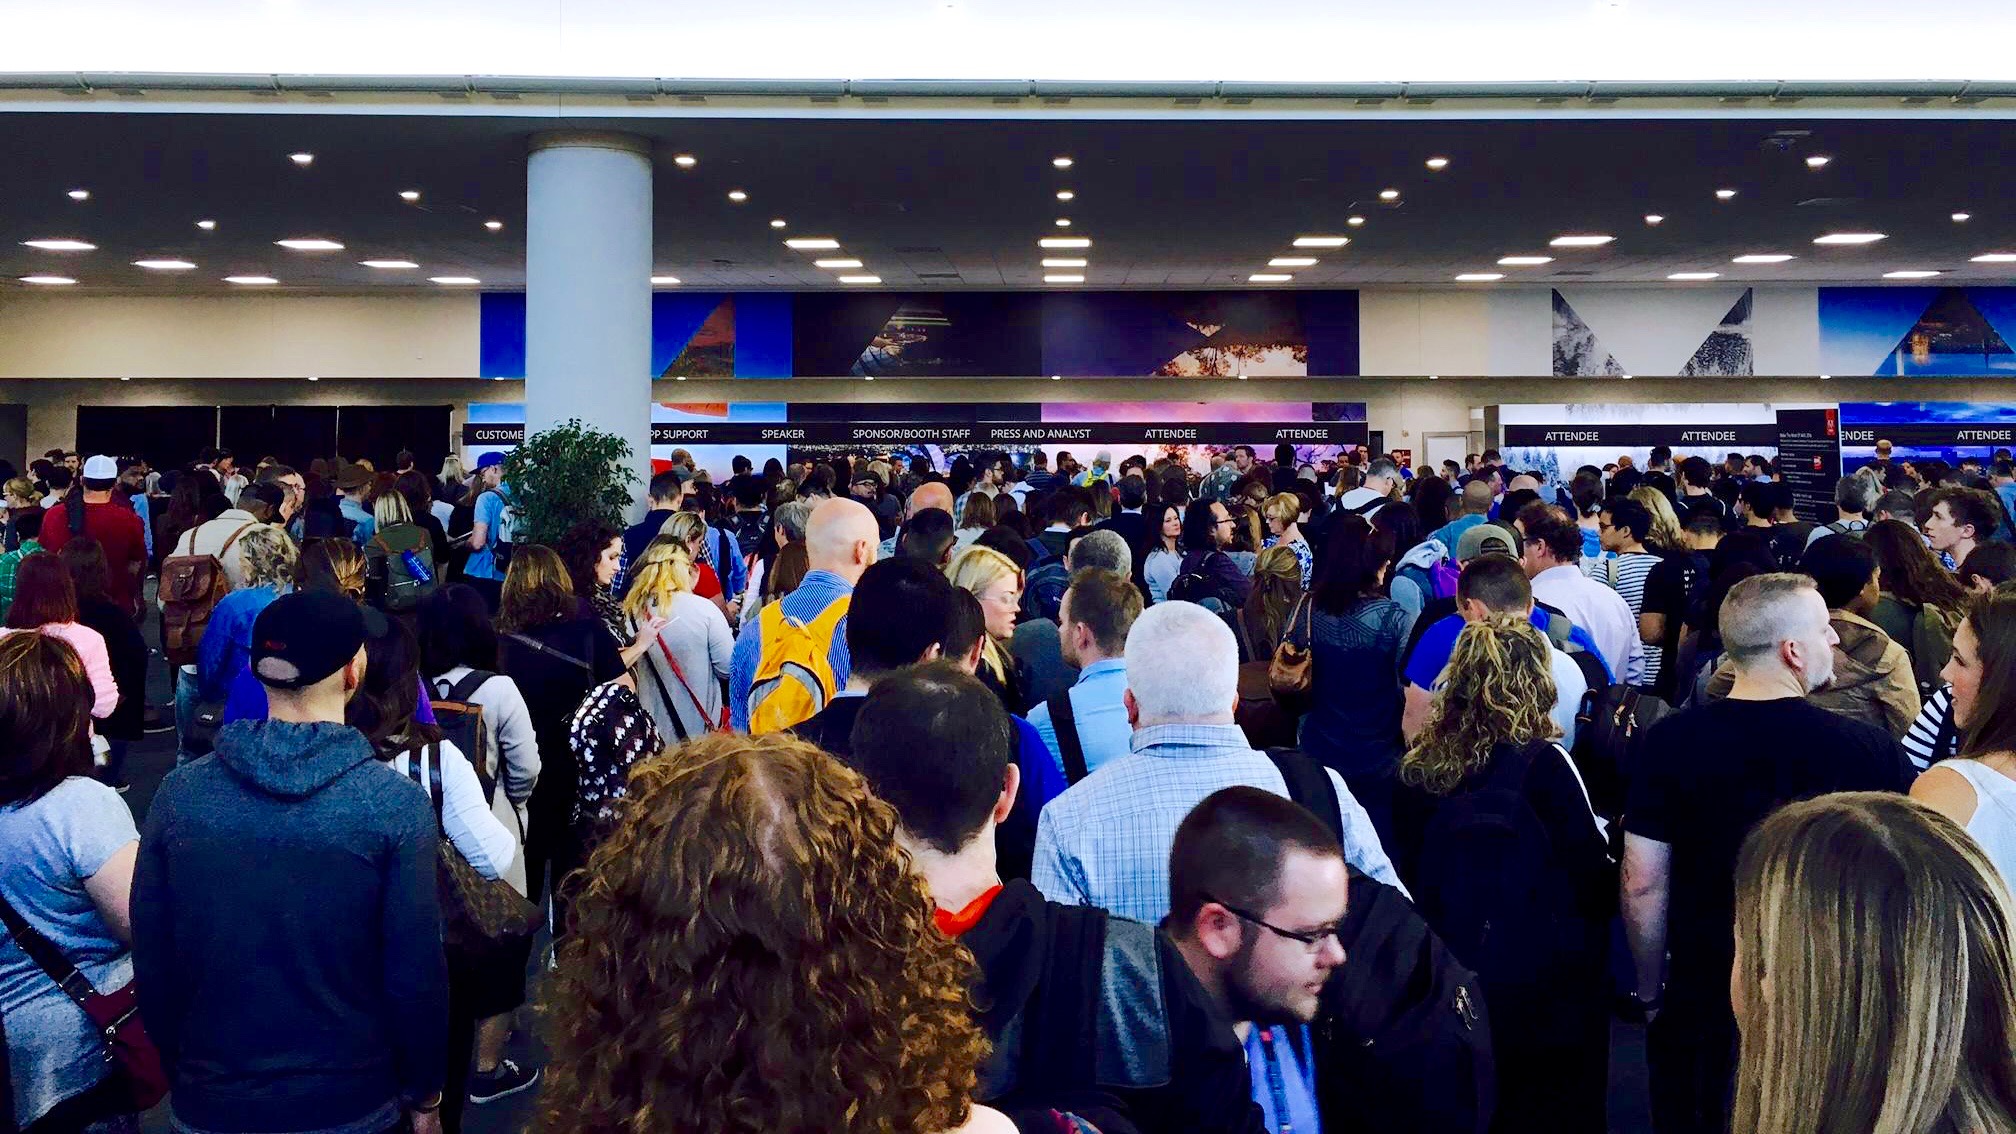
Imagine 10,000 creative professionals, the world’s best Adobe trainers, the entire Adobe product team, and a few celebrities all coming together in San Diego’s waterfront convention center for a week of keynotes, labs, and parties all about the present and future of Adobe Creative Cloud. That was Adobe MAX 2016, and I had a blast sharing and learning with everyone. As a Premiere Pro trainer and editor, I found these 8 takeaways from last week’s conference particularly useful and interesting:
1. “Always right click if you don’t know what to do”
Jarle Leirpoll said this during his session “Timesaving Workflows in Premiere Pro,” and got a big laugh. It’s true! A few weeks ago, Premiere Pro shortcut master Derek Lieu found the option Targets Follow Inserts and Overwrites by right clicking on his Premiere Pro timeline. There’s always something new and useful hidden in what Adobe calls “context menus.”
2. If you’re in a menu, use letter keys to navigate
This is a standard operating system function, but I never thought to use it in Premiere Pro. Fortunately it came up in Dave Helmly and Karl Soule’s Premiere Pro intro class. For example, right click on a clip, hit ‘P,’ then hit enter, and the Properties window will open. This is especially time-saving because Properties is located in different places in different context menus. But you can use this in any menu, in any application.
3. MAX Sneaks showed us the future
On Thursday night we saw what Adobe has been working on behind closed doors. It’s impressive. Here are the video-related sneaks:
Loop Welder robotically loops and stitches any shot to go on forever.
Syncmaster splits a music waveform into high, mid, and low, lays down markers automatically, and lets you edit to them.
CloverVR let’s you edit in 360 space, with VR goggles on. I imagine it’s editing like Tom Cruise in “Minority Report.”
VoCo is for editing dialogue… except you can generate words the speaker never said. If Adobe releases this it will change ‘frankenbiting’ forever.
4. Adobe Audition is easier to use than ever.
Why not mix your audio in Audition? In his Friday session, Adobe evangelist Jason Levine showed how to take advantage of the Essential Sound panel by round tripping your sequence audio from Premiere Pro to Audition:
Edit > Edit in Adobe Audition > Sequence
Select Video > Send Through Dynamic Link
Mix in Audition using the Essential Sound panel
File > Export > Export to Premiere Pro
Choose Mixdown Each Track as Stem or Mixdown session
In Premiere Pro, choose Copy to Active Sequence > New Audio Track
You now have your mix wav files right under your edit
What’s my favorite part of mixing in Audition? Honestly? You can keyframe levels and pan at the same time.
5. Audio takes effort to master
Audition gives you powerful tools to make your audio sound great, like the Essential Sound panel. But if you want to fix compression, noise reduction, or EQ perfectly on the first try, you’ll need a little audio knowledge. Fortunately, Jason Levine has 25 hours of free audio 101 tutorials on his YouTube channel and there is a new Audition Learn tutorial panel that ships right in the app.
6. VR features expanded in Premiere Pro CC 2017
Look at all the places you can view and control VR properties now:
right click on clip > Properties (scroll to bottom for VR info)
right click on clip > Modify Clip > Interpret Footage > VR Properties
Sequence > Sequence Settings > VR Properties
Program Monitor Settings menu > VR Video > Settings
If you’re editing equirectangular video, read more about these features here.
7. Adobe Stock is becoming really useful
Did you know that Adobe Stock has 4K video? 3D models? Design templates? There is a new Visual Search feature that let’s you drag and drop any image into your browser, and produces similar images you can license. At the Wednesday keynote Adobe announced a partnership with Reuters, which will add millions of editorial images and videos to the library. Adobe clearly isn’t stopping here, so if you create content it’s time to check out Adobe Stock.
8. Wear out these keys on your keyboard
If you’re serious about speed editing, you’ll need to reduce your hand movement by grouping commonly used shortcuts under the left and right fingers. The default keyboard already does this, and both Jarle and Dave Helmly pointed out these shortcuts for the left hand:
Q & W: Ripple Trim Prev/ Next Edit to Playhead
E: Extend Selected Edit to Playhead
And these shortcuts for the right hand:
J/K/L: Shuttle Left/ Stop/ Right
Shift+J/L: Shuttle Slow Left/ Right (instead of the left and right arrows)
I & O: Mark In & Out Points
If you want to learn more Premiere Pro shortcuts, my keyboard layouts have all the defaults in a single diagram.
See You At Adobe MAX 2017
Next year Adobe MAX will be October 16-20 at The Venetian Las Vegas. From everything I heard this year, it promises to be an even bigger event. See you there!
Dylan Osborn is an Emmy-winning editor and Adobe Certified Instructor in Premiere Pro. Check out Dylan's Premiere Pro tutorial series: Done With Dylan. Follow him on Twitter @DylanOsbornFilm.


