
How to Earn Money Selling Stock Video
Tips for Creating and Exporting Stock Footage in Premiere Pro.
[Sponsored Post]
Passive income. It’s what we all want. Have you considered earning money selling stock video? In this post, we will look at several tips for shooting and editing high-quality stock video. We’ll dive into Premiere Pro and learn the important settings for creating sequences and exporting clips that meet stock video requirements. There are also some suggestions for de-noising, color grading, and stabilizing footage before selling as stock video.
There are lots of stock libraries out there, and they each have their own pros and cons as far as content, ease-of-use, and licensing. We are using Motion Array as our stock footage library of choice in this blog post.

Motion Array’s profit sharing model makes earning money as a stock video producer simple. Each month, 50% of the total revenue generated through the site is distributed to producers. Of that 50%, producers receive a percentage based on the number of their product downloads that month.
Motion Array: Let's say Motion Array makes $100,000 in the month. Half goes into the profit sharing pool. If your product was downloaded 1 time, and it was the only download from the site that month, you would earn $50,000. If two products were downloaded that month, one was yours and one was someone else's, you each would earn $25,000.
Stock Footage Upload Requirements
Motion Array has a list of upload rules for their stock video producers. These requirements are pretty standard, so pay attention even if you don’t intend to upload to Motion Array.
Sole Creator
It’s simple: you must own the rights to the videos you upload. No, you can’t upload clips that weren’t used in the final edit of a production that you were part of. You must be the exclusive owner of everything you upload. Think of it this way: to be the sole creator of your footage means you are the “soul” creator — you can do with it as you please without any legal entanglements.

Release Forms
If your footage shows people, you must have them sign a release form giving you permission to use their likeness in your stock video and have it downloaded multiple times and for multiple videos. Not sure how to make a release form? Motion Array provides a free sample release form for their users.
Release forms can often take a back seat when it comes to video productions, especially the more run-and-gun they are. Print out a bunch of release forms and always have them handy when you go on shoots. You’ll look like the professional when you have everyone signing release forms.
Signed release forms must be scanned and included in the zip file uploaded to Motion Array.
Zipped Files
Motion Array requires video uploads be compressed in the .zip format. Not to be confused with the compression used to record and export videos.
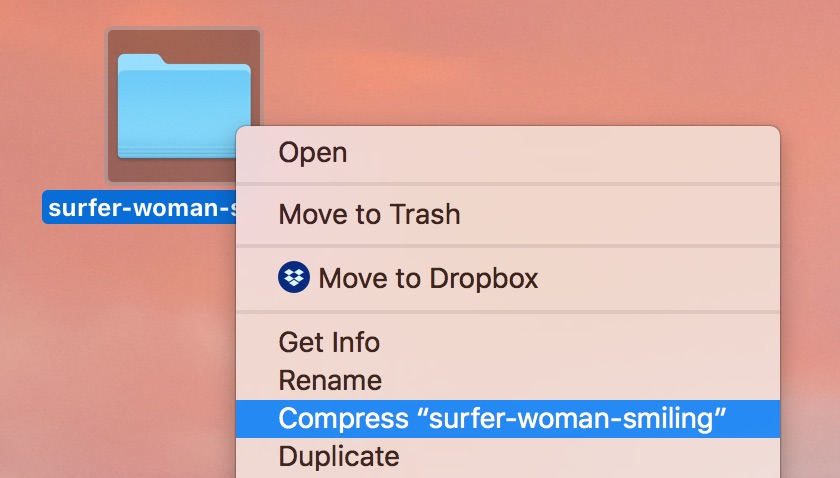

On a Mac, right click the exported video clip and choose “Compress…” This will create the .zip file which can be uploaded to Motion Array.
Motion Array: Zipped files are required to cut down on bandwidth, and if you have a release it can be included in the zip.
Because you must also include signed release forms, it’s a good idea to put everything in a folder and compress the folder. This keeps everything together nicely for your customers. You can also include a memo or thank you note in the folder for whoever downloads your clip.
Tips for Shooting Stock Video

Use a Professional Camera
We’ve all heard it said that gear isn’t important when it comes to good storytelling. That’s true, but no so much when it comes to stock video. It’s actually more the opposite. Selling stock video is based entirely on visual style and quality, not on the mechanics of character development, conflict, etc. As the stock video producer, it’s your job to create the best looking image. That’s why Motion Array recommends videos be shot on a “professional camera.”
“Professional Camera” is intentionally ambiguous because, if you really know cinematography, you can capture amazing footage even with low-end cameras. (A little help in post-production can go a long way too as you’ll read later.)
That said, you want aim as high as you can afford when it comes to choosing a camera to shoot your stock footage. Here’s some recommendations for “professional camera” specifications:
- Can shoot 4K. This gives customers the extra resolution to reposition the frame if they’re exporting in HD.
- Can shoot at least 60fps at 1920x1080. This will allow you record smooth slow motion in true HD.
- Can record 10-bit natively or using an external video recorder. This gives your footage more color information for grading. It also reduces banding and other unwanted artifacts in your footage.
Stock Video Production

An effective way to shoot stock video is to actually plan a stock video production. It can be very helpful to have lots of angles of the same scene when it comes to stock footage. For example, someone may love the scene, but not be able to use the clip because of a subject’s emotion or something in the background, etc. If you shoot the same scene with lots of alternatives, it’s more likely your scene can be used by customers.
Motion Array: When shooting video for stock footage, try to cover broad topics and stay away from niche areas. A “time-lapse of a beautiful landscape” or “business people in an office” will work for many different projects, whereas footage of a Polynesian tattoo artist is very specific. Appeal to the masses.

Look for Stock Clips in Existing Production Footage
You don’t have to shoot an entire production to find great stock video clips. Stock video clips can be found in most production footage. Chances are you’re already working with footage that could by uploaded as stock video! (Just remember you need to have the rights to the footage to use it as stock.) Here are a few places where good stock video clips can be found in existing footage:
- Look for unique angles that show something common in an unusual or intriguing way.
- Look for moments of genuine emotion. Authentic reactions will help your clips feel less “stock-y”
- Outtakes and bloopers can make great stock clips. To steal from an old saying, “One editor’s trash is another editor’s treasure.”
- Establishing shots and landscapes are easy stock videos.
- Close-ups and extreme close-ups with a lot of texture can make great stock videos.
- Look for moments that tell a story in less than 30 seconds.
Tips for Editing Stock Video

Format Requirements
Most stock video sites require that uploads be at least 1920x1080. Motion Array is the same. Assuming your footage was shot at 1920x1080, you can edit your clips and export them at the same resolution. Let’s look at how to do this in Premiere Pro.
Motion Array: We recommend keeping stock videos under a minute. Usually 30 seconds is good. It all comes down to the shot
Importing Footage
One of the great things about Premiere Pro is there are often several ways to do the same thing. For example, to import your footage into your project, you can:
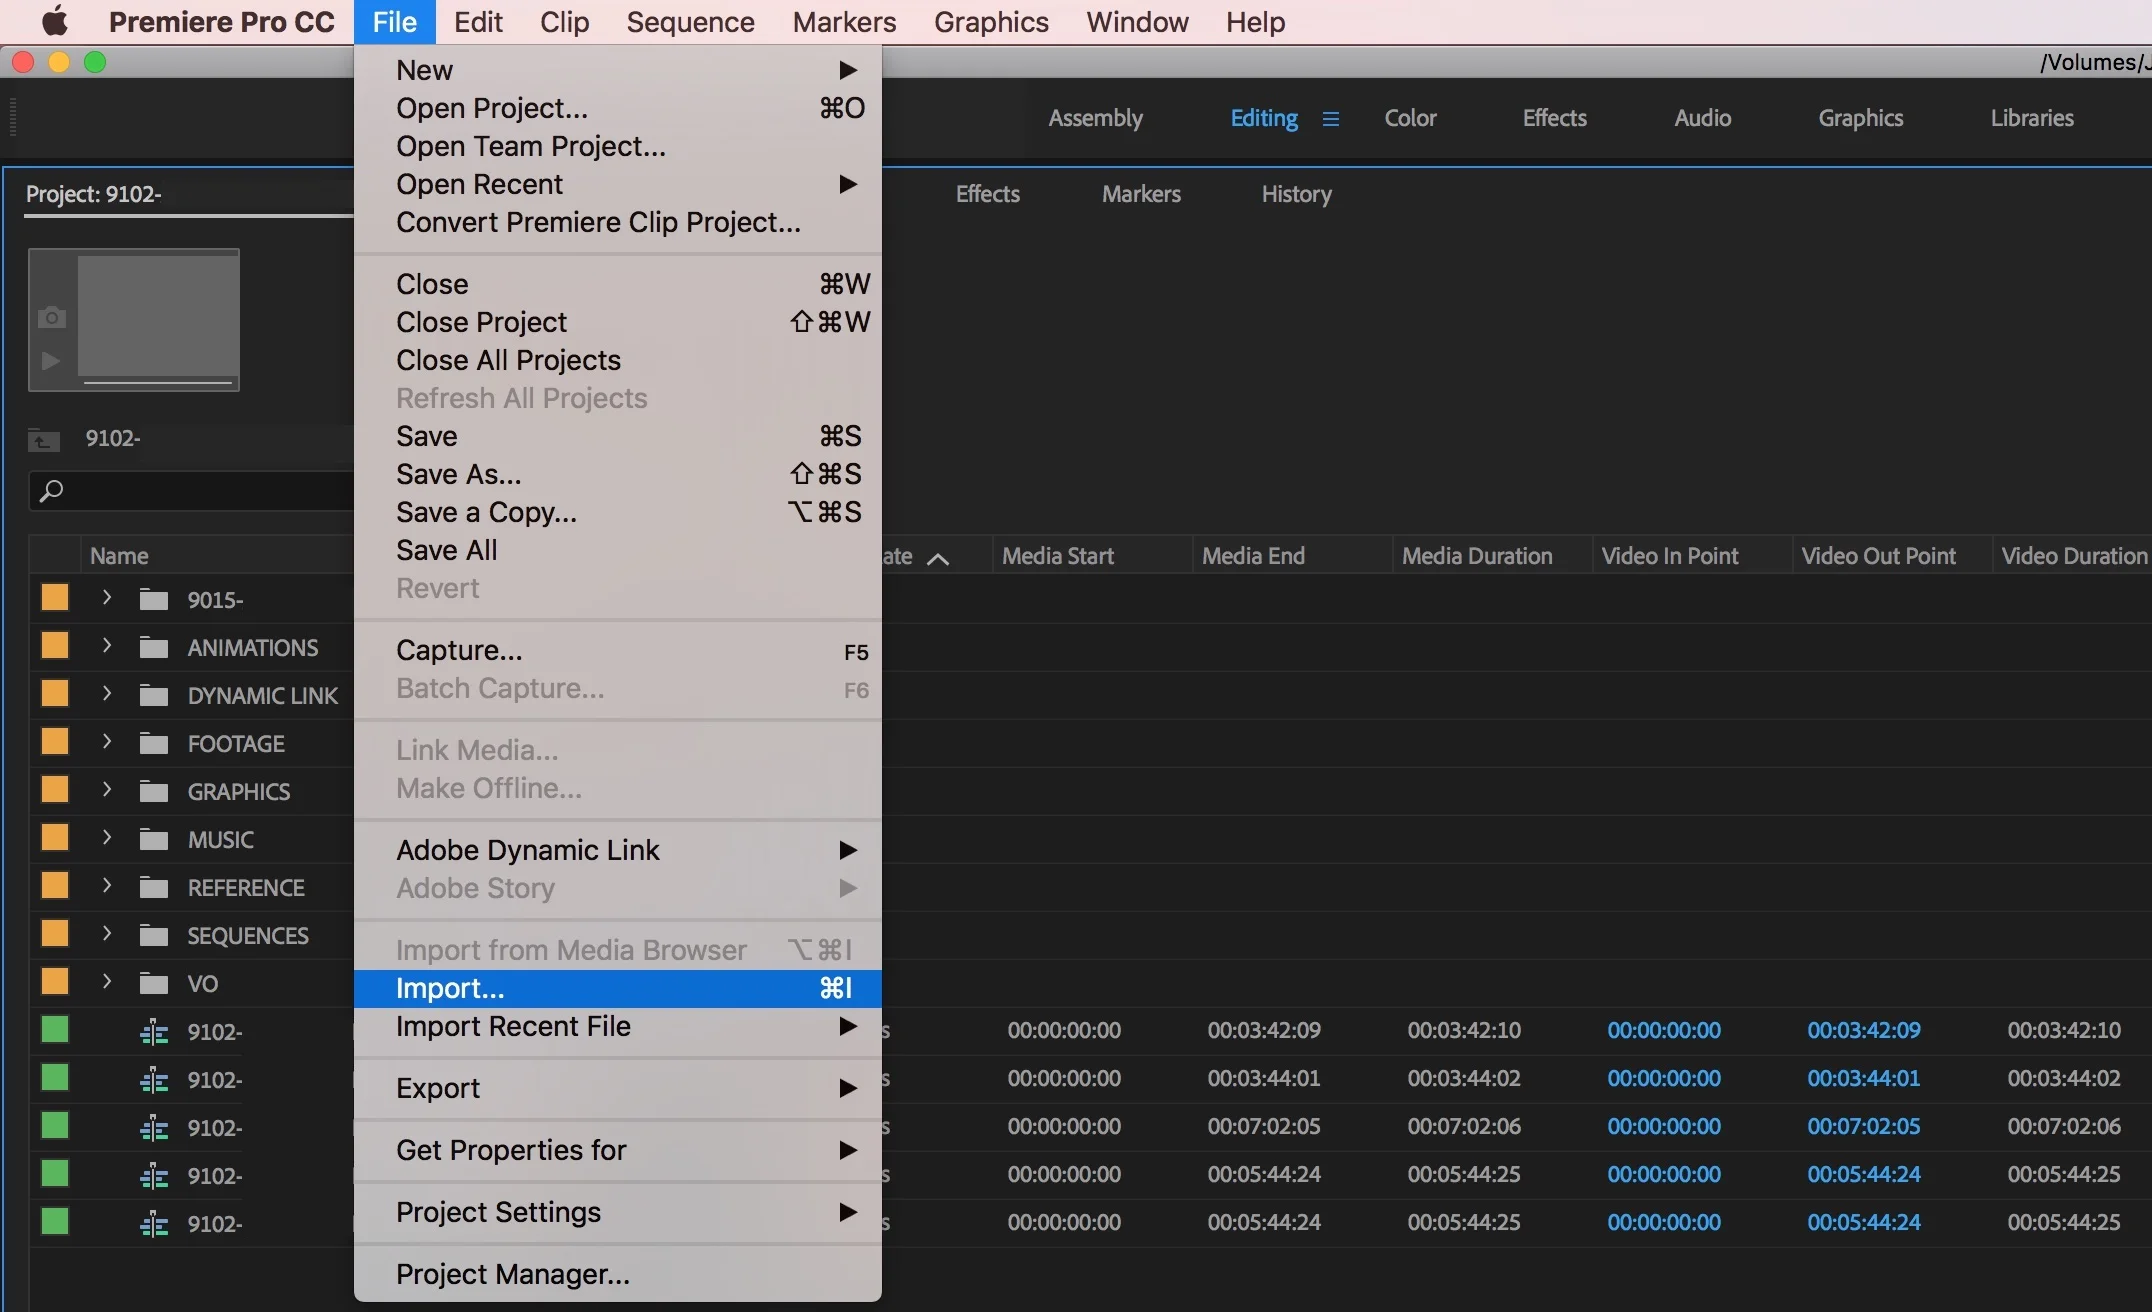
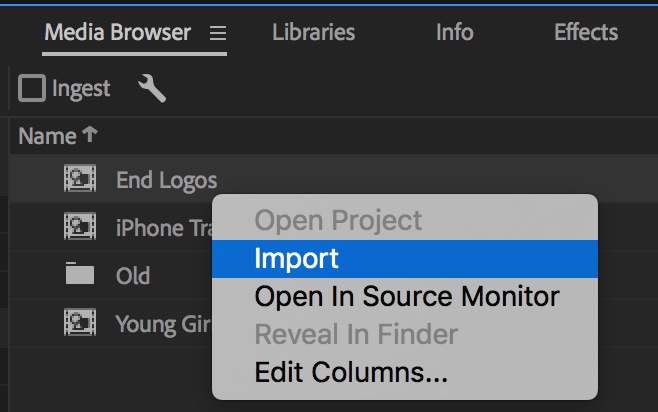
- Drag & drop
- Double click in the Project panel
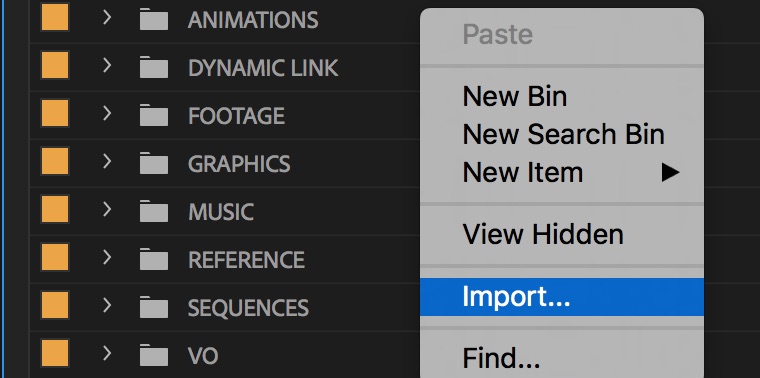
- Right-click in the Project panel and choose Import
- CMD/CTRL+I
- File > Import
- Import via the Media Browser
For what it’s worth, the makers of Premiere Pro and most professional editors recommend using the Media Browser, especially when working with high-end cameras and proprietary file formats. One of the major reasons is the Media Browser is able to view camera files that use clip spanning.
Sequence Settings
Sequence settings is going to be the most import part of the editing process for your stock clips. Much like there is 3 versions of every movie: the one that’s written, the one that’s shot, and the one that’s edited. There are 3 sizes for each phase of post-production: the source settings, the sequence settings, and the export settings. Ideally, for quality and performance, you want these to match. The only exception being the source resolution being larger than the sequence and export resolution.

There are several ways to create a sequence in Premiere Pro:
- Drag & drop clips on an empty Timeline panel
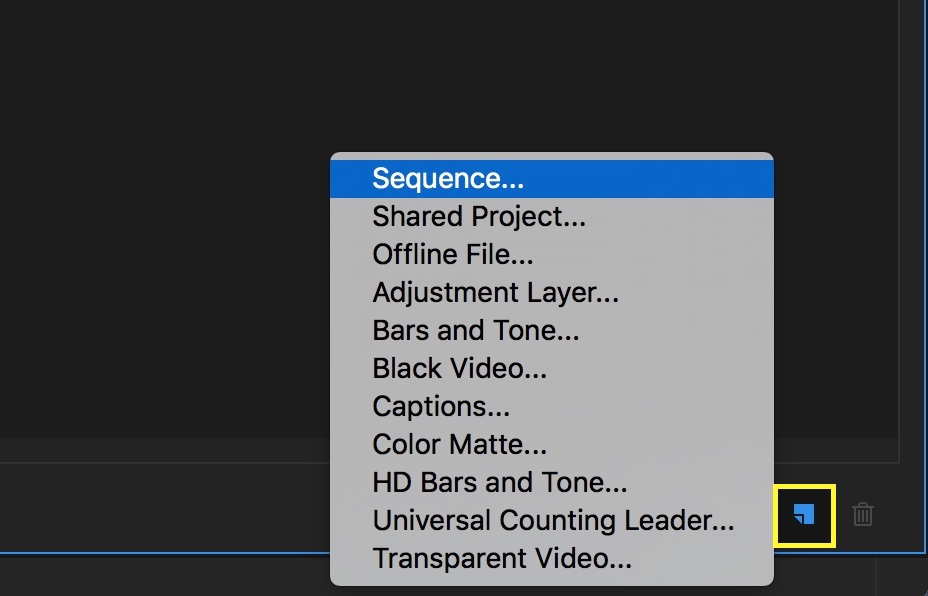
- Click the New Icon button in the Project panel
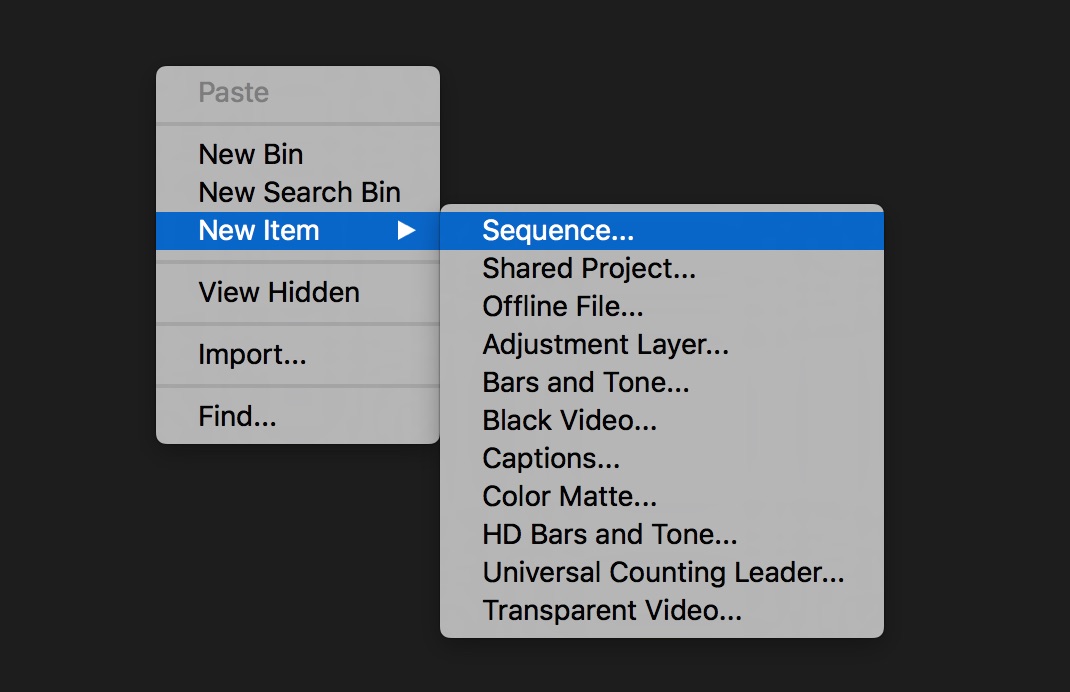
- Right-click in the Project panel and choose New Item > Sequence
- CMD/CTRL + N
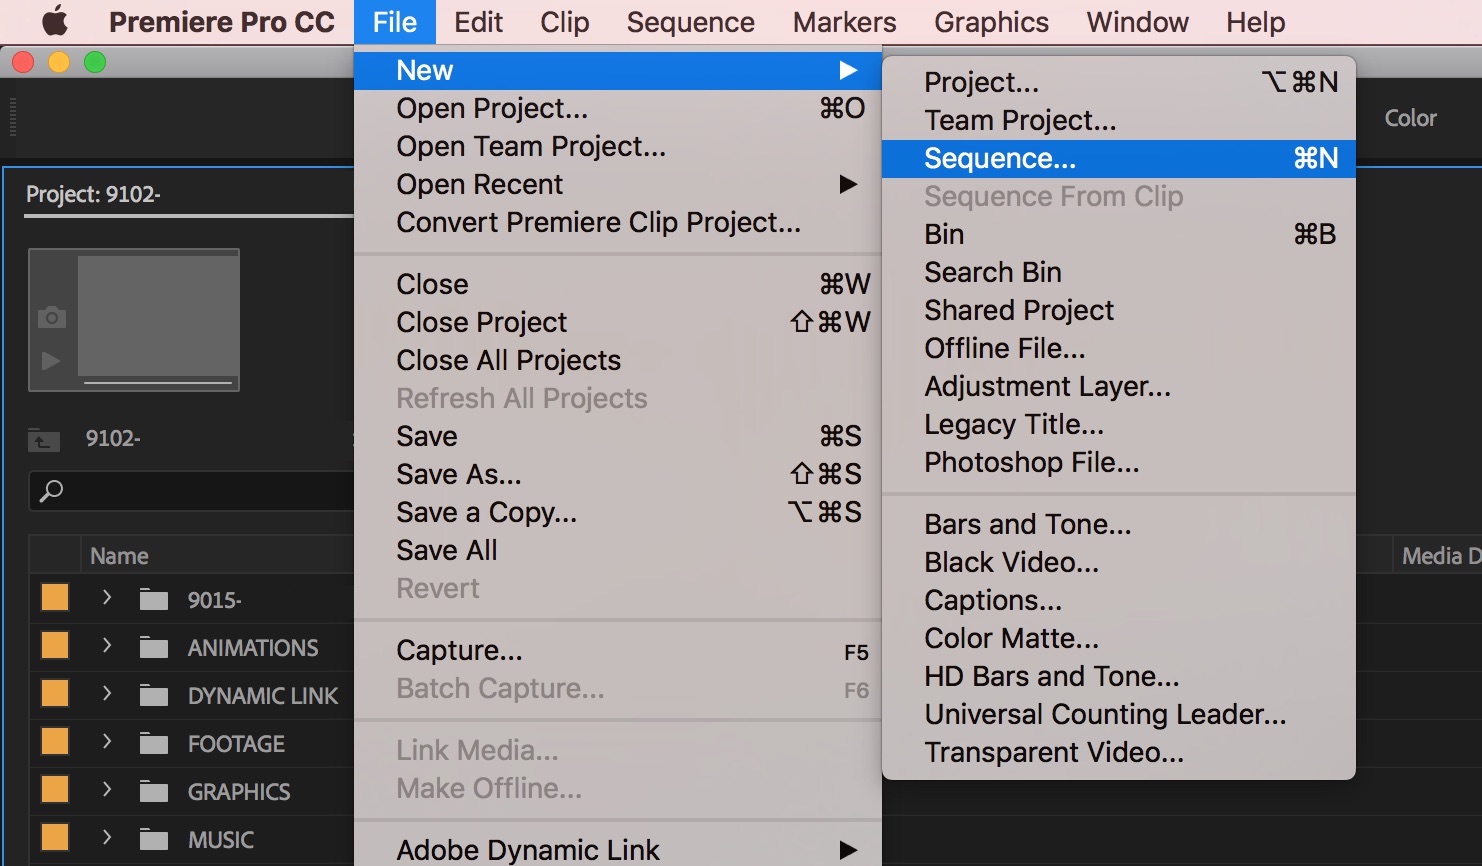
- Go to File > New > Sequence
The easiest and most accurate way to create a new sequence that matches your footage is the drag & drop method. This will automatically create a new sequence that matches your footage.
For the sake of being thorough, let’s cover some of the basic settings for creating a new sequence.
The first tab in the Sequence Settings window is the Sequence Presets. You will see a massive index of presets for nearly every camera and file format. For those who find this endless list helpful, all power to you. If not, click over to Settings before your brain explodes and your eyes bleed.
Under Editing Mode, scroll to the top and choose Custom. Select the Timebase that matches your source footage (camera files).

Set the Pixel Aspect Ratio (not to be confused with your footage aspect ratio) to match your source footage. Most of these only apply to older formats. If you don’t know what these pixel aspect ratios mean, chances are you want to pick Square Pixels (1.0) at the top.

For Fields, select No Fields (Progressive Scan) unless you know you’re working with interlaced footage. If you’re shooting on a DSLR, GoPro, professional cinema camera, etc., choose No fields.
Don’t worry too much about the Audio settings. The nice thing about stock video is most of it does have audio. Don’t worry about the Video Previews either. You probably won’t be rendering previews of your stock clips. You can leave the boxes at the bottom as they are. What they do and the impact they have are negligible for our purposes of creating short stock video clips.

If you find yourself using the same sequence settings for your stock clips, save yourself some time and save a preset.

Export Settings for Stock Video
Export setting is easily an entire blog post in itself. This post will stay high-level and focused on the purpose of exporting high-quality clips for stock video.

To export your current sequence, open the Export Settings window in one of three ways:
- CMD/CTRL + M
- File > Export > Media
- Right-click a sequence in the Project panel and choose Export Media
Similar to sequence settings, export setting can appear somewhat tricky in Premiere Pro. Again, you have dozens and dozens of presets. Let’s not bother with these.
If you click the Match Sequence Settings box at the top, it will match your export settings to your Video Previews settings. Not a bad thing if that’s the format you want to export. Most of the time you will probably render previews in a high-quality mezzanine format and export something else, something web-friendly, for example.

Choose an encoding format from the Format drop down menu. At the time of this writing, the most common formats are h.264 or QuickTime. If you are exporting as h.264, the video file will be in a .mp4 container. If you choose QuickTime, you will need to select a video codec from the drop down menu that appears below. For example, you could choose h.264 as the codec in a QuickTime container. Confused yet? David Kong of Frame.io has an excellent blog post on decoding codecs: How to Choose the Right Codec for Every Project.

If you choose QuickTime format, you will have to select a Video Codec. Here’s a simple QuickTime codec recommendation: Apple ProRes, specifically ProRes 422. It’s high-quality and it’s natively supported in Premiere Pro. Many high-end cameras and external video recorders use ProRes 422, plus it’s very common on stock video sites. The exported file size will be much larger than h.264, but if the clip is less than 30 seconds it shouldn’t be too large.

The important thing when setting up your export is matching your sequence settings, assuming you set your sequence up correctly. Pay special attention to the resolution (Width & Height) and Frame Rate. If these do not match your source settings, the effect on the quality of your video could be disastrous.

The Match Settings button is the most helpful setting in the Export Settings window. With one click, this button will match your export resolution and frame rate to your sequence settings. Notice when the Match Settings button is clicked, all the boxes on the right hand side are checked and the settings are locked. If you choose to manually enter these export settings, just be sure they are equal to or less than your sequence settings in size and quality. 9 times out of 10 you will want Field Order set to Progressive and Aspect set to Square Pixels (1.0). The remaining Basic Video settings can left at their defaults.
Finally is Bitrate Settings. To explain this requires a lot of math. Fortunately, it’s already been solved by Premiere Pro Master Trainer, Jason Cox, in his Screenlight blog post: Bits and Bytes: The Simple Math of Premiere Pro’s Exports.

The nice thing about using ProRes is each flavor comes with its own bitrate, so you don’t have to worry about it. If you choose h.264, and you don't use one of the presets, then you should set your own custom bitrate. There could be a whole discussion on which settings offer the best balance between quality and file size. For the sake of making a recommendation, use the following for 1920x1080 video:
- Bitrate Encoding - VBR, 2 Pass
- Target Bitrate (Mbps) - 10-12
- Maximum Bitrate (Mbps) - 20-24
Noise Reduction

What is video noise? We all recognize it. But what is it exactly, and how does it get there? Noise comes from a low signal-to-noise ratio, when the amount of signal information is So, what does that teach us besides how to use the term in the definition? (If you have a scientific explanation for video noise, please share in plain english with the rest of us!)
Luckily the solution for video noise is not that difficult to understand. There are several ways to avoid noise when shooting video. Here are a couple ways:
- Shoot at a low ISO - This requires sufficient lighting and a fast lens. Open up the aperture if you can.
- Avoid low light - It’s always easier to push your footage darker with color grading than trying to brighten footage that is underexposed.
- Shoot with a larger camera sensor - Small camera sensors are more susceptible to noise. The larger the sensor the more light (more information) they can capture.
- Onboard camera noise reduction - Many cameras today come with built-in noise reduction. Test your camera to see what effect the onboard noise reduction has on your footage.
There is more than one noise reduction plugin for Premiere Pro. Here are a few thoughts on some of the popular noise reduction plugins for Premiere Pro:
- After Effects Remove Grain - If you’re a Creative Cloud subscriber then you already have a powerful noise reduction “plugin” at your disposal in After Effects. Simply send your clip over to After Effects via Dynamic Link and use the Remove Grain effect

Got a problem with grainy footage? In this tutorial I will show you how to remove noise and grain from your video using Adobe After Effects.
- Neat Video - Neat Video is a very powerful noise reduction plugin that uses “mathematical algorithms” to restore noisy shots to pristine condition. The neat thing about Neat Video is gives users a lot of control over the noise profile used to denoise the image. It’s fast too! NOTE: The tutorial below demonstrates Neat Video in After Effects, which could be used via Dynamic Link. Neat Video is available for Premiere Pro.

The Basic Workflow tutorial walks you through the key stages of applying Neat Video v4 to a video clip in After Effects. You will learn the basic workflow in a matter of minutes and then will be able to start applying the filter to your clips.
Magic Bullet Denoiser - Denoiser is a plugin by Red Giant, currently on version III. The beauty of Denoiser is its simplicity. It takes the drag & drop approach and gives users several sliders to control the amount of denoising and sharpening.

Introducing Magic Bullet Denoiser III - Fast, Easy Video Noise Reduction.
Film Riot has a helpful video comparing the benefits of Neat Video and Denoiser. NOTE: This compares an older version of Neat Video to Denoiser II. However, most of the comparison is still relevant.

Today we compare the Neat Video noise reduction plug-in to Red Giant's Denoiser II.
A manual technique for reducing video noise is to hide it with blur effect. The idea is to use a blur effect to conceal the noise in parts of the frame. This will only work well with static tripod shots or shots with minimal movement. Otherwise, it will require some sophisticated mask tracking. Follow these steps in Premiere Pro:
- Create an adjustment layer and lay it over your clip
- Add the Gaussian Blur effect
- Create a mask on the adjustment layer that covers the noisy area of your shot
- Feather the mask
- Animate the mask as necessary
However or whatever you use to reduce noise in your shot, the most important thing is not to overdo it. Too much noise reduction and your footage will begin to look smudged, almost plastic-y. Unfortunately, if you can’t achieve a noise-free image with a modest amount of noise reduction, you may have to scrap the clip.
Artifacts

Artifacts are different than noise; they appear as block-y and discolored pixels. Artifacting is caused by compression, lossy compression to be exact. One of the most common areas where artifacts appear is gradients and solid colors, like skies or walls. Artifacts interrupt what should be a consistent color or a seamless gradient. This is also known as banding.
Unlike noise, which can be helped with post-processing, artifacting is much more difficult to remove. You can experiment with the noise reduction methods above to see if you get sIMILAR results. The only sure way to avoid artifacts is to shoot with cameras that record at a higher bit depth. Bit depth measures the amount of color information, the higher the bit depth, the more colors there are. The more colors there are, the less artifacts.
For example, nearly all DSLRs shoot 8-bit internally. However, many DSLRs and mirrorless cameras are capable of sending an 10-bit signal from the sensor via HDMI. This is why many filmmakers will shoot with an external video recorder to capture the 10-bit video.
Warp Stabilizer

It’s not a bad idea to test Warp Stabilizer on shaky footage. But here’s a strong word of warning: DO NOT overdo it!
Motion Array: We suggest our producers shoot on tripods, sliders, cranes, etc., to begin with. Stabilization can create undesirable results such as loss of quality or that “jello” effect associated with Warp Stabilizer.
You will shoot your sales in the foot if your clip has any Warp Stabilizer distortion. Leave that decision for the users who purchase your clip. If you have any doubt about using Warp Stabilizer, don’t use it.
Color Correction
The same can be said for color grading your clip. You want to leave room for as much creative freedom for the user as possible.
Motion Array: Beautifully graded footage will stand out and attract the eye of a possible purchaser, but often times the editors like to do their own color grades.
It's helpful to distinguish color correction and color grading. Correction referring to color temperature and contrast, and grading referring to creating a look. If you notice a strong color cast in your footage, you should correct it before uploading as stock video.
Start Earning Money for Stock Videos

You can become a successful stock video producer right now. All it takes is an opportunistic eye, the rights to the footage, and a little Premiere Pro knowledge. And just like uploading videos to YouTube, you never know what people are going to like. You might be sitting on the perfect stock clip for someone else’s film.
Motion Array: We don’t recommend starting out with the expectation of quitting your 9-5 job. Have a more reasonable goal of simply earning some extra side cash.
Over time you can build up a substantial library of stock videos that’s generating some serious side cash. Another great thing about Motion Array is they’re non-exclusive, meaning they don’t prohibit producers from uploading their stock videos to other sites. You’ve got nothing to lose besides the passive income by becoming a Motion Array producer today. Be sure to check out Motion Array’s other products including Premiere Pro templates, After Effects templates, and stock music.
We intentionally breezed over a lot of information in this blog post. Let us know if there's something you want to know that we did not cover.
Have you ever considered becoming a stock video producer? What Premiere Pro tips do you have for editing stock videos? Please share in the comments!

