Open Multiple Clips and Sequences in the Source Monitor in Premiere Pro
How the Source Monitor Can Speed Up Your Premiere Pro Workflow, Pancake Timeline and Storyboard Editing
The Source monitor is the primary panel where many editors preview their footage and make their first editing decisions. The ability to open multiple clips and sequences in the Source monitor can speed up your editing workflow. Here are several tips for working with the Source monitor in Premiere Pro.
Jump to:
Each Clip as a Source Monitor
First, it helps to think of every clip in your project as having its own dedicated Source monitor. This is helpful for two reasons:
- Custom in and out points
- Source Monitor keyboard shortcut (SHIFT+2)
If we think of each clip as having its own Source monitor, then each clip can have its own in and out points. It also means you can use the Source Monitor keyboard shortcut (SHIFT+2) to tab through every clip open in the Source monitor.
In this blog post you will learn how to open multiple clips in the Source monitor and use the Source monitor keyboard shortcut (SHIFT+2) to quickly cycle through your clips, setting custom in and out points as you go. Then when you drag these clips into your Timeline (or Automate to Sequence) all your custom in and out points will be preserved. This concept of multiple Source monitors has a big application for Pancake Timeline editing as well.
Open Multiple Clips in the Source Monitor
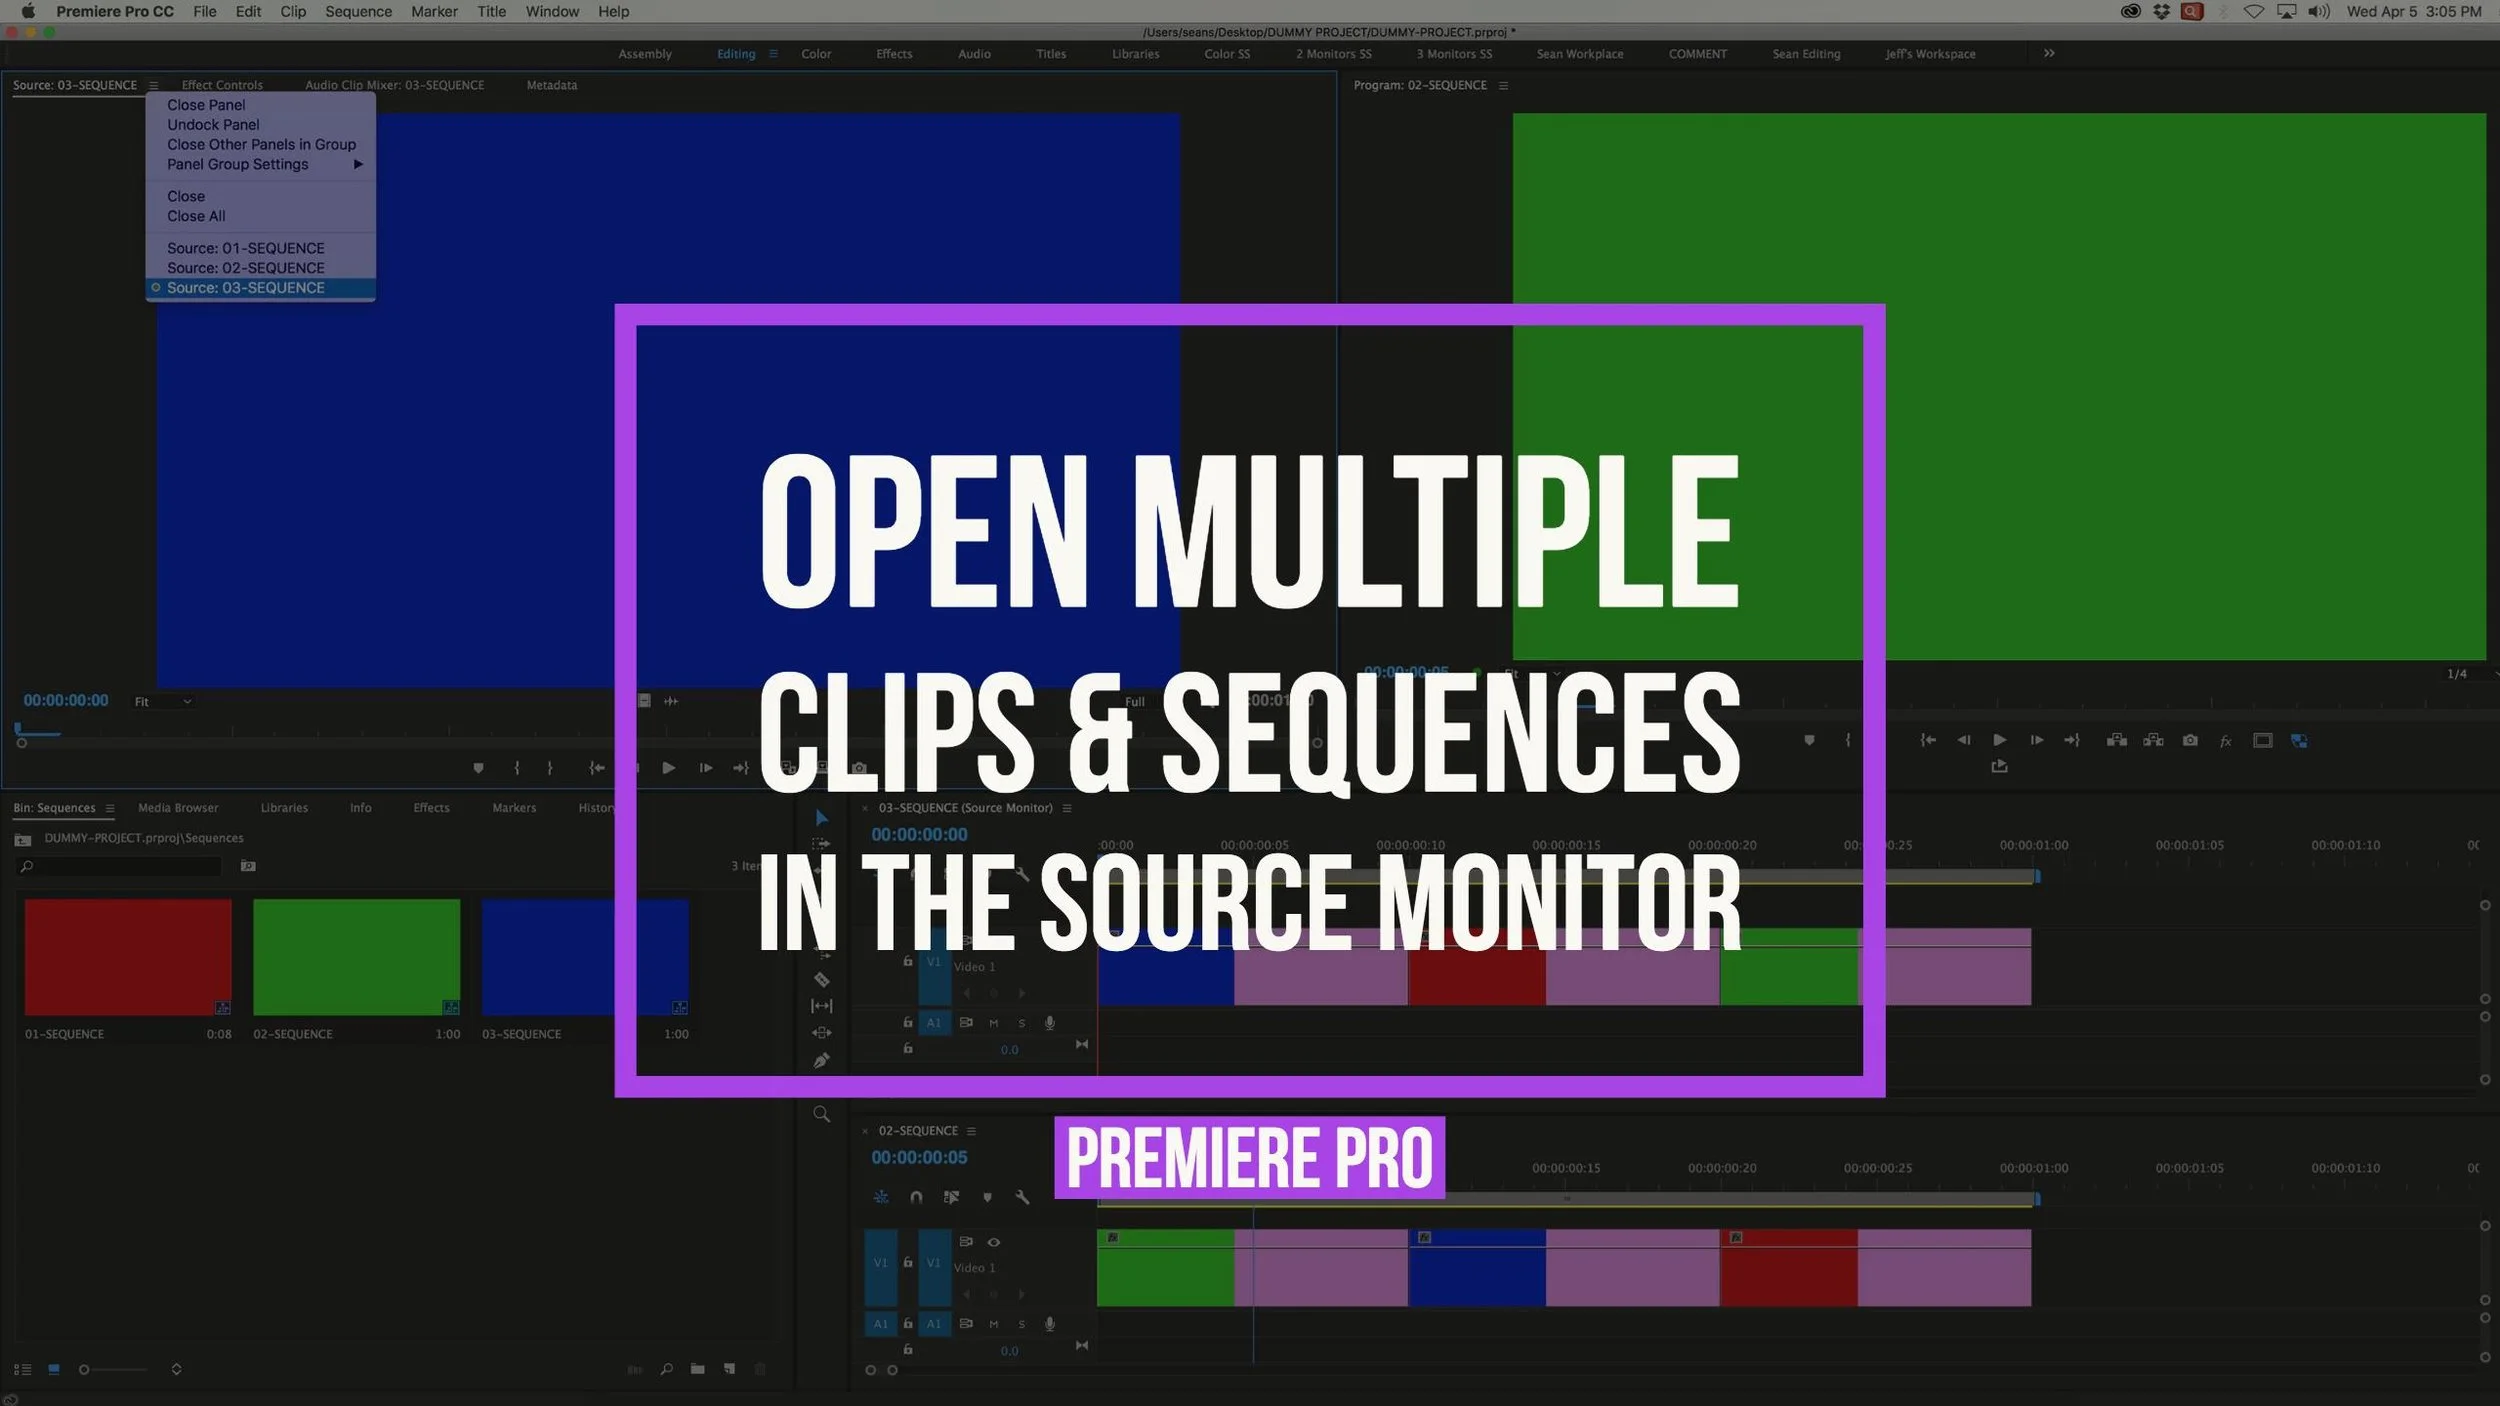
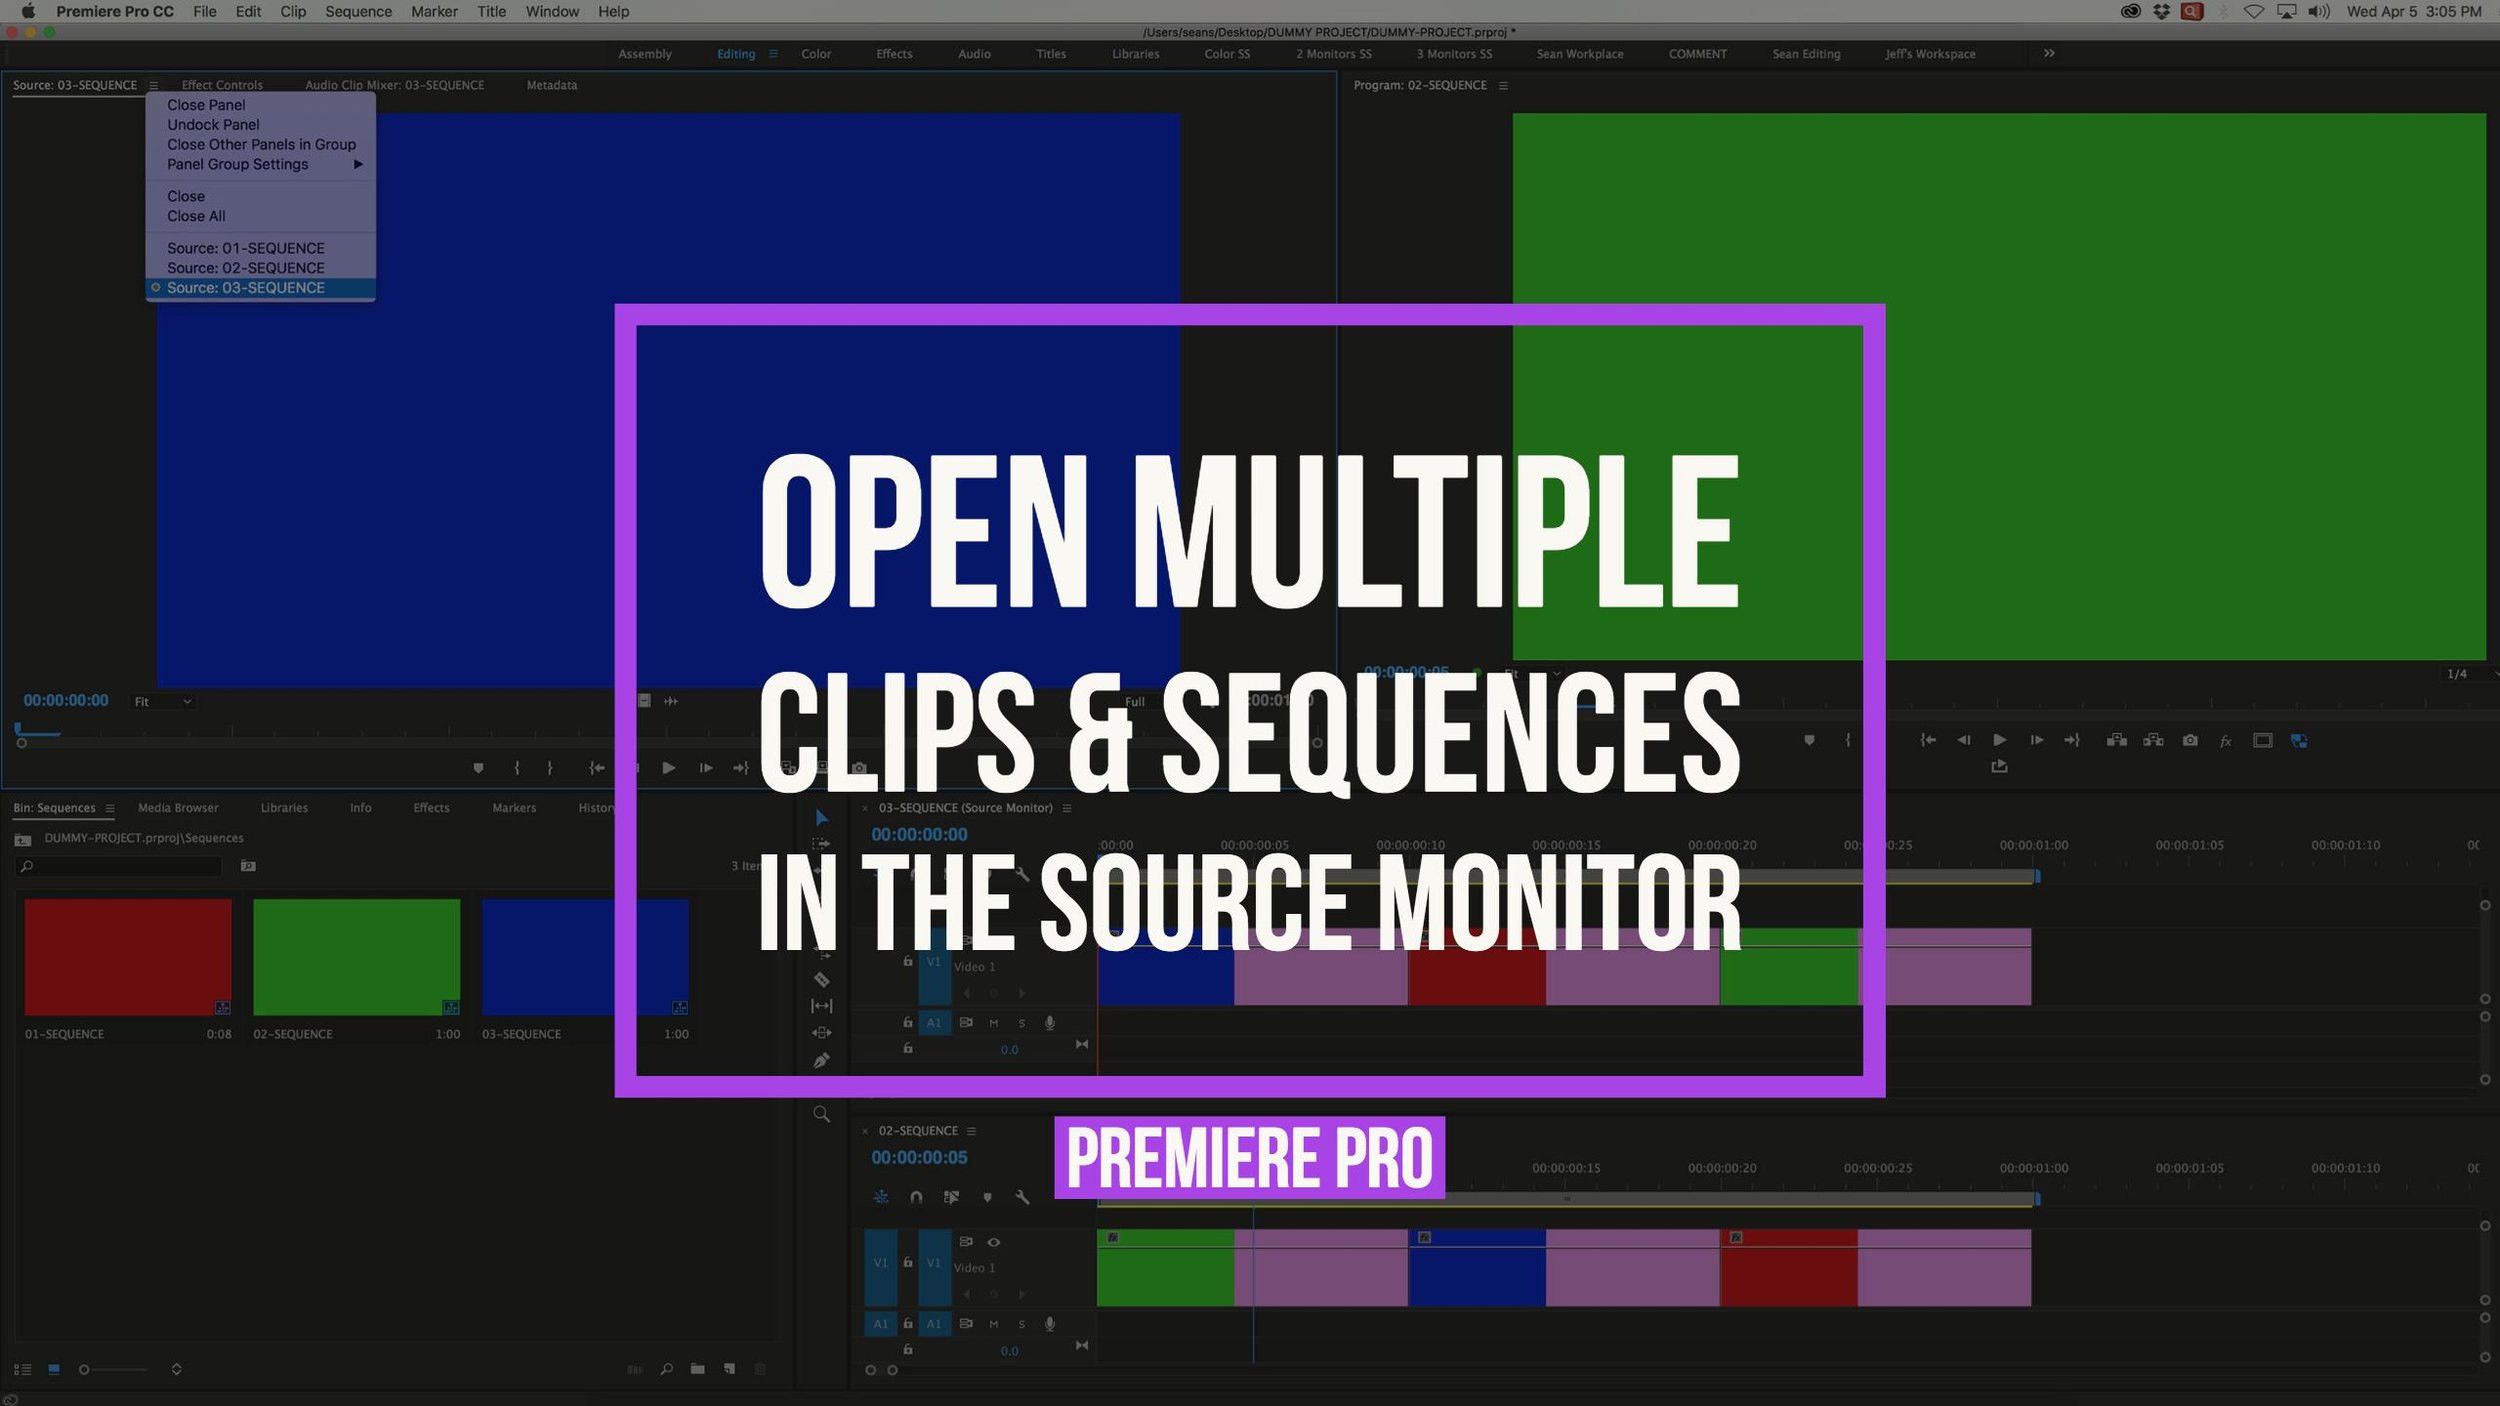
You may have intentionally or accidentally clicked the Source monitor fly-out menu and noticed multiple sources listed at the bottom of the window. They should have been familiar because those are all the clips open in the Source monitor. (Or you can think of these as individual Source monitors as stated above.) You can change which clip is visible in the Source monitor by selecting a different source.

Multiple clips open in the Source monitor.
Drag and Drop Clips on the Source Monitor
There are a several ways you can load multiple clips in the Source monitor in Premiere Pro. The first is by dragging and dropping multiple clips on the Source monitor panel.
Drag and drop multiple clips on the Source monitor.
Drag and Drop Bin on the Source Monitor
Even easier than selecting multiple clips is dragging an entire bin of clips on to the Source monitor. All the clips inside the bin will be loaded in the Source monitor.

Drag and drop bins on the Source monitor.
Keyboard Shortcut for Open in Source Monitor
If you prefer to stick to your keyboard, use the default Premiere Pro keyboard shortcut SHIFT+O to open selected clips or bins in the Source monitor.

Use keyboard shortcuts to open multiple clips in Source monitor.
Open Multiple Sequences in Source Monitor
Everything we've learned so far about opening multiple clips in the Source monitor can also be applied to sequences. So for editors who prefer to work with selects sequences, there's still something for you here. Open multiple sequences in the Source monitor using the same drag and drop or keyboard shortcut methods as above.

Open multiple sequences in the Source monitor.
Pancake Timelines with Multiple "Source Monitor Timelines"
Let's take it a step further and apply this to Pancake Timeline editing. Once you open multiple sequences in the Source monitor, you can open each of them in the Timeline by clicking the Source monitor settings (wrench icon) and choosing "Open Sequence in Timeline".
Unfortunately, Premiere Pro's terminology makes this part confusing. "Open Sequence in Timeline" creates a special Timeline sequence that is linked to the Source monitor. These source monitor timelines (personal term) are denoted with a red playhead and "(Source Monitor)" appended to the sequence name in the Timeline.

Because source monitor timelines are linked to the Source monitor, you can use the Source Monitor keyboard shortcut (SHIFT+2) to tab through them! Notice how the Timeline switches with the Source monitor below.
Stack this group of source monitor timelines above your main Timeline and you've got yourself a powerful, keyboard shortcut-driven Pancake Timeline! Perform traditional 3-point editing from the source monitor timelines, and use the Source monitor (SHIFT+2) and Timeline (SHIFT+3) keyboard shortcuts to jump into specific sequences to make fine-tuned adjustments.
Sort Order in Source Monitor
Exactly how clips are sorted in the Source monitor can be pretty murky. If you've played around with opening multiple clips or sequences in the Source monitor then you know exactly what I mean. It's mostly intuitive, but there's an apparent lack of consistency depending on whether clips in the Project panel are in List or Thumbnail view. In general:
- Clip selection takes priority
- Select All (CMD+A) defaults to sort criteria (but honors selection)
- List view: marquee/lasso selection takes priority over sort criteria
- List view: last clip selected is the first clip visible in Source monitor
- Thumbnail view: sort criteria takes priority over marquee/lasso selection
These rules are simply based on personal observation; they're not scientifically proven.
Storyboard Editing (User Order) in Source Monitor
Let's end on a more helpful note. Storyboard editing is a term that refers to a specific workflow in Premiere Pro. It begins with arranging clip thumbnails inside a bin so that it tells a story. You can then select all of the clips, right-click and choose "New Sequence from Clip" to turn the "storyboard" into a rough cut.
Let's combine storyboard editing with our concept of multiple Source monitors. First change the Project panel to Thumbnail view and scale the Thumbnail size to personal taste. Then click the Sort icon (pictured below) and make sure it's set to "User Order".


Again, if we're thinking of each clip as it's own Source monitor, then we can customize the order and in and out points of each clip. Arrange your clips in the Project panel, Select All using CMD+A (remember, clip selection takes priority so clear any selected clips before choosing Select All) and load them in the Source monitor. Tab through the clips in the Source monitor using SHIFT+2 and adjust your in and out points. These in and out points will become your edit points when you create a new sequence from your clips.

Sort your clips in Thumbnail view before loading them in the Source monitor.
That's it! Now you can preview, set in and out points, Pancake Timeline and Storyboard edit your footage in Premiere Pro faster by opening multiple clips and sequences in the Source monitor.
This post may be guilty of thin-slicing a simple concept, but I hope it tickled your inner editor and inspired you to look for those little efficiencies in your Premiere Pro editing workflow. Have some more Source monitor tips? Got the inside scoop on how clips are ordered in the Source monitor? Please share in the comments below!

