Premiere Pro Effects Templates (Not Presets)
Save Effects as Project Templates in Premiere Pro.
Did you know there's a way to build effects and transitions and save them in your Project panel? In this tutorial, featuring Kyler Holland, you will learn how to create what we're unofficially calling "Effects Templates" in Premiere Pro.
Of course, this effects workflow is not new. But it was to Kyler and it probably still is to many other Premiere Pro users. It's a workflow that may or may not seem obvious to you, but you'll immediately appreciate it once you see it. Let's dive in and take a look!
How Effect Templates Work
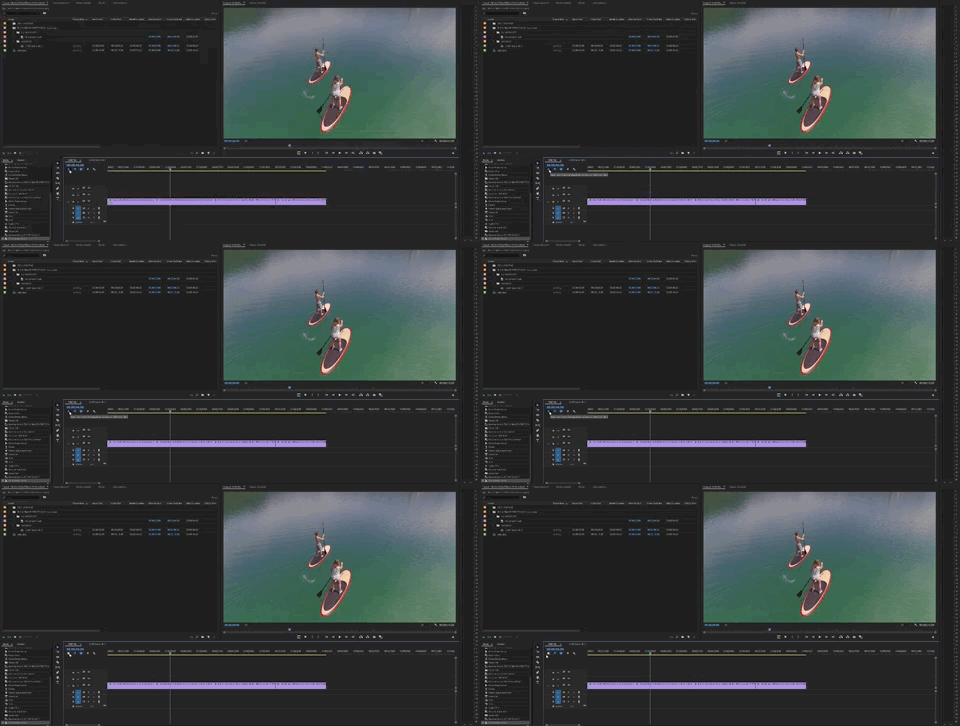
You are probably thinking this tutorial is about effect presets. Nope. This is something else. Effects templates is the term we use to describe this workflow. Essentially, effects templates are Premiere Project files with effects saved as sequences. Watch the segment below to hear Kyler explain the effects template workflow.
As stated, these are not effect presets. Effect templates are nested sequences that live in the Project panel. The effects, and all their dependent media, can be dragged into other sequences and applied above your clips and edit points.
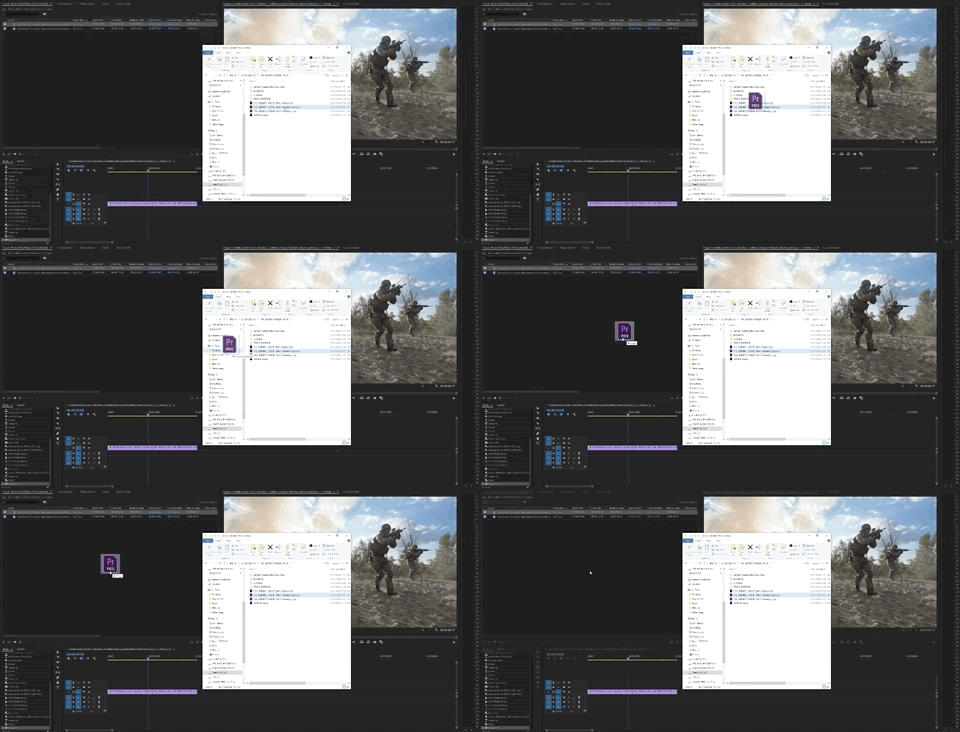
Drag effect templates from the Project panel into your edit. Via Kyler Holland
Benefits of Effect Templates
Effect templates save time because they are completely self-contained. Compared to presets, effect templates have three key benefit:
Effect Templates are Self-contained
Effect templates contain all the necessary synthetic media like adjustment layers, color mattes, etc. Unlike effect presets which require creating or duplicating synthetic media each time you want to apply them.
Preview Effect Templates
Effect templates can be previewed in the Project panel by hovering over them.
The Project panel must be in icon view to do this. Toggle the Icon View button in the bottom left corner of the Project panel.
Toggle Icon View to preview effect templates in the Project panel
Include sound effects
Audio clips can be included in effect templates. This means you can apply sound effects with your effects. For example, you can add a whoosh sound in a zoom transition effect template.
Add sound effects to effect templates
3 Important Things About Effect Templates
There are a couple crucial things you need to know about effect templates. They won't work properly without these three things:
1. "DO NOT DELETE" folder
Because effect templates use synthetic media, it's important those assets are not deleted from the Project. If you try to delete an adjustment layer that is used in an effect template, or any sequence, Premiere Pro will warn you that you are about to delete an asset that's being referenced in a sequence.
Do not delete synthetic media used in effect templates
So, create a "DO NOT DELETE" bin for all the synthetic media in your effect templates. Rename the bin to whatever you want. Just remember not to delete it. Whenever you want to share your effect templates, this folder has to go with them.
2. Turn of Source Patching for Video 1
In order to preview effect templates, they need to contain 'demo' footage and not just the synthetic media with applied effects. But, you don't want to drag the demo footage into your edit. Turn off Source Patching for video track 1 (or whatever track your demo footage is on) to prevent unwanted clips from being added to your sequence.
When you select the effect template, or any sequence, in the Project panel, you will see the blue source assignments (V2, V1, A1, A2, A3, etc.) change. Don't confuse source patching with track targeting; source assignments are to the left of track targets.
Source assignments indicate the type and number of tracks in the sequence. Notice the white plus icon in the image above. That indicates there are more tracks in the source sequence than in the open sequence. Click the plus icon to match the number of tracks in the selected source sequence.
3. Toggle "Nest or Not Nest"
"Nest or Not Nest" is the unofficial name for the "Insert and overwrite sequences as nests or individual clips" button in the Timeline. (You can understand why it has a nickname.)
Nest or Not Nest button
As its name states, toggling this button will change how sequences are edited into the Timeline. Watch Kyler demonstrate in the segment below:
Example 1 - White Flash Transition
Watch Kyler create a simple white flash transition effect template in the segment below.
PRO TIP: Add a marker (M) to the middle of your adjustment layer. This will snap the center point of the effect template to your edit point.
Example 2 - Dip to Black Transition
Similar to the first example, watch Kyler create a dip to black transition effect template.
Example 3 - Smooth Clockwise Spin Transition
Watch Kyler create a smooth clockwise spin transition in the segment below. This effect template is a little more complex than the first two because it contains a nested sequence inside the template. It also shows how you can add sound effects to effect templates.
PRO TIP: Sub-sequences with effects can be converted to an Adjustment layer. Righ click the sequence and choose Adjustment Layer.
Save and Import Templates
Saving effect templates is simply saving a Premiere Pro project with the sequences in it. Premiere Pro can import project files into open projects. You can also use Premiere Pro's Multiple Open Projects feature to access your effect templates as well.
Now that you know what effect templates are and how to make them, start creating your own! Their creative versatility is virtually unlimited. We'll be interested to see is there will be a surge of interest in this workflow and if our term "effect templates" will stick.
Bropinion
Effect templates have the potential to revolutionize effect workflows for some Premiere Pro users. Especially if you're into creating effects packs, this could be game-changing for you. Even Kyler says he is going to remake his preset packs as effect templates. So stay tuned for that!
Are effect templates new to you? How can you use them in your effects workflow? Let us know below?
Kyler Holland
Kyler Holland is a filmmaker with over 125,000 subscribers to his YouTube channel. Support Kyler by checking out his Premiere Pro presets on his Sellfy page. Join The YouTube Community on Facebook hosted by Kyler.


