What Are Track Mattes? (10 Free Transitions for Premiere Pro)

Image via Olufemii Tutorials
A Simple Guide to Track Mattes in Premiere Pro. ft 10 free Track Matte Transitions.
What’s a track matte? You’ll find out in this post featuring a video by Josh Enobakhare a.k.a. Olufemii Tutorials. First, we’ll explain what a matte is and how they are used to composite images together. Then, you will learn the essentials about track mattes and how to use them as transitions with the Track Matte Key effect in Premiere Pro.
Read to the end where we link to Josh’s 10 Free Track Matte Transitions! We tried them out so you can see exactly what you’ll get if you download the pack.
What Are Mattes?
Mattes are layers that define areas of transparency. They are used to composite images together by making parts of one image transparent, revealing another. Literally, mattes punch holes in an image so that other images can be seen.

Via Olufemii Tutorials
A matte can be a still image or a video with animation. Typically, mattes are black and white with zero gradation. Meaning there’s no gray, just 100% black and 100% white. The black indicates transparency and white indicates areas that are opaque. (This can be reversed in Premiere Pro as we’ll see later.) Additionally, you can also add transparency to the opaque areas by adjusting the Opacity of the matte in the Effect Controls.
To better illustrate the function of a matte, Josh provides an example in his video that shows how mattes define transparency. Below you can see a black and white matte; the black areas that turn red will be transparent.
Via Olufemii Tutorials
Here the matte is applied to an image, seen in the white areas below.

Via Olufemii Tutorials
Now, you might be confused. Aren’t the black areas transparent? Why is the image appearing in the white? This is where the “track” in track matte becomes important.
What’s the “Track” in Track Matte?
A track matte means the matte is being tracked or applied to an image. In the example above, the matte is being tracked to the image that appears in the white areas. Don’t confuse the white area for transparency, even though that’s how it looks. The black areas are still transparent. If there was a second image, you would be able to see it in the black areas. Again, try to imagine the matte is punching holes in the image.
Here’s an example we created showing each step of a track matte.
Just the matte (track 1)
The matte (track 2) tracked to an image (track 1)
The track matte (tracks 2 & 3) composited over another image (track 1)
What is the Track Matte Effect?
Video images are made up of 3 color channels: red, green, and blue. Images with transparency have a fourth channel called an alpha channel. Mattes don’t have alpha channels baked into them, as you might expect. You need to tell Premiere Pro to make the black areas of the matte transparent. You can do this with the Track Matte Key effect. Josh explains how in the video segment below.

The temptation is to apply the Track Matte Key to the matte. That’s not correct. The key (pun intended) with the Track Matte Key is applying it to the image you want tracked or the image you want to punch holes in. This is the image that will appear in the white areas of the matte.
The next step is to go into the Effect Controls for the clip with the Track Matte Key and set the matte layer. Select the video track with the matte from the Matte drop down.

You will also see in the Effect Controls that you can invert the matte by checking the Reverse box. Check out the GIF below to see what happens when the matte is reversed. Basically, it’s like swapping the black and white areas of the matte. This is makes track mattes very flexible!

Track Mattes as Transitions
Track mattes make for very stylish transitions. To use a track matte as a transition, the matte must start completely black and then be taken over by white. How the white animates over the black is only limited to the creative imagination of the designer. Follow Josh’s steps in the video below to set up your track matte as a transition.
Put the first clip on the lower track in the Timeline.
Put the second clip (the one being transitioned to) above the first one.
Place the matte on the top track.
Apply the Track Matte Key effect to the second clip and set the Matte setting to the top track with the matte.
Your clips should look similar to this in the timeline.
The result is the second clip will transition over the first clip as the white part of the matte animates over the black.
10 Free Track Matte Transitions
This is the reason you’re really here, right? Well, wait no longer! Download your free copy of Olufemii’s 10 FREE Track Matte Transitions. The download process is simple; all that’s required is an email address. Continue reading to see what exactly you’re getting in this pack.

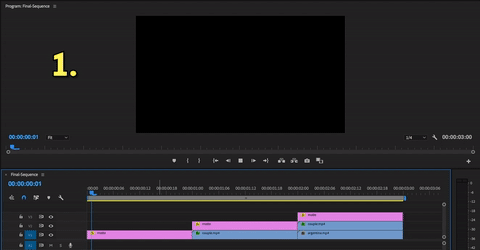
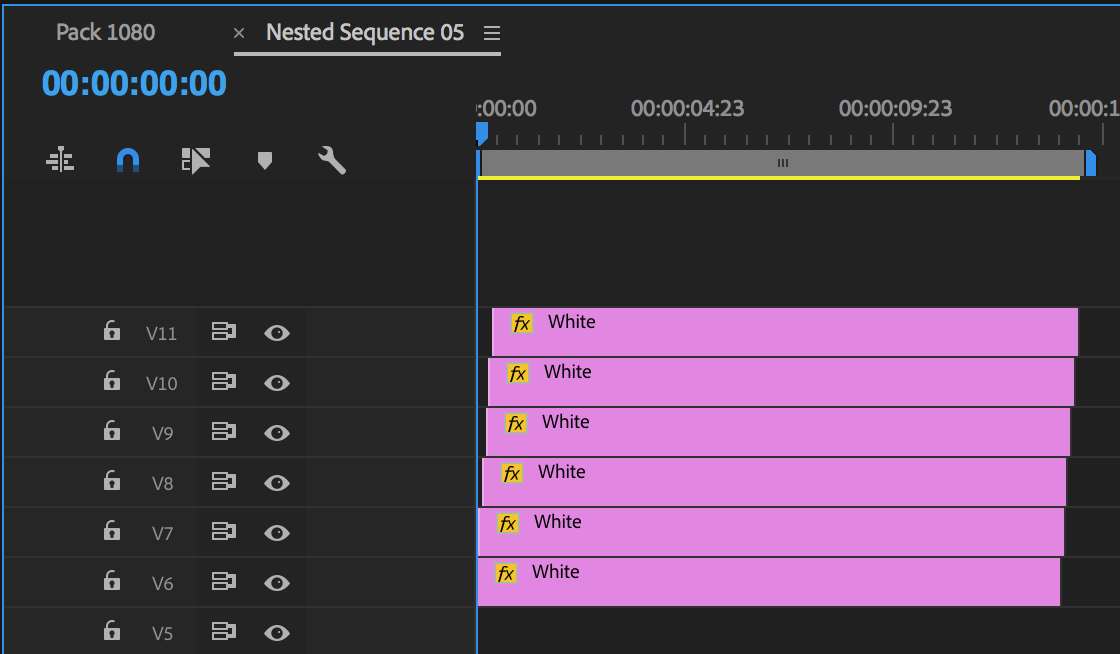
Most track mattes come as standalone images or video files that you would import into Premiere Pro. But, Josh’s track mattes are different. They live inside a Premiere Pro project file (CC 2018). Shown below are the 10 track matte transitions laid out in a sequence

The mattes are contained within nested sequences (green clips). Above most of the mattes are adjustment layers (pink clips) with Lens Distortion effects to add a little more flair to each transition. (You can customize the curvature to your liking.) Below the mattes, Josh even includes demo footage. To use the transitions, all you have to do is replace Josh’s clips with your own.
Just to show you what’s going on inside the nested sequences, the mattes are actually white solids with animated masks. They behave like a single matte when nested inside a sequence.
Export the Nested Sequences
If you would rather not have to deal with importing a Premiere Pro project to use these track matte transitions, we recommend exporting each of the nested sequences as standalone video files. Remember, you don’t need to export with an alpha channel. Use the Track Matte Key effect to set the transparency.
Bropinion
We think Olufemii’s track matte transitions are as good as any paid ones being sold online. In fact, its almost as if he created a premium product and just forgot to set the amount to charge for it.
That said, we did encounter a couple crashes when working with his project file. It could just be us; it could be the file, just saying. Regardless, we think embedding the transitions in a project file is cool, especially since you get the embellishments in the adjustment layers. But, in the end, we like working with standalone mattes better. We found it easier to export Josh’s mattes and then re-import the video files.
Call to comment. Did this post on track mattes helped you? Let us know if you download Josh’s track matte transitions. We’d like to hear your experience with them. Be sure to show Josh some love by following him and leaving him a comment on the video.

Olufemii Tutorials
Josh Enobakhare a.k.a. Olufemii is a director and editor from Los Angeles. His YouTube channel, Olufemii Tutorials, has over 156K subscribers, who follow him for his unique tutorials on editing and filmmaking. Josh is also the founder of LuxuryLeaks.com, a site for innovative digital products to help video content creators.