This 20 second tutorial shows how to hide audio cuts in Adobe Premiere Pro. This can help your audio to flow a lot better and make your premiere pro projects feel more impactful. —Jordan Dueck
All in Editing
D.L. Watson: The Most Efficient Way to Trim Content to a Specific Length in Premiere Pro
Ever in a situation where your client wants you to cut your video down to a specific timecode? Ever try it and cut too much out? This quick tip will hopefully help you cut out the perfect amount every time! —D. L. Watson
Independent filmmaker, D. L. Watson shares his own innovative technique for cutting down an edit to a specific length. The scenario in this tutorial is D. L. needs to cut a 48-minute TV episode down to 44-minutes. How do you keep track of how much content you need to cut?
At 0:35 D. L. adds a timeline marker at the required 44-minute mark. Next he adds a Transparent Video clip starting at the 44-minute marker, and stretches it to the end of his program. The Transparent Video clip is now the exact length of content that he needs to cut to meet his 44-minute total runtime.
When D. L. finds filler content that he can cut at 0:56 he slides the Transparent Video clip over the area and makes the edit. As he continues to make edits, the Transparent Video clip gets smaller and smaller indicating he's getting closer to his 44-minute total runtime.
RocketStock: 5 Must-Watch Premiere Pro Tutorials
Learning the ins and outs of a new NLE can be intimidating. However, once you establish a video editing workflow, it becomes easy to integrate new tools. Even after working with Premiere Pro for years, there are still many shortcuts and features I have yet to learn. With a program this powerful, learning more about the interface never hurts, so let’s take a look at some tutorials. —Logan Baker, RocketStock
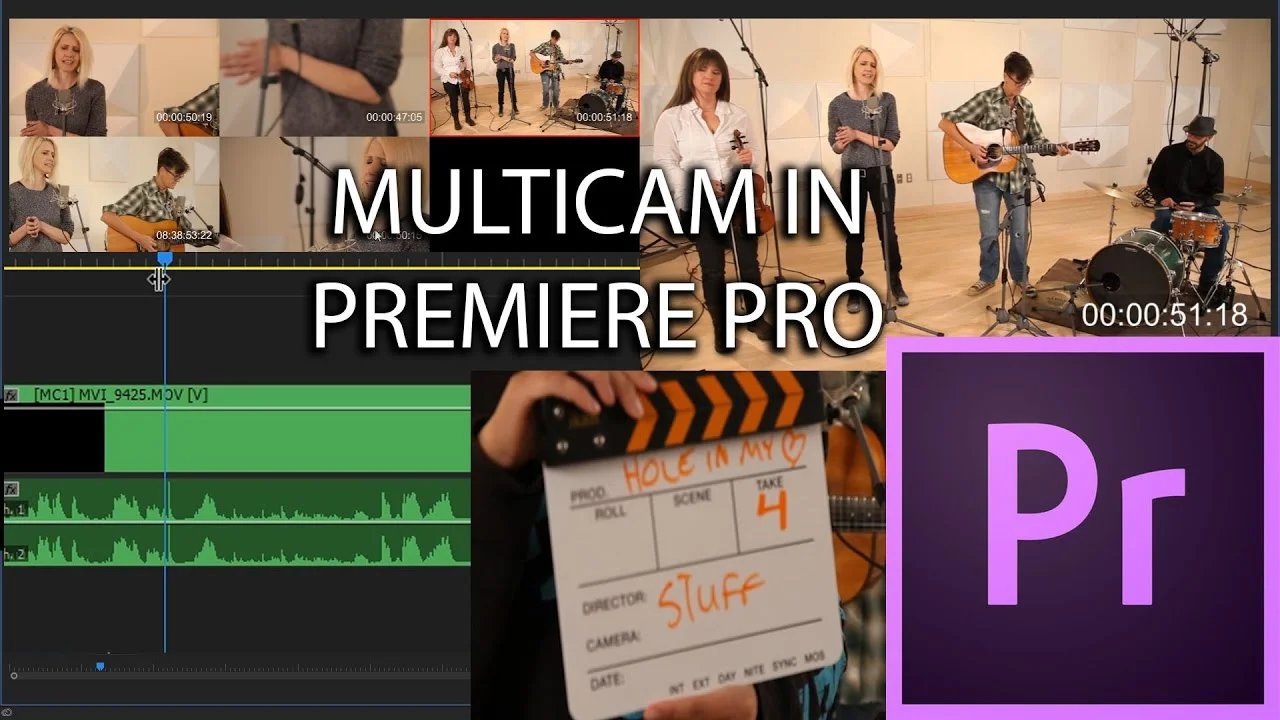
Chinfat: Multi-Cam Setup and Editing - Adobe Premiere Pro CC 2017
In this episode, I show how do to perform proxy workflow in order to prepare and edit multicamera sequences. —Chinfat
Watch Multi-cam Advanced using Multiple Formats - Adobe Premiere Pro CC 2017
Justin Odisho: 5 Essentials on How to Edit Faster in Adobe Premiere Pro CC (Workflows, Shortcuts, Tips & Tricks)
Learn how to Edit Faster in Adobe Premiere Pro in this tutorial! —Justin Odisho
Roberto Blake: Video Editing Tutorial: How to Edit a Vlog in Premiere Pro, Step by Step
Adobe Premiere Pro CC Tutorial: How to Edit a Vlog Vlogging is very popular on YouTube, in this video editing tutorial I will show you the step by step process I use for editing a vlog. While I may not technically be a daily vlogger, I shoot and edit video just about each and everyday using Premiere Pro and have for years. —Roberto Blake
Pond5: 5 Simple Steps to Multi-Camera Editing in Adobe Premiere Pro
Are you working on a film or an interview spot that has multiple camera angles for the same scene? Premiere Pro’s multi-camera editing feature lets you sync multiple camera angles in one sequence, then seamlessly switch between those angles by pressing the number keys on your keyboard. It’s easy and time saving — two things I love! —Kelsey Branan a.k.a. Premiere Gal, Pond5
Jonny Elwyn: Premiere Pro CC 2017 Tutorial Round Up
In this post I’ve brought together some of the best tutorials I’ve seen on the new features as well as some other useful resources too. This post is a bit of a catch up for me so there’s quite a bit in here! —Jonny Elwyn
Cinecom.net: Faster Editing tips and tricks for Premiere Pro
If you're new to Premiere Pro and want to push your editing speed to the next level, this Cinecom.net tutorial is for you. In this video, Jordy Vandeput shares five high-level tips for editing faster in Premiere Pro. The tips begin at 0:43 with some of the more obvious ones, like: keyboard shortcuts, workspaces, and file management. At 3:59, Jordy talks about system performance and recommends using Premiere Pro's proxy workflow to improve playback during editing. He also talks about system memory later in this section. Lastly, at 4:52 Jordy recommends turning off layers in your Timeline that aren't essential while your editing.
Learn to edit faster with Adobe Premiere Pro in this tutorial video and speed up your workflow with these tips and tricks. Your time is precious. You want to make sure you're spending that time in the creative process and not with technical things. —Cinecom.net
Orange83: Glowing Cateyes in Premiere Pro And More Tutorials
Introducing Orange83: Premiere Pro Tutorials, Microsoft Products, and More
Orange83 makes his debut on Premiere Bro in this "Glowing Cateyes" Premiere Pro tutorial. First step is having a cat. Next, Orange83 uses the Black & White effect, and then applies a Lumetri Color effect. In order to isolate the color to the eyes, you need to use a mask. At 1:33 Orange83 shows how to draw the mask and animate it so it sticks to the eyes. Continue reading from more Orange 83 tutorials!
This is a quick (3 minutes!) tutorial on creating glowing cat eyes. In this video I will teach you which effects to apply, how to do some color correction and also how to make a mask overlay. —Orange83
Source: https://youtu.be/4hFmdV1I_ow
Justin Odisho: How to Sync Cut Footage to Music in Adobe Premiere Pro CC
Learn how to edit your video to the rhythm of a music track in this Premiere Pro tutorial by Justin Odisho. First, at 1:15 Justin identifies beats in the audio waveform, and then cuts his video clips to sync using the razor tool. (You can also lock the music track and use keyboard shortcuts Q and W to Ripple Trim Edit to Playhead.) Alternatively, BeatEdit for Premiere Pro by Mamoworld will analyze your music track and add markers to beats. Then, with Snapping (S) enabled, you can easily edit your footage to the markers with 100% precision. At 2:27 Justin suggests using onscreen text and fades to stylize your syncopated edits.
In this video editing tutorial, I will be using Adobe Premiere pro CC 2017 to demonstrate how to Sync Jump Cut your footage with music to create a more cinematic feeling sequence or transition from clip to clip and set the pace of your project! —Justin Odisho
Source: https://youtu.be/-2eXk0oLFQs
Christian Maté Grab: Fake Camera Movements in Adobe Premiere Pro
Learn how to reframe and add movement to your shots in this visually dramatic Premiere Pro tutorial from Christian Maté Grab. Christian uses 4K footage but your footage doesn't have to be 4K. (It definitely doesn't hurt either!) As Christian explains at 0:50, the trick is having footage that is larger than your sequence size, giving you the extra resolution to animate the image without any quality loss. With more and more cameras offering 4K (including mobile devices!) this is an lesson for creating faux camera movements or angles in Premiere Pro.
How to Fake Camera Movements in Adobe Premiere Pro (Tutorial) In this Tutorial I'm gonna show you a great and easy technique to fake camera movements in post with the help of Adobe Premiere Pro and Keyframes without any third-party-plugins. —Christian Maté Grab
Source: https://youtu.be/a0rLrR0TgkQ


