This tutorial is for anyone who wants to create captions for YouTube videos that originate in Adobe Premier Pro CC 2017. —Jared Lichtenberg
All in Workflow
VideoRevealed: What Every Editor Needs to do *Before* They Start a Project!
There are huge benefits to begin each project by organizing your media into folders on the Desktop. Premiere Pro can automatically create Bins based on the folders you create helping you to instantly organize all your Projects. NOTE: Empty folders will not be imported into Bins. —VideoRevealed
AdobeMasters: How to Synchronize Audio in Adobe Premiere Pro CC 2017
In this video I go over a couple ways to synchronize audio. I go the quickest way, which is a point and click, and then manually doing it. —AdobeMasters
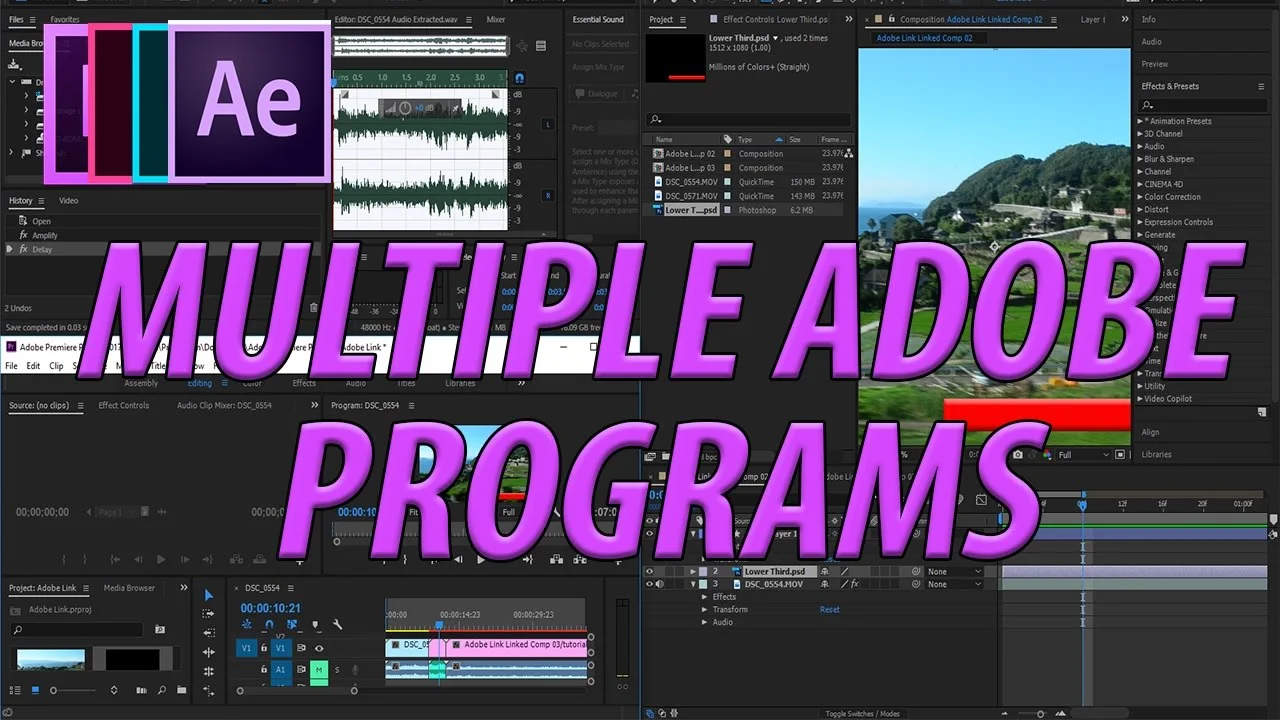
AdobeMasters: How to Link Multiple Adobe Programs Together
I go over the typical web to link together multiple adobe programs while video editing! A slightly different video style going over information rather than a specific effect! —AdobeMasters
Chung Dha: Shortcuts I Use the Most in Adobe Premiere Pro
In this video tutorial am I showing you several shortcuts I use the most while editing in Adobe Premiere Pro, this will improve and quicken your editing workflow even more and learn to use quick short cuts to access tabs faster and also to access things without doing extra steps. —Chung Dha
Jordan Dueck: 5 Tips in Premiere Pro I Wish I Knew (Part 5)
5 tips to help you edit better, faster, and smarter in Premiere Pro. I learned them them the hard way and did things wrong for a long time, hopefully you don't have to do the same thing. Cheers! —Jordan Dueck
VideoRevealed: Small Laptop Performance Tips in Adobe Premiere Pro
VideoRevealed receives many questions about system performance and specifically how laptops can be made to work better with Premiere Pro. Although there is no way to magically make an under powered laptop more powerful, there are ways to to tweak your workflow to make your editing experience more fluid. This tutorial will show you speed improvements including working with SSDs, why RAM is important and how CPU speed works with compressed footage. —VideoRevealed
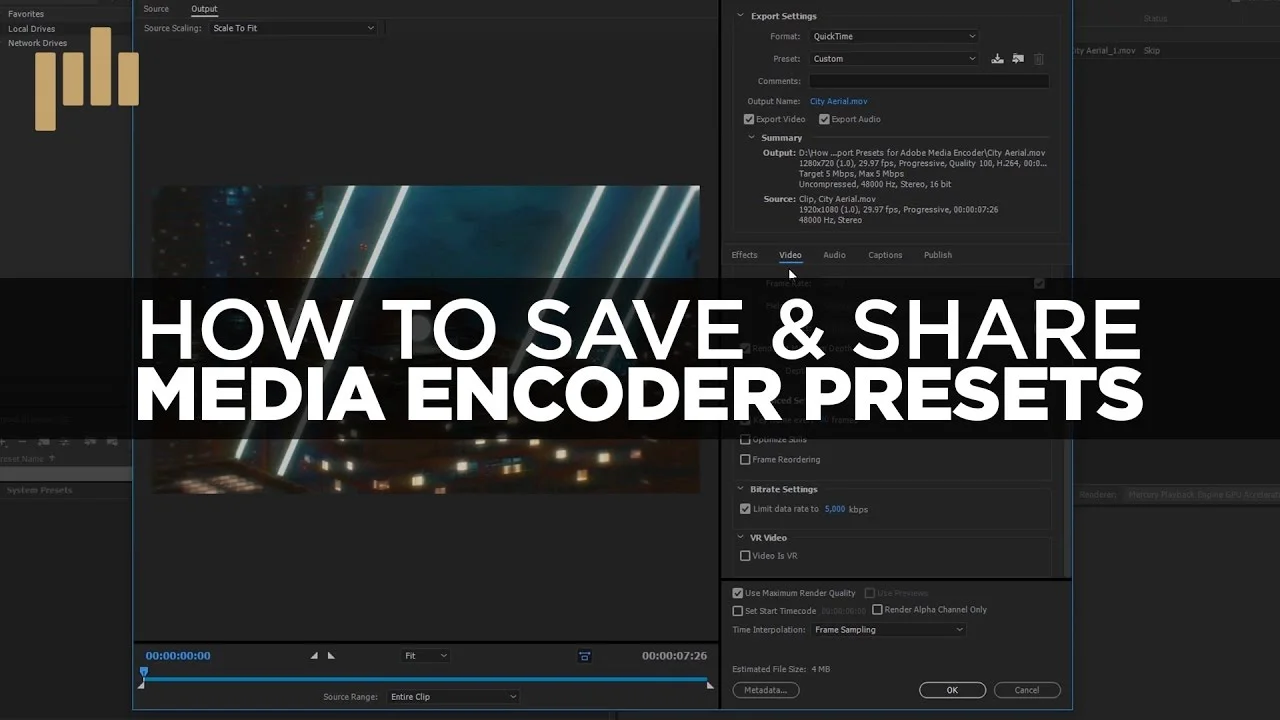
Premiumbeat: How to Export and Import Presets for Adobe Media Encoder
Learn how to export and import presets for Adobe Media Encoder with this helpful video tutorial. Plus, free presets! —Charles Yeager, Premiumbeat
Ignace Aleya: 10 Editing Tips & Tricks To Speed Up Your Workflow in Premiere Pro
10 Tips & Tricks to work faster in Premiere Pro! Learn new shortcuts, editing techniques like a pro. —Ignace Aleya
LensProToGo: How to Sort Usable B-Roll in Adobe Premiere Pro
Dave from Archaius Creative, a Post House for Wedding and Commercial work, shows show they sort B-Roll for commercials to help make the editing process faster and more organized. —LensProToGo
In this LensProToGo tutorial, Dave from Archaius Creative demonstrates his workflow for cutting down b-roll into useable footage in Premiere Pro. First, at 1:34, Dave sorts his clips in numerical order; this is important later when he begins filling in the Description metadata column. Then, Dave starts creating his selects sequences. He opens his clips in the Source monitor and marks an in and out point around the best part of the clip. This selection is added to a sequence along with all the other best parts from the other clips.
Here's an interesting method for using the Description metadata column in Premiere Pro. Starting at 2:30, Dave updates the Description field only when the action changes from clip to clip. In other words, he enters a description for the first clip and for all the following clips with the same action he leaves the Description field blank. When the action changes, he enters a new description. He knows that all the shots in between share the same description as the previous entry. This approach saves him from having to copy the same description for multiple clips.
VideoRevealed: Adobe User Interface Clues!
The Adobe engineers work hard to make as much of the Adobe experience as "discoverable" as possible. By creating user interface standards, Adobe makes it easier for users to make there way around an application even with minimal experience. They also break out of that mold when they need something new for a specific job. This tutorial will take you on a tour of some of the most import Adobe user interface components. —VideoRevealed
Premiere Pro is full of hidden features, and some of them harder to find than others. As Colin Smith of VideoRevealed says at 0:18, the Adobe Premiere Pro engineers try to make all the features in the application as "discoverable" as possible. You can imagine this is quite a challenge! That's why Colin created this tutorial to help us understand some of the key UI characteristics in the Adobe applications - Premiere Pro primarily.
The first interface clue at 1:09 is simple: right-click on everything! Right-clicking reveals contextual menus, meaning the menus are different depending on the context or where you're clicking. Watch what happens at when Colin starts right-clicking inside Premiere Pro.
Next is disclosure triangles. Clicking disclosure triangles twirls down many important features in Premiere Pro. For example, at 2:14 Colin shows how to access the Velocity Graph in the Effects Controls panel by clicking the disclosure triangles next to the Motion settings that have keyframes.
Thirdly, those three horizontal lines on the right side of every panel name in Premiere Pro are fly-out menus, commonly called "hamburger menus". And clicking on them reveals a lot of useful panel-specific preferences. For example, this is where you can find the docking options for each panel. Starting at 3:29 Colin shows what some of the hamburger menus look like in Premiere Pro.
Let's throw a wrench in here. Literally. Clicking the wrench icons in Premiere Pro reveals a ton of settings for the panels that have them, like the Program, Source and Timeline panels. Watch as Colin clicks the wrench icon in Premiere Pro at 5:31.
Colin goes on for another 7 minutes, highlighting even more helpful Adobe UI tips. Some of these include Sync settings, finding panels, creating new items, and on and on. Well worth watching to the end!
Justin Odisho: How to Export Vertical Videos for Instagram Stories in Adobe Premiere Pro
Learn how to create and upload custom Instagram story videos from your camera roll in premiere pro. —Justin Odisho


