In this post I’ve brought together some of the best tutorials I’ve seen on the new features as well as some other useful resources too. This post is a bit of a catch up for me so there’s quite a bit in here! —Jonny Elwyn

In this post I’ve brought together some of the best tutorials I’ve seen on the new features as well as some other useful resources too. This post is a bit of a catch up for me so there’s quite a bit in here! —Jonny Elwyn
From basic color corrections to color theory and advanced color grading. Learn how to get that cinematic film look in this complete tutorial for Adobe Premiere Pro. Color grading or color correction isn't an easy process to learn. Apart from the technical difficulties, there are many creative choices that have to fit a certain color theory. —Cinecom.net
Brian from Archaius Creative, a Post House for Wedding and Commercial work, walks us through an introduction to EQ using Premiere Pro CC. Let us know in the comment below if you have any good tips for quick EQ adjustments. —LensProToGo
Premiere Pro CC 2017 users can make their audio sound great with the audio effects ported over from Adobe Audition. Lend your ear to Brian of Archaius Creative in this LensProToGo tutorial on how to use the new Parametric Equalizer in Premiere Pro. Learn what EQ is at 0:52 and get acquainted with the Parametric Equalizer's interface at 1:09. Brian then shows how to use the Parametric Equalizer in the following three examples:
Clip Mixer / Rubber Band / keyframe tips in Adobe Premiere Pro You may not know that changing clip volume is something that takes place in three different places: the clip keyframes, the Effects Control Panel and the Clip Mixer. It's good to know how an where to make the changes you need to clip volume. —VideoRevealed
Chrystopher Rhodes aka YCImaging shows how to get that increasingly popular faded film look in Premiere Pro. First, he quickly walks through his own color correction process, increases the contrast, and at 1:15 he shows how he pulls out some of the browns in his footage using the HSL Secondary tools in the Lumetri Color panel. Then, at 2:29 Chrystopher shows two different ways to achieve the faded film look. The first way is the obvious Faded Film slider in the Creative tab of the Lumetri Color panel. But as Chrystopher points out, that can sometimes mess with your midtones. The second way gives you more control over your faded film look, and that's by using the Curves in the Lumetri Color panel.
In this tutorial I show you how to create a faded/vintage look for your color grade using Adobe Premiere Pro! —YCImaging
Everything you wanted to know about markers in Premiere Pro. YouTuber, Chinfat, talks about markers in-depth in this episode of his Premiere Pro CC 2017 tutorial series. He starts off by showing what markers are, and how sequence and clip markers are different. At 5:34 Chinfat covers one of his favorite marker features: in and out points. This can be done by Option (Alt) clicking on markers or by modifying the duration field in the Marker inspector window. Markers can also be color coded, which Chinfat demonstrates at 7:54. He also shows how to search sequence or clip markers by color and text in the Marker panel at 8:50. Chinfat's tutorial is so thorough, at 10:47 he even explains how markers are saved to XMP files, which are stored in Premiere Pro's Media Cache Database. These settings can be controlled under Preferences. Finally, at 12:33 Chinfat shows how to enable Ripple Sequence Markers under the Markers menu. This setting is critical if you're making edits and want your markers to stay in sync with your clips. This is a long tutorial, but you'll walk away with a deep understanding of markers in Premiere Pro. Mark my words.
This episode covers the use of markers for organization in Premiere Pro. —Chinfat
Do workflow tutorials make your editing chops salivate? Then you're going to enjoy this LensProToGo tutorial on bin organization in Premiere Pro. In this video, Dave of Archaius Creative shares his Premiere Pro bin structure for wedding, corporate and tutorial videos. He opens all his bins, explaining their purposes and how they might vary depending on your project. Great watch, especially if you're looking for a role model for your bin structure.
Dave from Archaius Creative, a Post House for Wedding and Commercial work, walks us through their organization for bins to increase productivity and keep all your content in order. —LensProToGo
Learn how to create animated mattes or "style mattes" in Premiere Pro with this Make Better Video tutorial with VFX artist, Sean Mullen of Rampant Design. The great thing about Sean's tutorials is the real-world examples of the material he's teaching. This animated mattes tutorial is no different; the first 60 seconds is chock full of examples of real-world value. Animated mattes are basically moving shapes that reveal the footage beneath. Sean begins the tutorial in Premiere Pro by showing the limitations of simply cropping the footage. Instead, at 3:06 Sean says the better workflow is creating the matte on a separate track with a color matte. Once you've created your matte using the Crop effect (or a mask), apply the Track Matte to effect to the footage, not the matte, as shown at 4:14. But there's a trick, at 5:22 Sean shows why it's important to nest your footage before adding the Track Matte effect. This allows you to move your footage in the nested sequence independently of your matte. It's long tutorial! But Sean keeps your attention with tons of helpful tips and some humor sprinkled throughout.
VFX Artist Sean Mullen shows us how to create a animated mattes in Adobe Premiere Pro. Sean walks us through multiple methods of animating mattes, sometimes called track mattes or style mattes. —Make Better Video
Learn the ins and outs of Dynamic Link between Premiere Pro and After Effects in this Cinecom.net with host Jordy Vandeput. First, at 1:36 Jordy shows how to import a Premiere Pro sequence into After Effects so that it appears as one Dynamically Linked clip, when a change is made to the sequence in Premiere Pro, the clip will update inside After Effects. This a good workflow for color grading in particular. At 3:51 Jordy demonstrates the more common Dynamic Link workflow of Replace with After Effects Composition. This sends selected clips from Premiere Pro to After Effects, and replaces them with a Dynamically Linked clip. Assuming you're finished with your After Effects work, Jordy shows how to Render and Replace the Dynamically Linked clip at 7:12.
Fast and user friendly workflow between Adobe Premiere Pro and After Effects. Learn how to use Dynamic Link and render and replace. —Cinecom.net
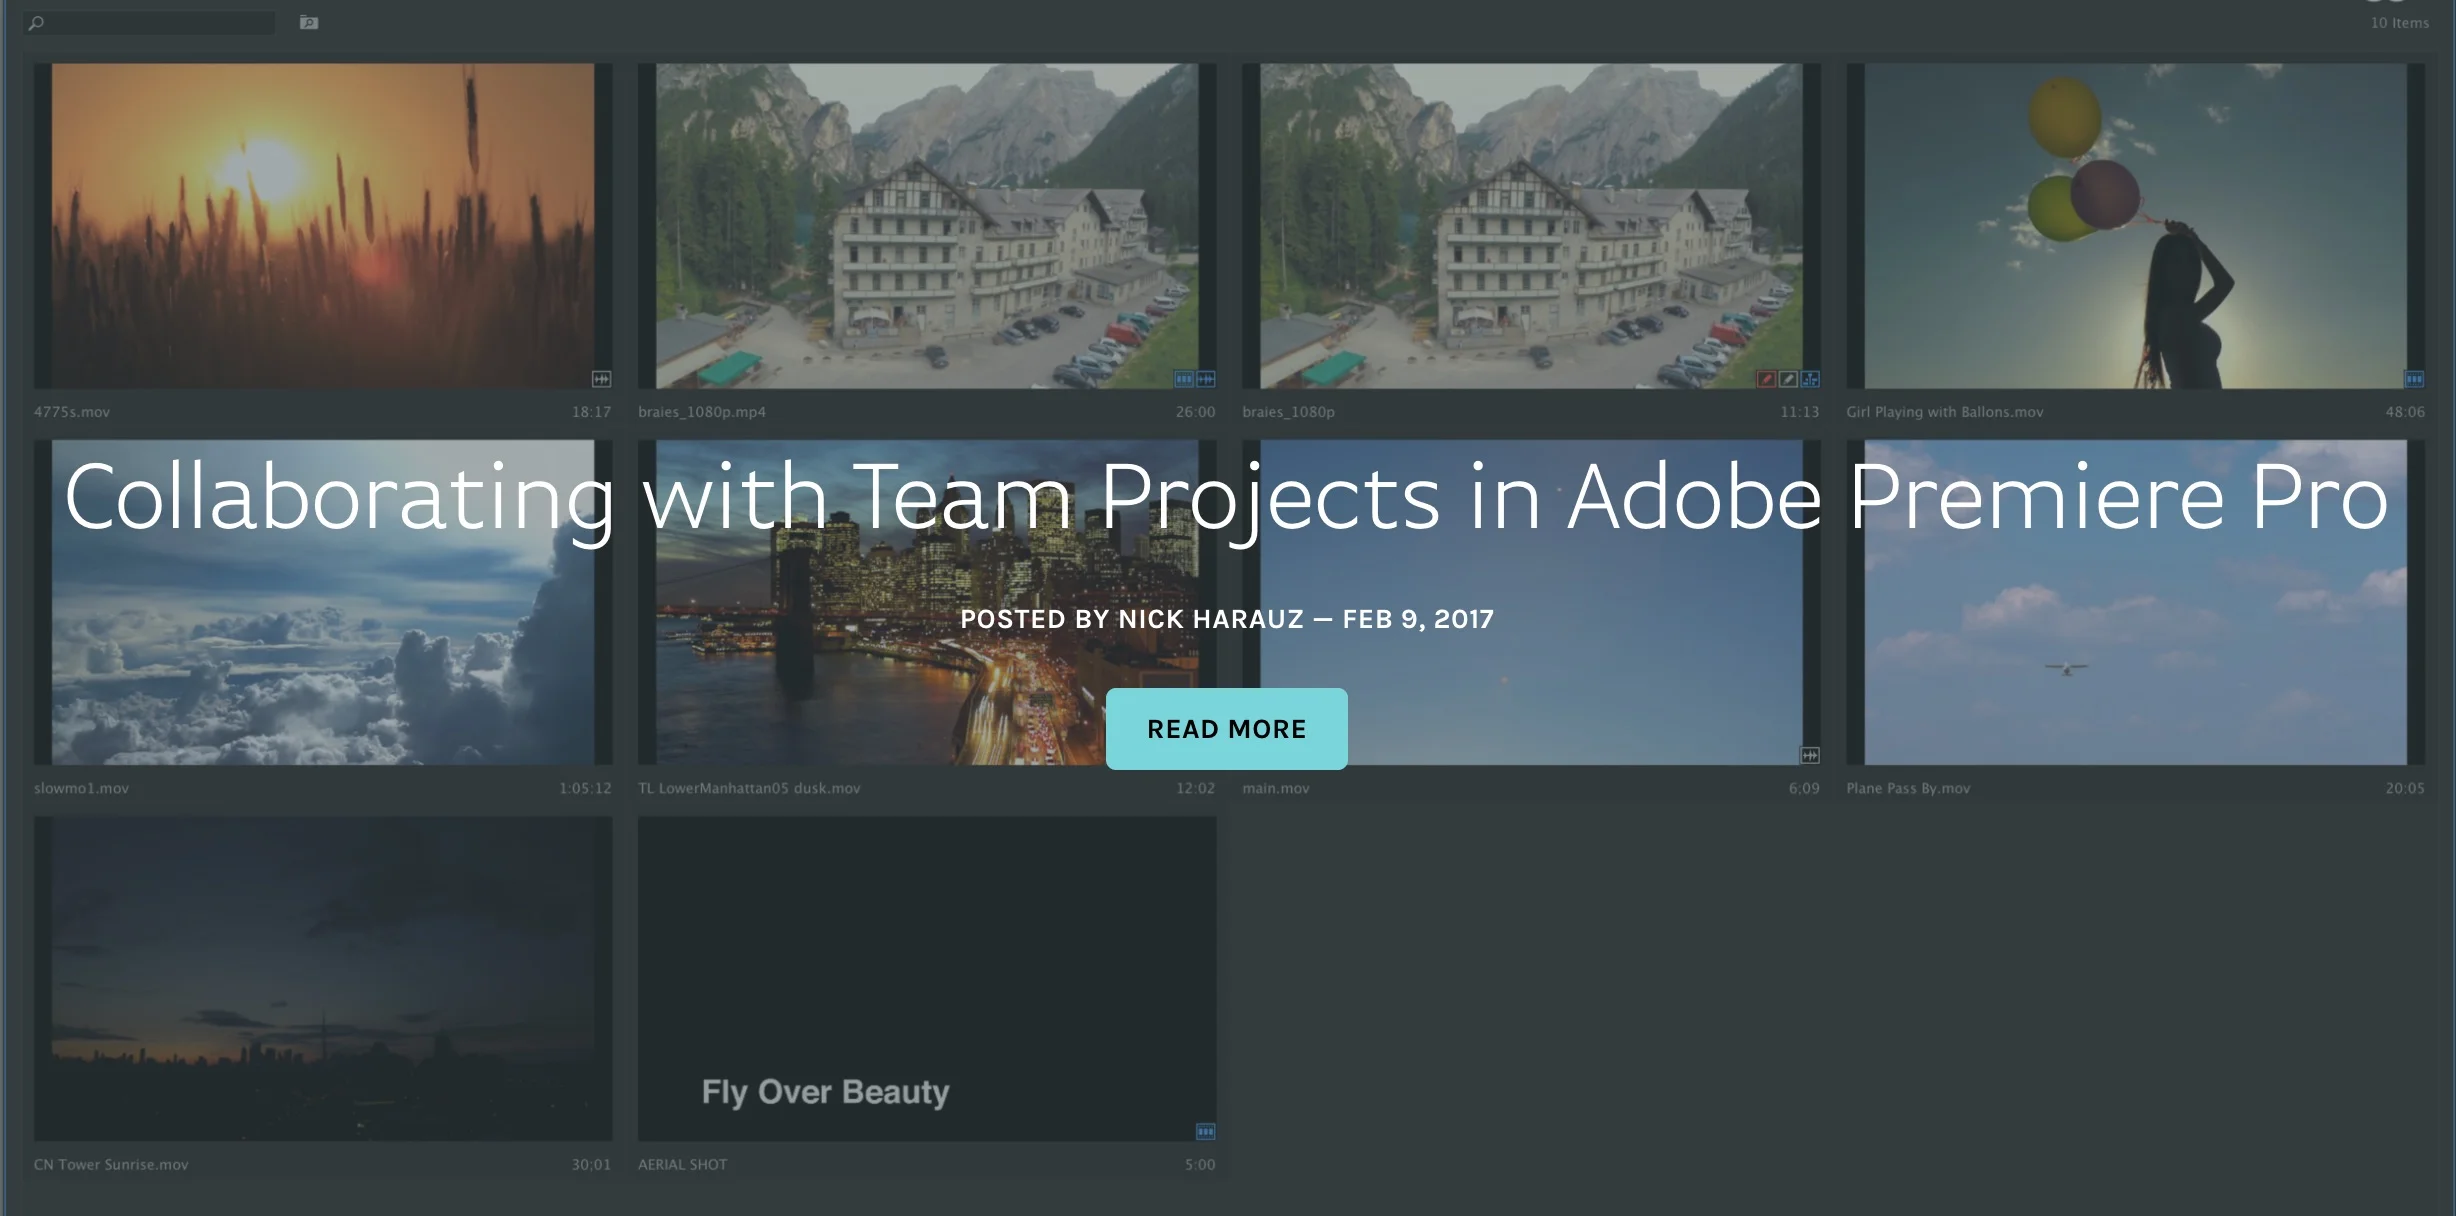
There's always a level of ambiguity around beta software, and Adobe's Team Projects no different. How does it work? Who's it for? This Screenlight blog post written by Adobe Certified Trainer, Nick Harauz, answers those questions in one of the most definitive Team Projects tutorials to date. Specifically, this post focuses on collaborating with Team Projects in Premiere Pro, not After Effects. (Remember, Team Projects does not support Dynamic Link with After Effects at this time.) Nick covers everything you need to know to get started with Team Projects: creating a Team Project, sharing, media mapping, conflict resolution and version history. He also has a section on Ingest settings, which includes how to setup a proxy workflow in Team Projects.
Working with multiple team members in post- production has been simplified with Team Projects. The new feature is available in the latest release of Creative Cloud. To use it, you’ll need a Creative Cloud account for Teams or Enterprise. Once you’re setup, Premiere Pro, After Effects and Prelude allow for multiple video editors, producers and motion graphic designers to work simultaneously in each application sharing various versions of there work. —Nick Harauz, Screenlight Blog
What is Adobe's vision for VR? In this immersive 5-page Forbes article, contributor Michael Humphrey sits down with several Adobe managers, scientists and researchers to discuss the role of software in VR storytelling. It's a dense but rewarding read, and mentions Premiere Pro on more than one occasion. For example, on page 3, Michael talks about "presence" or the feeling of being in VR, and uses the term "True North" to describe the place the viewer sees first. It makes sense for the primary action to fall inside this True North because of its familiarity and significance to the viewer. Shifting the True North in Premiere Pro is easily done. In fact, the capability was there long before support for VR was introduced. The Offset effect in Premiere Pro can adjust the center of a clip by panning the image within the frame. The challenge becomes shifting the True North to follow an action or story. Adjusting the Offset can be incredibly jarring, if not dangerous, within a VR headset. Michael describes the feeling as "freaking out". The point is VR storytelling is a radically new media with its own cinematic language, and Adobe Premiere Pro is at the forefront of developing tools for that new language.
So, what do you ultimately learn from reading this article? Plenty. I think the key takeaway is that Adobe wants to be the software at the center of the VR revolution. They are motivated by the increasing accessibility of VR and AR capable devices, as well as the "groundswell" of interest from content creators. But the success of this pursuit does not come without several big "ifs", which Michael lists on page 1.
This is a three-part monthly series about the role software will play in Virtual Reality storytelling, seen through the lens of Adobe Research and creators. —Michael Humphrey, Forbes