Let's Learn Premiere Pro: 360 VR Editing Workflow with the LG 360 Cam

Follow Kyle Edward Wilson, Head of Post-Production at Phanta Media, as he walks through his 360° editing workflow for the LG 360 camera in this episode of Let's Learn Premiere ProAt 0:16 Kyle jumps right into showing how to stitch the footage into an equi-rectangular format using the LG 360 CAM Viewer software. Easy enough! After creating a sequence based on his equi-rectangular footage, at 2:03 Kyle demonstrates how to adjust the viewer's first field of view—or true north—using Premiere Pro's Offset effect. Lastly, at 2:36 learn how to export your 360° video out of Premiere Pro, and then inject the necessary metadata for your video to playback in 360° on supported social media site.

NOTE: Kyle uses the Mac 360 Metadata injector. However, this metadata injection can be done natively in Premiere Pro if you have version 2015.3 and above. Just check the Video is VR box at the bottom of the Video settings. To learn more, read: Publishing Your VR Video.

Want to know how to do something in Premiere Pro? Let me know and I'll make a video for you! In this episode I'll show you how to import footage from the LG 360 Cam onto your Mac, stitch the VR footage, and get started editing quickly in Premiere Pro CC 2015. —Kyle Edward Wilson

Source: https://youtu.be/9BsB9m2APd4

Adobe: How to Use Color Correction Tools in Premiere Pro (for Beginners)

Jason Levine, Principal Worldwide Evangelist for Adobe Creative Cloud, hosts this Adobe live stream on color correction in Premiere Pro. Instead of describing it, I'll just break it up for you so you can watch by segment.

  • At 4:20 Jason explains the badge icons that appear next to effects in the Effects window: Accelerated Effects and 32-Bit Color
  • At 8:13 Jason talks about the Obsolete color effects in Premiere Pro 
  • At 10:37 Jason introduces the hero of the tutorial: the Lumetri Color panel
  • At 13:40 Jason briefly covers proxies, performance and uninterrupted playback in Premiere Pro
  • At 18:31 Jason explains the difference between master clip and individual clip effects
  • At 28:56 Jason demonstrates color presets or Looks in the Creative tab
  • At 31:09 Jason quickly covers Lumetri Scopes before getting into Basic corrections
  • At 36:20 Jason goes over the Creative tab parameters including Faded Film, Sharpen, etc.
  • At 41:35 Jason talks about the Curves tab; he goes on for a while before coming back to the Hue/Saturation curve
  • At 47:42 Jason shows how to copy/paste attributes (effects) from one clip to another
  • At 49:51 Jason shows how to use the HSL Secondary tab

Source: https://youtu.be/d3WOZ5XcSkc

Adobe: David Lowery Returns to The Sundance Film Festival with A Ghost Story

In this Adobe blog post, filmmaker David Lowery discusses A Ghost Story, which premiered at Sundance 2017. This is David's first film edited entirely in Premiere Pro (see 1:57), and He commends Adobe for giving independents and low-budget filmmakers creative tools that used to be unaccessible. In his video interview (at 1:07) David offers some really great insight into how being an editor and having an editorial mindset helps give him a "head start" in his scripting and directorial decisions. And at 1:30 explains how he and his team used the entire Creative Cloud suite on A Ghost Story, from rough cuts in Premiere Pro to final compositing in After Effects.

I was a Final Cut Pro 7 user, but after Final Cut 10 came out I downloaded Adobe Premiere Pro to try it out. It was really easy to pick up on everything. My first use of it in a practical way was on the set of Pete’s Dragon. It was a snap, just as I had expected. —David Lowery, Adobe Creative Cloud Blog

Source: https://blogs.adobe.com/creativecloud/david-lowery-returns-to-the-sundance-film-festival-with-a-ghost-story

Orange83: Slow Motion Tutorial for Adobe Premiere Pro

In this Premiere Pro tutorial Orange83 covers Speed/Duration adjustments, the Rate Stretch tool, keyframing speed ramps, and Optical Flow. Alternatively, you can modify the frame rate of your footage in the Project panel by right-clicking and choosing Modify > Interpret Footage. Here you can conform your high frame rate footage to match the frame rate of your final output, e.g. 60 fps to 29.97 fps. At 1:58 Orange83 covers how to create speed ramps by keyframing the speed of the clip in the timeline. Finally, at 3:46 learn how to adjust the time interpolation to Optical Flow for the smoothest slow motion results.

How to create smooth slow motions in Adobe Premiere pro cc 2017. NO plug-ins required! —Orange83

Source:  https://youtu.be/UMSj2oMjwmc

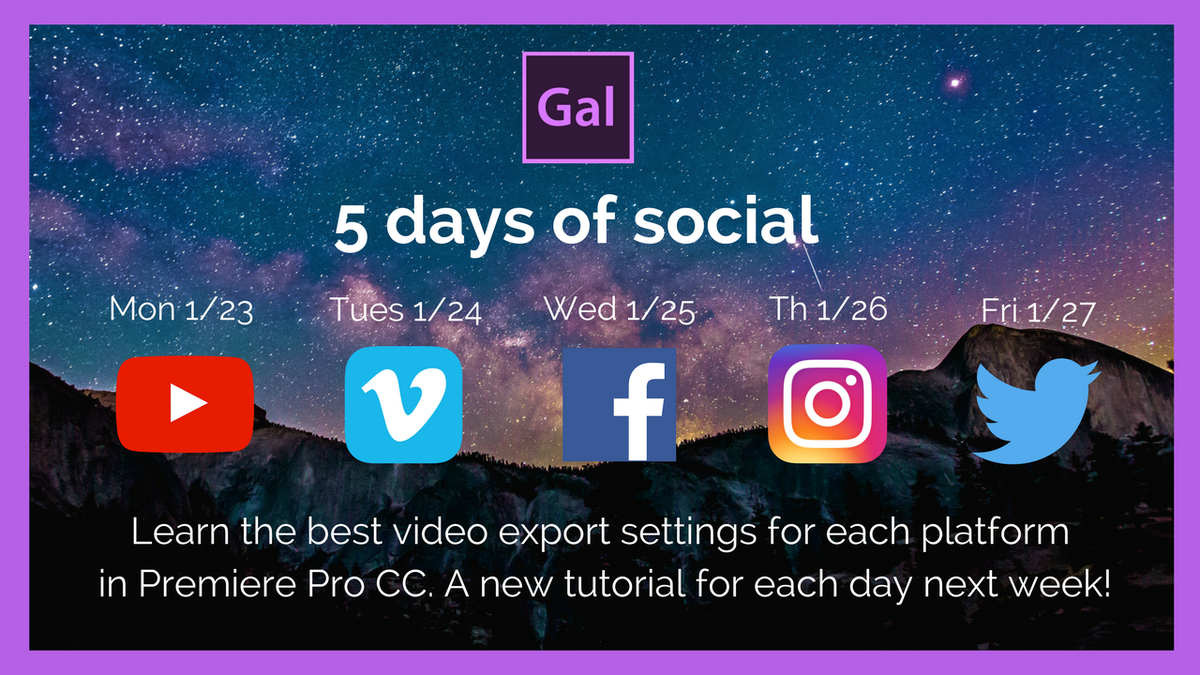
Premiere Gal: 5 Premiere Pro Tutorials on Export Settings for Social Media

Learn how to export video from Premiere Pro to the top social media sites. Premiere Gal has just finished a week-long tutorial series on exporting and publishing videos from Premiere Pro to YouTube, Vimeo, Facebook, Instagram, and Twitter. Follow along as she shows how to create sequences, save them as presets, and upload them to the web using Premiere Pro's export presets and direct publishing. She also has a few custom export recipes and recommendations of her own! Continue reading to hear more from Premiere Gal!

I'll be uploading a new video tutorial each day of the week. Each video will demonstrate, in detail, the best video export settings in Premiere Pro for the following social media platforms: YouTube, Vimeo, Facebook, Instagram and Twitter. —Premiere Gal

Source: https://www.youtube.com/playlist?list=PLDZSBjKu8PgIUs6clYi7YDb5AMBcCxFMr

Orange83: Glowing Cateyes in Premiere Pro And More Tutorials

Introducing Orange83: Premiere Pro Tutorials, Microsoft Products, and More

Orange83 makes his debut on Premiere Bro in this "Glowing Cateyes" Premiere Pro tutorial. First step is having a cat. Next, Orange83 uses the Black & White effect, and then applies a Lumetri Color effect. In order to isolate the color to the eyes, you need to use a mask. At 1:33 Orange83 shows how to draw the mask and animate it so it sticks to the eyes. Continue reading from more Orange 83 tutorials!

This is a quick (3 minutes!) tutorial on creating glowing cat eyes. In this video I will teach you which effects to apply, how to do some color correction and also how to make a mask overlay. —Orange83

Source: https://youtu.be/4hFmdV1I_ow

Justin Odisho: Flashing Invert Color Effect Adobe Premiere Pro

Perfect for music videos and crime scenes, Justin Odisho shows how to create an invert flash effect in Premiere Pro. First apply the Invert effect, and then at 1:28 watch Justin show how to keyframe both the Blend with Original and Channel settings to create flashes in your footage. Don't forget, you can save your invert flash effect as a preset and apply it to other clips. Learn how: HOW TO CREATE, MODIFY, SHARE, AND ORGANIZE EFFECT PRESETS IN PREMIERE PRO.

In this Adobe Premiere Pro CC 2017 Tutorial, I will demonstrate how to invert channel colors and use keyframes to create a rotating flash color effect. —Justin Odisho

Source: https://youtu.be/UisUjXvDPeY

Livia's Projects: How to Sync Video & Audio in Adobe Premiere Pro

Are you a fan of those travel and video tutorial YouTube channels? New on the scene is Livia of Livia's Projects. In this tutorial, Livia shows her workflow for syncing video and audio in Premiere Pro. Also, check out her recommended 5 Steps To Make Your First YouTube Video in Premiere Pro. In addition to creating tutorials on her YouTube channel, Livia is also posting Premiere Pro tips on her Twitter and Facebook page

This video is a tutorial and I'm showing you how you can easily synchronize your audio and video in Adobe Premiere Pro CC. —Livia's Projects

Source: https://youtu.be/oydxZrLv2V0

Make Better Video: Free Adobe Premiere Pro Tutorials

Introducing Make Better Video, a new Adobe Premiere Pro, After Effects and Photoshop tutorial series by legendary VFX artist, Sean Mullen of Rampant DesignMake Better Video tutorials teach at high level of technical proficiency that only comes from a host with a lot of experience. More than that, Sean gives practical and real-world scenarios where his Premiere Pro techniques can be used. When asked what sparked Make Better Video, Sean said, "Trying to give back to the community any way we can." Continue reading for more Make Better Video tutorials!

Free Adobe Premiere Pro, Adobe After Effects and Adobe Photoshop tutorials hosted by Visual Effects Artist Sean Mullen. —Make Better Video

Source: MakeBetterVideo.net

Adobe Premiere Pro at Sundance 2017

Sundance 2017 Premiere Pro Highlights

Sundance Film Festival saw an 81% increase in projects that were made with Adobe tools. That includes 97 films (out of 200) edited in Premiere Pro. In this post, you'll find some Premiere Pro highlights from Sundance 2017.

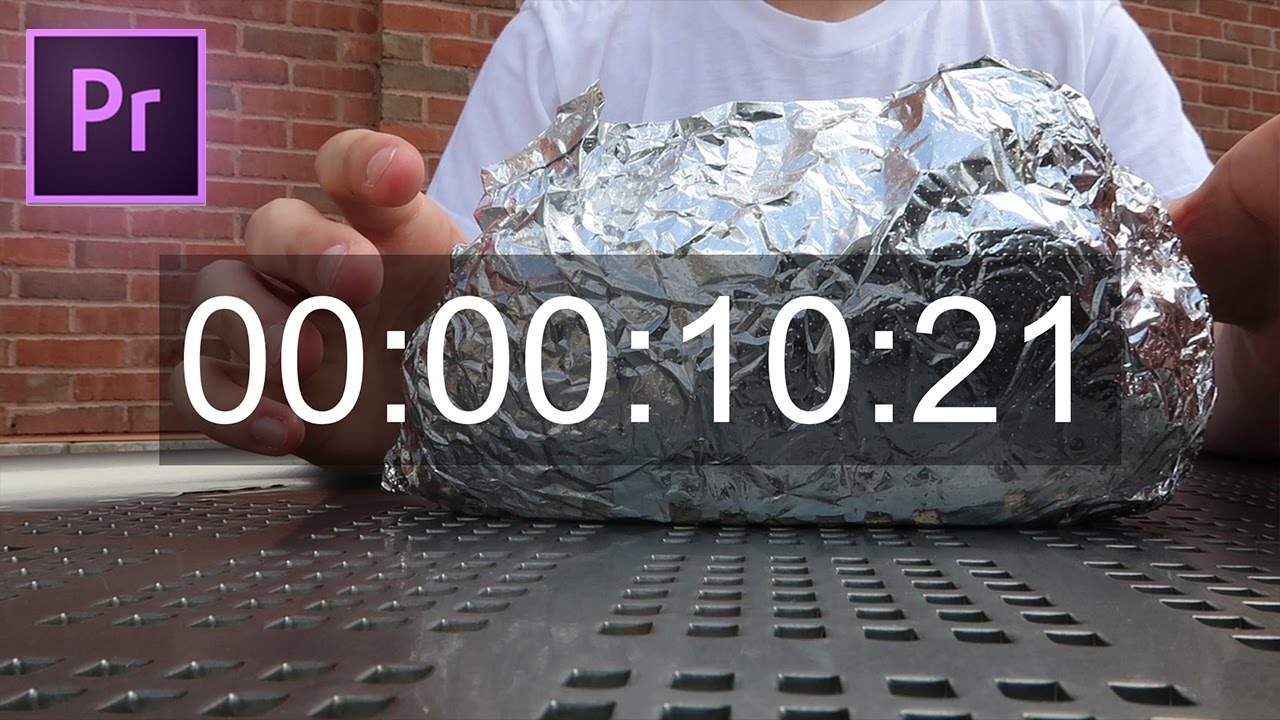
Justin Odisho: How to Add a Timecode Stamp or Timer to your Footage in Premiere Pro

Do you have a video that needs an onscreen timer? Learn how to add "burnt in" timecode to your video in this Premiere Pro tutorial by Justin Odisho. Apply the Timecode effect directly to your video clip, or to an adjustment layer above multiple clips. At 1:29 Justin covers the differences between the Timecode Source settings. You can also add also burnt in timecode on export under the Effects tab in the Export Settings window. You can save your timecode effect settings as an export preset as well.

In this adobe Premiere Pro CC Tutorial, I will show you how to add a Timecode signal or timer stamp effect on your videos or footage. —Justin Odisho

Source: https://youtu.be/KPE01kr6AVM

Justin Odisho: How to Sync Cut Footage to Music in Adobe Premiere Pro CC

Learn how to edit your video to the rhythm of a music track in this Premiere Pro tutorial by Justin Odisho. First, at 1:15 Justin identifies beats in the audio waveform, and then cuts his video clips to sync using the razor tool. (You can also lock the music track and use keyboard shortcuts Q and W to Ripple Trim Edit to Playhead.) Alternatively, BeatEdit for Premiere Pro by Mamoworld will analyze your music track and add markers to beats. Then, with Snapping (S) enabled, you can easily edit your footage to the markers with 100% precision. At 2:27 Justin suggests using onscreen text and fades to stylize your syncopated edits.

In this video editing tutorial, I will be using Adobe Premiere pro CC 2017 to demonstrate how to Sync Jump Cut your footage with music to create a more cinematic feeling sequence or transition from clip to clip and set the pace of your project! —Justin Odisho

Source: https://youtu.be/-2eXk0oLFQs