How to use the morph cut for interview footage. —Chinfat
All in Effects
Make Video Better: How to Create Animated Mattes in Adobe Premiere Pro
Learn how to create animated mattes or "style mattes" in Premiere Pro with this Make Better Video tutorial with VFX artist, Sean Mullen of Rampant Design. The great thing about Sean's tutorials is the real-world examples of the material he's teaching. This animated mattes tutorial is no different; the first 60 seconds is chock full of examples of real-world value. Animated mattes are basically moving shapes that reveal the footage beneath. Sean begins the tutorial in Premiere Pro by showing the limitations of simply cropping the footage. Instead, at 3:06 Sean says the better workflow is creating the matte on a separate track with a color matte. Once you've created your matte using the Crop effect (or a mask), apply the Track Matte to effect to the footage, not the matte, as shown at 4:14. But there's a trick, at 5:22 Sean shows why it's important to nest your footage before adding the Track Matte effect. This allows you to move your footage in the nested sequence independently of your matte. It's long tutorial! But Sean keeps your attention with tons of helpful tips and some humor sprinkled throughout.
VFX Artist Sean Mullen shows us how to create a animated mattes in Adobe Premiere Pro. Sean walks us through multiple methods of animating mattes, sometimes called track mattes or style mattes. —Make Better Video
Justin Odisho: Smooth Spin Blur Rotation Transition in Premiere Pro
Learn how to spin from one shot to the next in this Premiere Pro tutorial by Justin Odisho. It's one of Justin's longer tutorials, but he does an excellent job keeping it from spinning out of control. First, Justin adds an adjustment layer over the edit point between two clips. He recommends the adjustment be 10 frames on either side of the edit point. Then he duplicates the adjustment layer to the track above so there's two. At 2:09 Justin applies the Replicate and Mirror effects to the first adjustment layer to simulate extra resolution, so when the image spins you're not seeing the edges of the frame. Then, at 4:11 Justin uses the Transform effect on the second adjustment layer to scale and rotate the image. The Transform effect is ideal in this situation because it has Motion Blur, which is necessary to blur the pixelation caused by the scale. It's a rather complicated effect, but rest assured, once you're done you can easily copy and paste your adjustment layers over other edit points in your timeline. Even better, save the sequence with the adjustment layers as a Premiere Pro project "template" and import the sequence into your other projects whenever you want it.
Learn how to create a smooth rotation spin transition effect in this Adobe Premiere Pro CC 2017 Tutorial. This is an effect many of you have requested to along with my other smooth zoom in and out, and slide transition tutorials and has been popular in many vlogs and video edits! —Justin Odisho
Source: https://youtu.be/QfpSMLHODPE
Justin Odisho: Walk By Transition Effect (Custom Wipe & Reveal with Masking) in Adobe Premiere Pro CC
Learn how to create a wipe transition using a moving object in your footage in this Premiere Pro tutorial from Justin Odisho. As Justin explains at 0:22, this transition requires some specific circumstances. An object must cover your shot from top to bottom as it enters, crosses and leaves the frame. If any of these requirements are not met, the transition will most likely appear awkward and confusing. Next, at 1:10 is the very detailed process of animating a mask around your object so that as it crosses the frame it reveals the incoming shot. All of this can be done natively in Premiere Pro. However, you may want to do this type of work, also known as rotoscoping, in After Effects.
Learn how to create a smooth custom mask transition using objects that walk by and obscure or block the camera in this Adobe Premiere Pro CC 2017 Tutorial! —Justin Odisho
Source: https://youtu.be/f6r6UX5gWsw
Orange 83: Neon Light Text, Title or Intro Tutorial for Adobe Premiere Pro
Admit it. We all want to see our names up in neon lights. Maybe on the sign of movie premier in Tribeca. They do that for editors, right? Well, at least you can in Premiere Pro with this neon title tutorial by Orange83. This is actually a rather complicated tutorial involving 15 tracks of titles and color mates with blend modes and, yes, a lens flare. But Orange83 makes it easy to follow along, and by the end you'll have your own shiny neon title in all its fluorescent beauty. At 6:06 see how Orange83 creates his flickering effect by cutting some the text layers. Once you've created your own neon title, save it as a "template" for future projects.
How to create a neon intro, title or text effect in Adobe Premiere pro cc 2017. NO plug-ins required! —Orange83
Source: https://youtu.be/W8L-007sH74
YCImaging: Music Video Effects Tutorial in Premiere Pro
Get yo music videos turnt with these 4 effects from Chrystopher Rhodes of YCImaging. No plugins are required, and they can all be done in any editing program. But, of course, they're demonstrated here in Premiere Pro. Each of Chrystopher's effects begin with duplicating the clip above itself in the timeline. The first effect, "ghosting", begins at 0:33, and is done by lowering the opacity of the duplicated clip and changing it's speed. Second, at 3:13, the "screenshot flash" is ghosting but with a freeze frame. At 4:51 Chrystopher demos another variation of ghosting, this time adding a quick zoom in and out. And finally, at 7:13 the "zoom feather" uses a mask to scale up an area of the frame. If you're a music video editor, this tutorial is a must see.
4 of my favorite music video effects and how to do them! Works in ALL PROGRAMS —YCImaging
Source: https://youtu.be/f286oY_Pl8s
Cinecom.net Modern Parallax Animation in Adobe Premiere Pro
Learn how to add some depth to your footage with this really cool parallax tutorial from Cinecom.net. First, parallax is, "The effect whereby the position or direction of an object appears to differ when viewed from different positions, e.g., through the viewfinder and the lens of a camera." (Google) This effect can be created in Premiere Pro by duplicating a clip above itself in the timeline, adding a mask, and varying the Motion parameters between the two clips. Beginning at 1:24, Jordy begins drawing his mask using the Pen tool found under the duplicated clip's Opacity settings in the Effect Controls panel. Then at 2:26 he starts tweaking the Motion settings of the masked clip, adding keyframe animation to create the illusion of parallax. Also, at 4:56 Jordy shows how to add a title that interacts with the masked clip. This further helps sell the parallax effect.
Create a modern parallax animation in Adobe Premiere Pro. Learn how to use keyframing and the masking tool in this tutorial video. In this tutorial we create a modern parallax animation with the use of keyframes and the masking tool. —Cinecom.net
Source: https://youtu.be/atgzDavL2_k
Orange83: Slow Motion Tutorial for Adobe Premiere Pro
In this Premiere Pro tutorial Orange83 covers Speed/Duration adjustments, the Rate Stretch tool, keyframing speed ramps, and Optical Flow. Alternatively, you can modify the frame rate of your footage in the Project panel by right-clicking and choosing Modify > Interpret Footage. Here you can conform your high frame rate footage to match the frame rate of your final output, e.g. 60 fps to 29.97 fps. At 1:58 Orange83 covers how to create speed ramps by keyframing the speed of the clip in the timeline. Finally, at 3:46 learn how to adjust the time interpolation to Optical Flow for the smoothest slow motion results.
How to create smooth slow motions in Adobe Premiere pro cc 2017. NO plug-ins required! —Orange83
Source: https://youtu.be/UMSj2oMjwmc
Orange83: Glowing Cateyes in Premiere Pro And More Tutorials
Introducing Orange83: Premiere Pro Tutorials, Microsoft Products, and More
Orange83 makes his debut on Premiere Bro in this "Glowing Cateyes" Premiere Pro tutorial. First step is having a cat. Next, Orange83 uses the Black & White effect, and then applies a Lumetri Color effect. In order to isolate the color to the eyes, you need to use a mask. At 1:33 Orange83 shows how to draw the mask and animate it so it sticks to the eyes. Continue reading from more Orange 83 tutorials!
This is a quick (3 minutes!) tutorial on creating glowing cat eyes. In this video I will teach you which effects to apply, how to do some color correction and also how to make a mask overlay. —Orange83
Source: https://youtu.be/4hFmdV1I_ow
Justin Odisho: Flashing Invert Color Effect Adobe Premiere Pro
Perfect for music videos and crime scenes, Justin Odisho shows how to create an invert flash effect in Premiere Pro. First apply the Invert effect, and then at 1:28 watch Justin show how to keyframe both the Blend with Original and Channel settings to create flashes in your footage. Don't forget, you can save your invert flash effect as a preset and apply it to other clips. Learn how: HOW TO CREATE, MODIFY, SHARE, AND ORGANIZE EFFECT PRESETS IN PREMIERE PRO.
In this Adobe Premiere Pro CC 2017 Tutorial, I will demonstrate how to invert channel colors and use keyframes to create a rotating flash color effect. —Justin Odisho
Source: https://youtu.be/UisUjXvDPeY
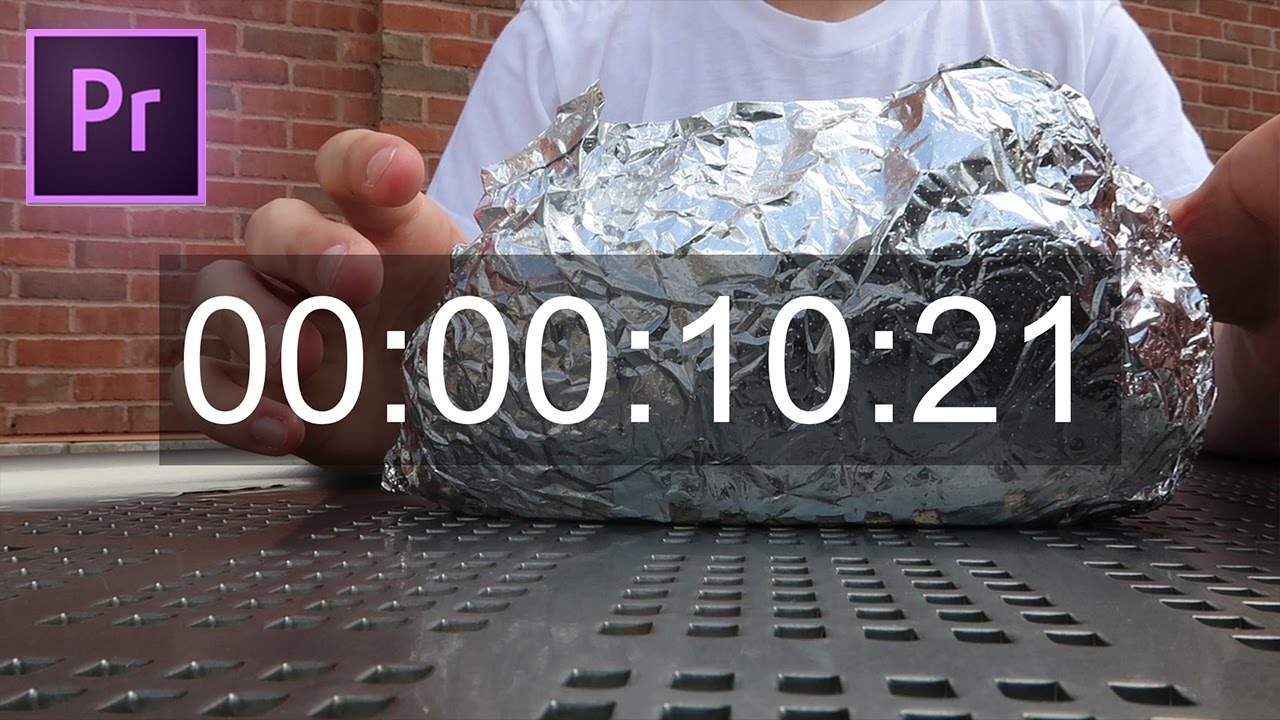
Justin Odisho: How to Add a Timecode Stamp or Timer to your Footage in Premiere Pro
Do you have a video that needs an onscreen timer? Learn how to add "burnt in" timecode to your video in this Premiere Pro tutorial by Justin Odisho. Apply the Timecode effect directly to your video clip, or to an adjustment layer above multiple clips. At 1:29 Justin covers the differences between the Timecode Source settings. You can also add also burnt in timecode on export under the Effects tab in the Export Settings window. You can save your timecode effect settings as an export preset as well.
In this adobe Premiere Pro CC Tutorial, I will show you how to add a Timecode signal or timer stamp effect on your videos or footage. —Justin Odisho
Source: https://youtu.be/KPE01kr6AVM
Justin Odisho: Earthquake Camera Shake Transition Effect in Adobe Premiere Pro CC
Shake up your edit with this earthquake/camera shake transition tutorial from Justin Odisho. In this video, he will show you how to use the Directional Blur effect in Premiere Pro to hide a cut from one clip to another. As Justin says at 1:40, the key to is using an adjustment layer to animate the effect across edit points. He also uses footage that was shot with quite a bit of shake, which makes this transition style very appropriate.
In this Adobe Premiere Pro CC 2017 Tutorial, I will demonstrate how to create an earthquake or camera shake transition effect using directional blur, keyframes, and adjustment layers! —Justin Odisho
Source: https://youtu.be/qphYgxfr7ng


